Fairy Garden Ideas: Make One That Lasts a Season
Fairy garden ideas built on real plants rather than plastic: what to plant at that scale, which container to use, and how to make one with a child in an hour.
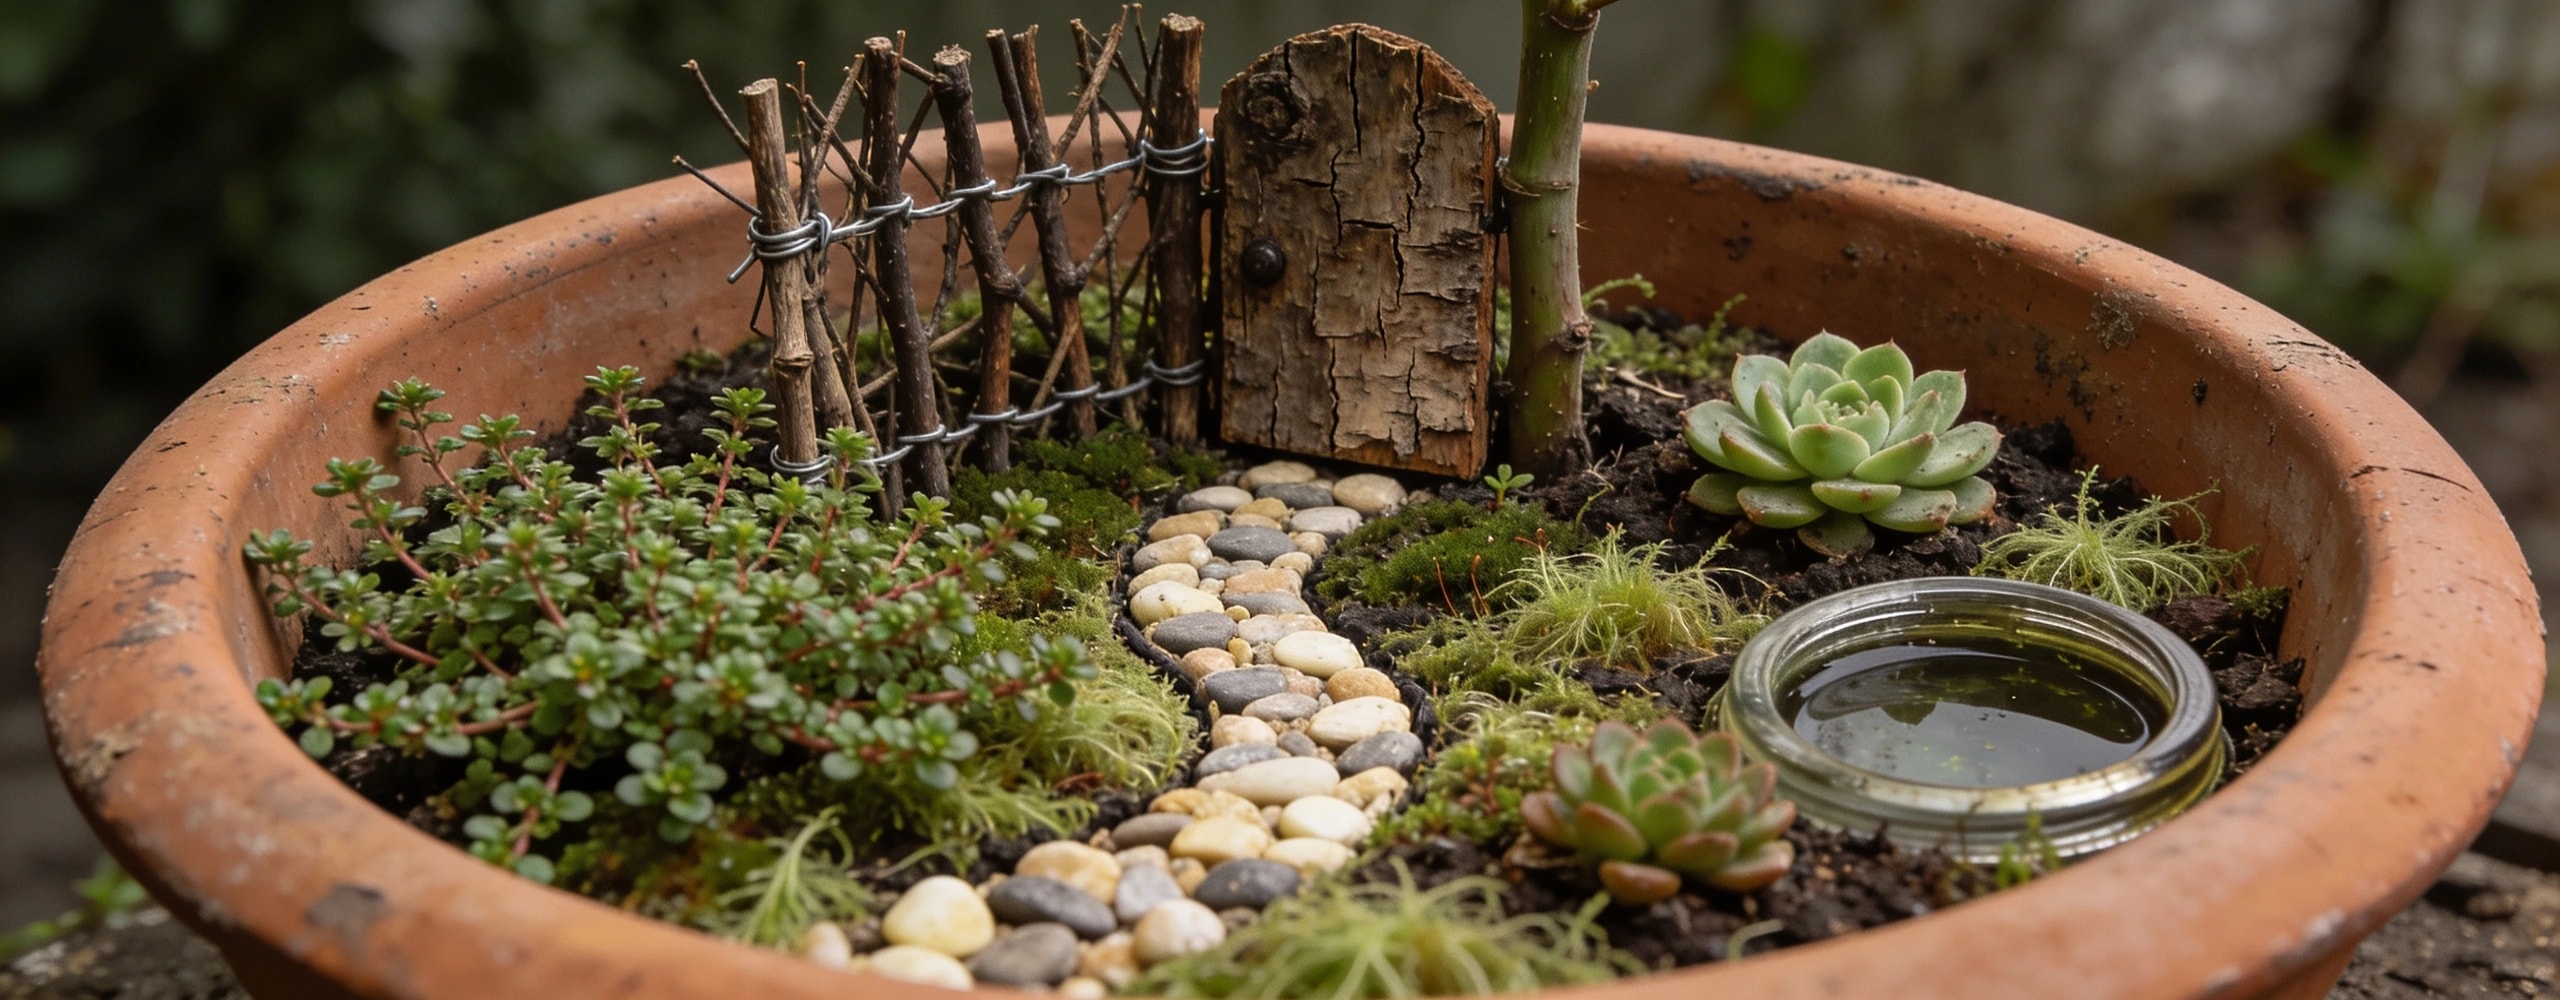
Fairy garden ideas mostly go wrong in the same direction: too many bought pieces and plants that are only small in the pot. I made my first with a child who lost interest the moment I started correcting the layout, which taught me more about the project than any of the planting did. The version that works is mostly real plants and found objects, and it is genuinely a one hour job.
The short answer
Use a wide shallow container, at least 30 cm across and 12 to 15 cm deep, with drainage. Plant only things that stay small: thyme, sagina, sedum, baby tears, dwarf mondo grass. Two or three bought pieces at most, and make the rest from twigs, bark, pebbles and moss. Put it in bright shade at a height a child can see into. Water every day or two with a mister, not a can.
The container decides most of it#
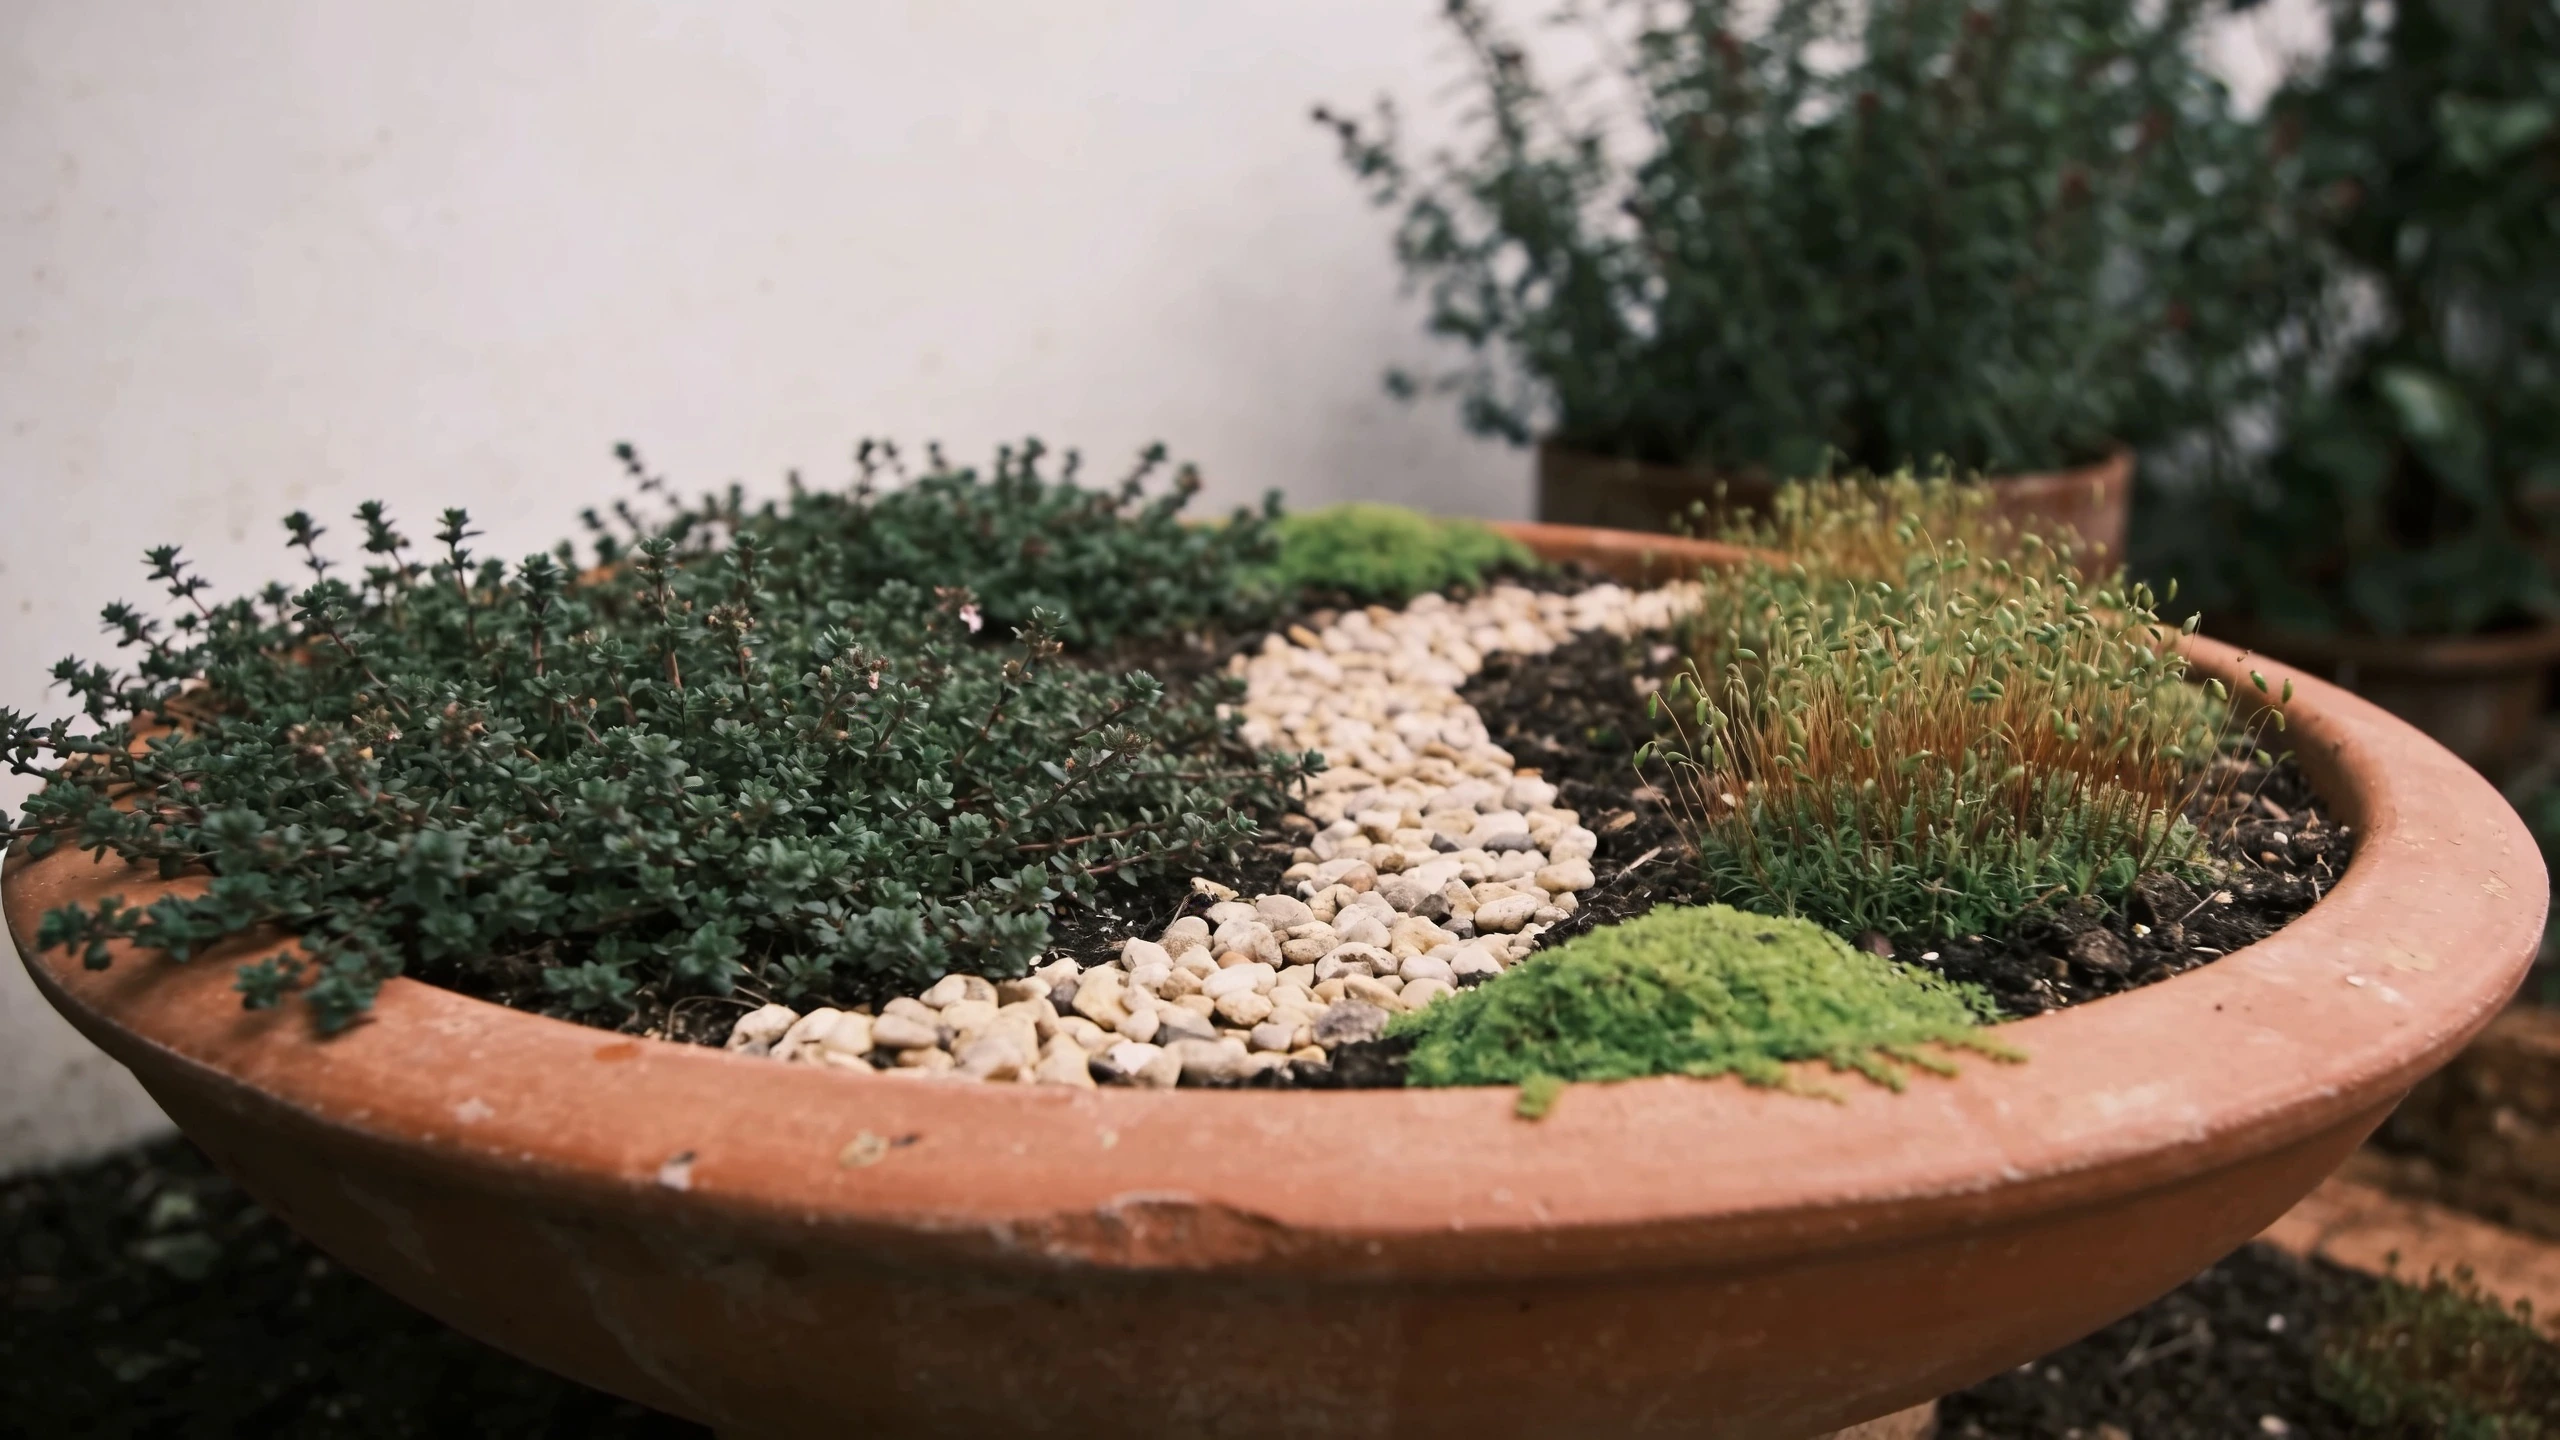
Wide and shallow, because the surface is the garden. A deep narrow pot gives you a lot of soil and no scene.
Thirty centimetres across is about the minimum for something you can build a path and a clearing into. Twelve to fifteen centimetres deep is enough for the roots of everything on the plant list.
It has to drain. A shallow container with no holes turns into a bog within a fortnight, and the plants that suit this project all hate wet feet.
- Terracotta pan or bowl
- Best looking and best draining. Dries fastest, so it needs the most watering. 30 to 40 cm is the sweet spot.
- Wooden crate or drawer
- Line with plastic, pierce the bottom generously. Looks far better than most bought fairy planters and costs nothing.
- Old sink or trough
- Ideal if you have one. Big enough for two scenes and heavy enough that nothing knocks it over.
- Half a hollowed log
- The most convincing container of all. Drill several drainage holes and expect two or three seasons before it rots.
Plants that stay in scale#
This is the part that decides whether it still looks like a miniature garden in August or like a pot of ordinary plants.
The test is not how big the plant is now. It is how big it wants to be.
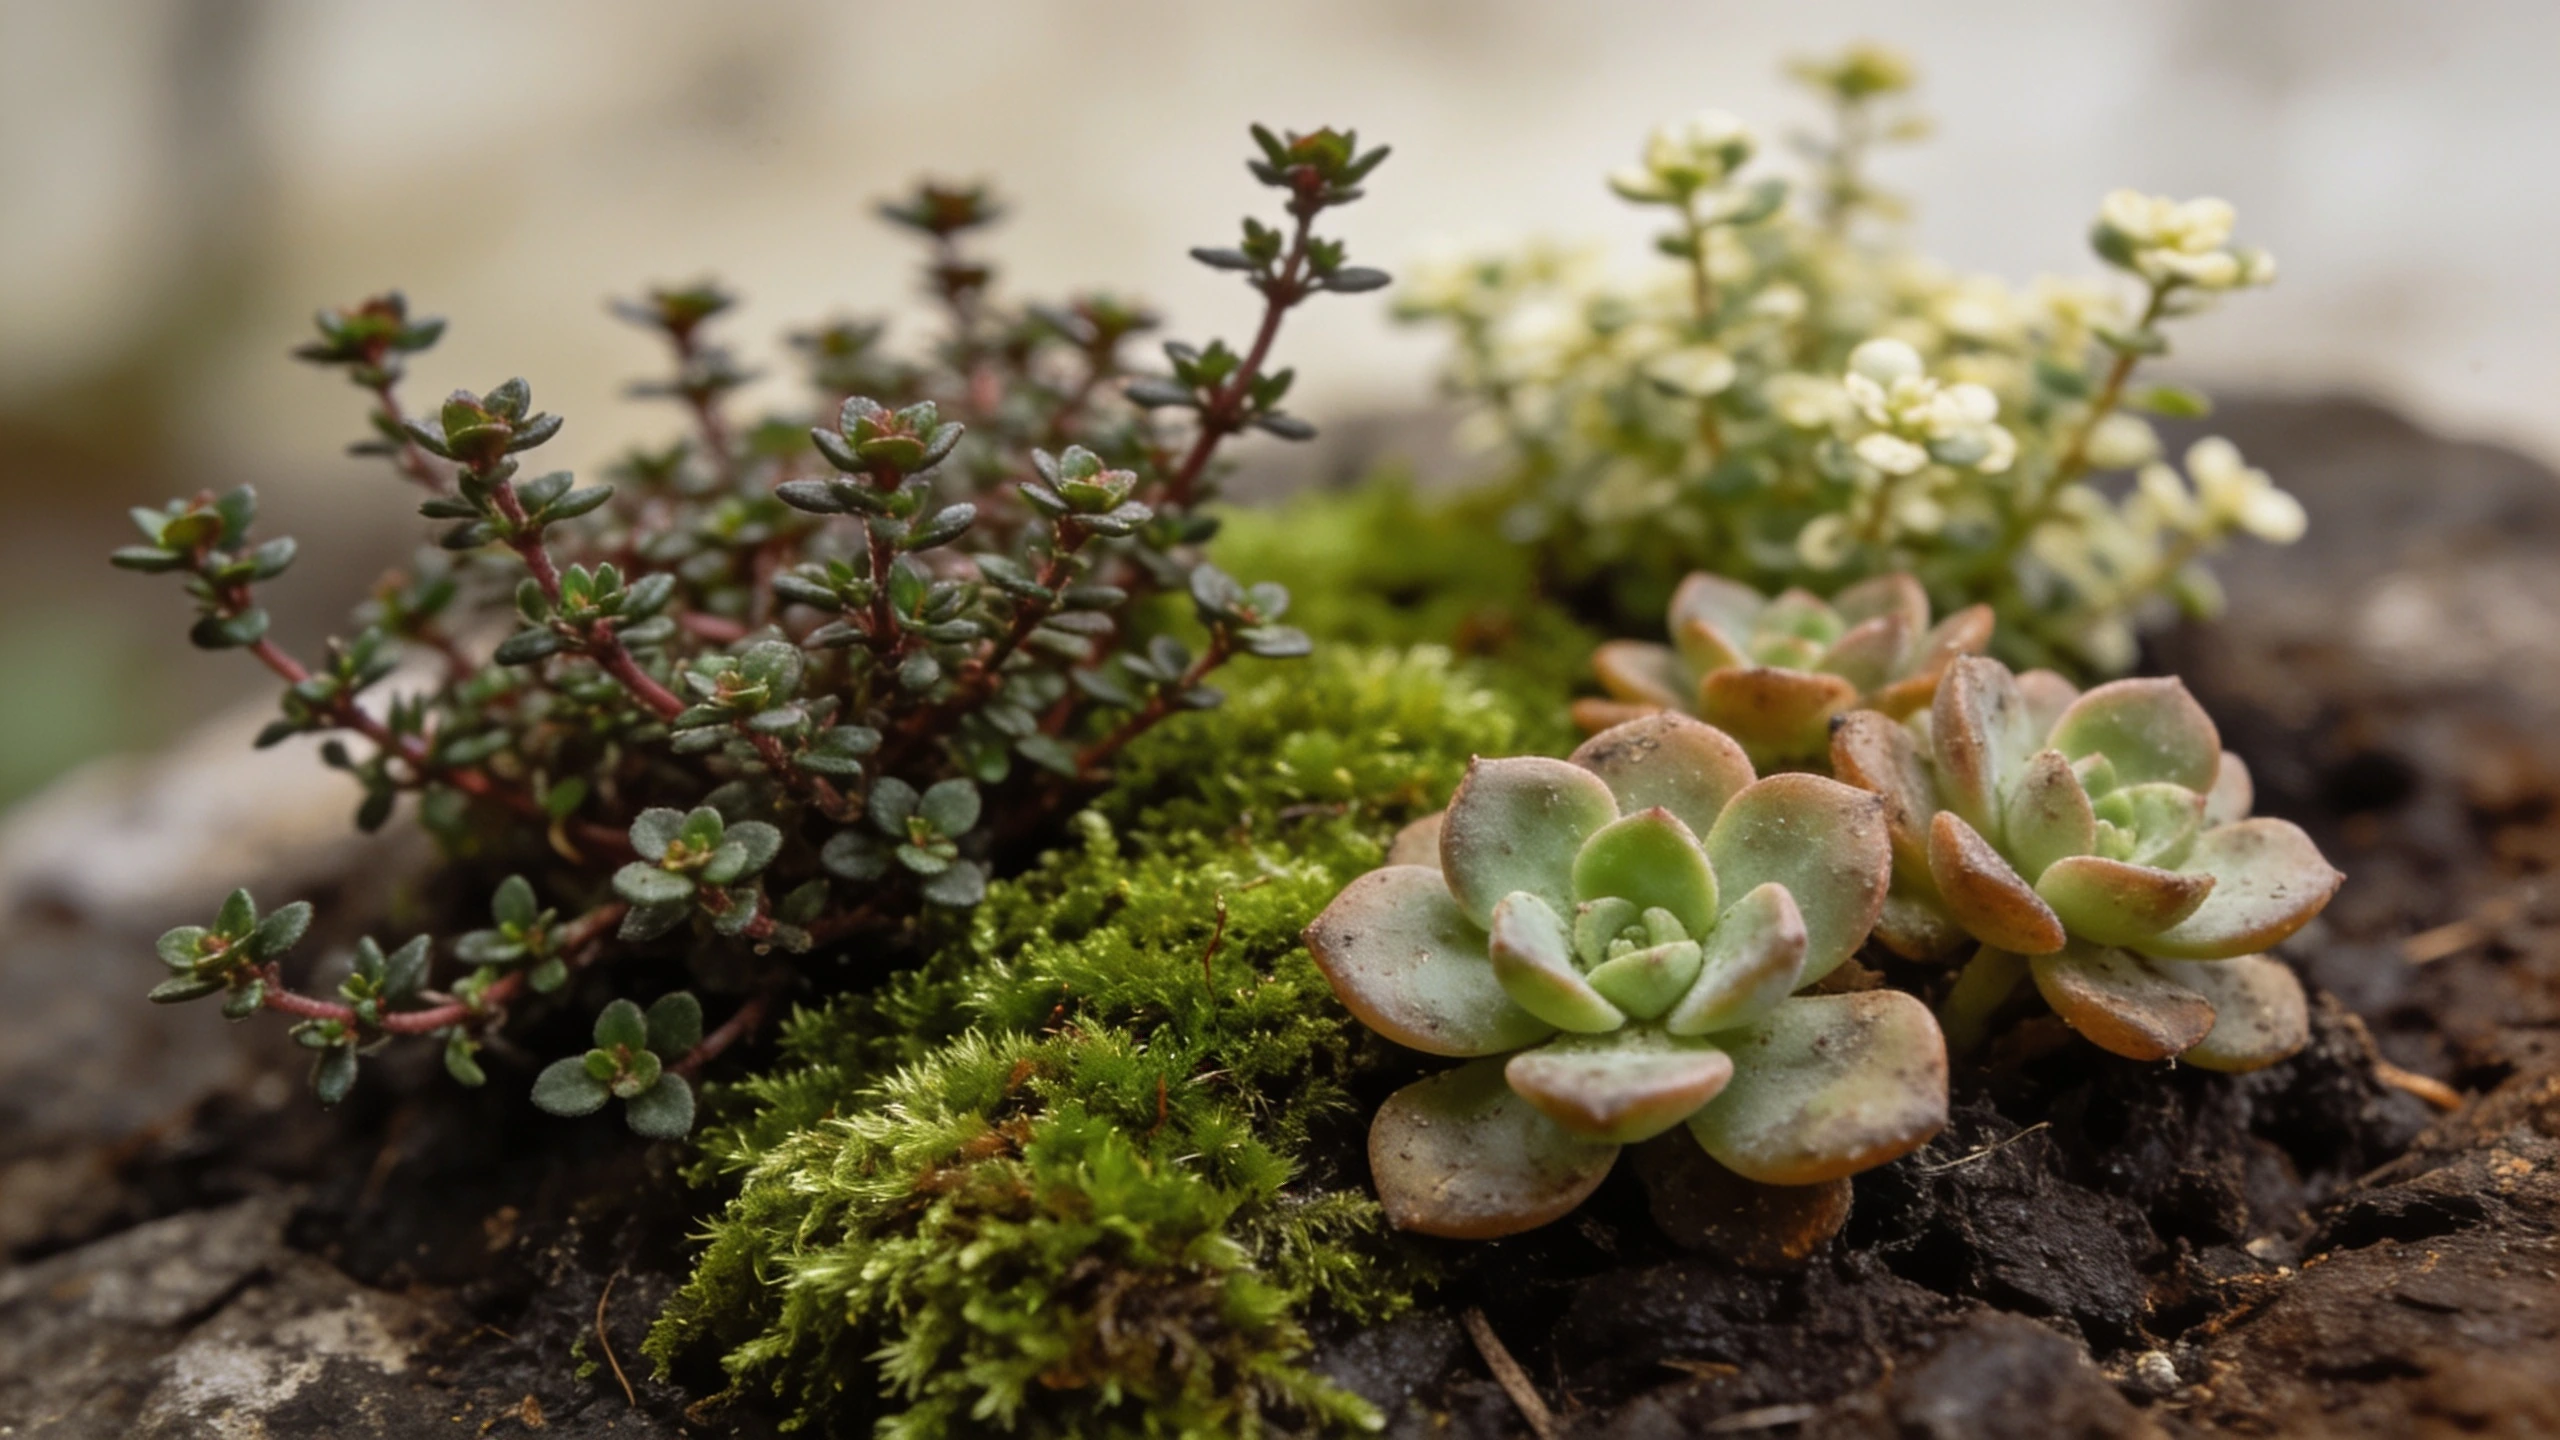
- Creeping thyme
- The best all rounder. Genuinely tiny leaves, tolerates drying out, flowers, and smells right when a child touches it.
- Sagina, Irish moss
- A dense green cushion that reads as lawn at this scale. Wants moisture and bright shade.
- Baby tears or mind your own business
- Fine bright green carpet, spreads fast, easy to pull back. Will take over if you let it, which is fine in a container.
- Small sedums
- Look like miniature succulent trees and shrubs. Drought proof, which forgives a forgotten week.
- Dwarf mondo grass
- Reads as tufts of long grass. Slow, tidy and reliably small.
- Small ferns
- One only, as the tree. A hart's tongue or maidenhair at the back gives height without dominating.
- Moss
- The most magical ground layer there is, and it needs shade and damp. Lift a piece from a shaded path rather than buying it.
What to avoid: anything sold as a young shrub, most herbs other than thyme, and violas, which look perfect for two weeks and then flop.
Building it, in about an hour#
Key points
- Drainage first: a couple of centimetres of grit or broken crock over the holes.
- Fill with a gritty mix, roughly two parts multipurpose compost to one part horticultural grit, to about 3 cm below the rim.
- Set the biggest plant first, usually the fern or the tallest sedum, off centre and towards the back.
- Lay the path next, in fine gravel or small pebbles, curving rather than straight. Curves read as bigger.
- Fill in with the carpeting plants, pressed firmly against the soil so they knit.
- Then hand it over. Decoration is the child's job and the ratio should be mostly natural material.
The grit in the compost matters more than it sounds. A shallow container of pure multipurpose compost either dries to a brick or stays soggy, and grit gives you a much wider margin.
Making things instead of buying them#
The gardens that look enchanting are mostly plants and found objects. The ones that look like tat are mostly resin.
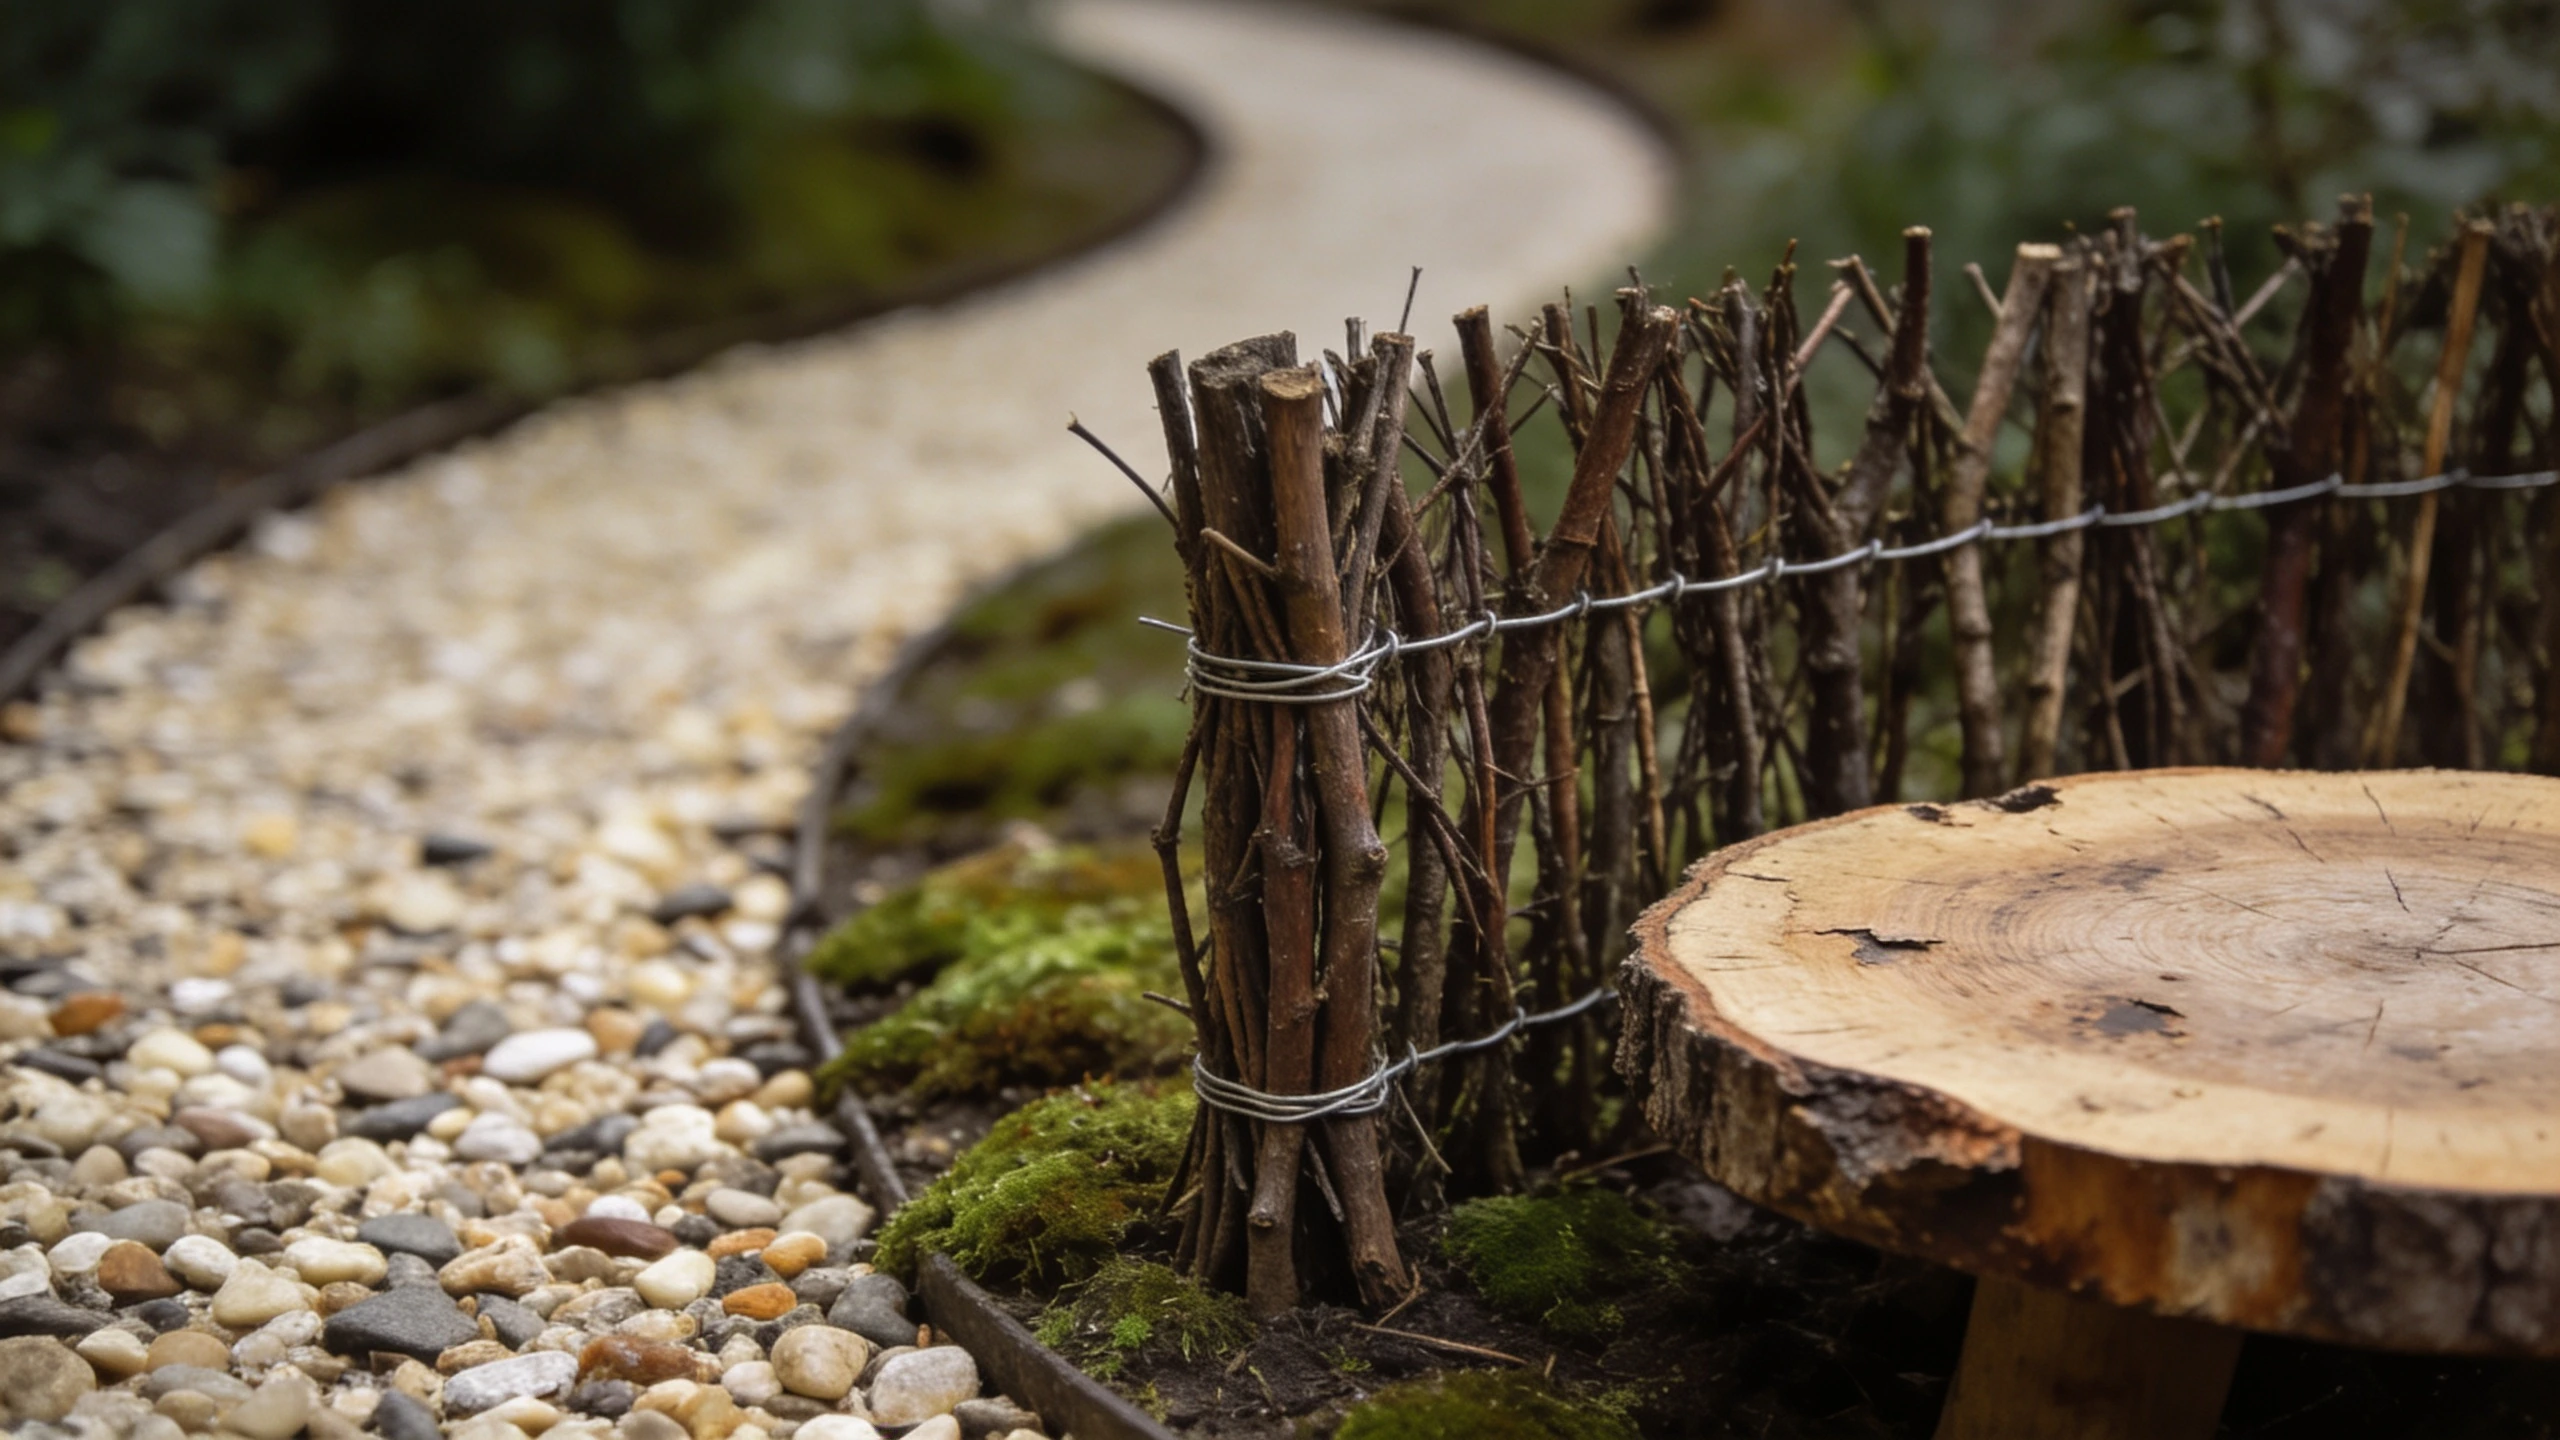
So: a fence from twigs and thin wire. A door from a slice of bark propped against a stem. A table from a log slice and pebble stools. A pond from a jam jar lid sunk to its rim. A ladder from two twigs and a dozen shorter ones. A path from gravel, or from pebbles set on edge like cobbles.
Two or three bought pieces is plenty, and one of them should be the thing the child most wanted, whatever you think of it.
Where to put it and how to water it#
Bright shade is the easy answer. Full sun dries a shallow pan out in a day in July, and deep shade limits you to moss and ferns. A north or east facing spot, or the shade of a wall for the afternoon, gives you the widest plant list.
Height matters. Put it where a child can look into it without being lifted: a low wall, a bench, a table, an upturned pot. A fairy garden at ground level gets looked at from above, which is the least interesting angle.
Water with a mister or a fine rose. A full can washes paths away and buries small things, and rebuilding after every watering is how a project stops being fun.
What it costs#
- Wide shallow pan, 35 cm
- $15 to $40, or free if you have an old sink or a crate.
- Compost and grit
- $10 to $18, and you will use a fraction of both bags.
- Five small plants
- $20 to $45. Alpine or rockery sections have the best miniature choices.
- Fine gravel or pebbles
- $5 to $12, or free from a bag of grit you already own.
- Two or three bought pieces
- $8 to $25. This is the line to keep small.
- Everything else
- Free. Twigs, bark, moss, acorn cups, stones from a walk.
Getting the second season out of it#
Most fairy gardens are treated as disposable and they do not have to be.
In November, lift the hardy plants, thyme, sedum, sagina, mondo grass, into the garden or a spare pot and they will survive the winter. Bring the manufactured pieces indoors, because paint and resin do not enjoy frost.
Then rebuild in spring with the same child, who will have different ideas and be a year older. That rebuild is usually more fun than maintaining the original, and it is the version that keeps the project going for years.
When it will disappoint#
In full afternoon sun on a hot patio, unless you commit to watering daily. Move it or accept sedums and thyme only.
If an adult keeps correcting it. The single fastest way to end a child's interest is to straighten their path.
And if it is planted with ordinary-sized plants, it will look like a nice pot within six weeks. That is not a failure exactly, but it is not the thing you set out to make.
Where the guidance here comes from#
The plant list and the compost mix are what has survived in my own containers, and the advice about handing over the decoration is from watching it go wrong. For plant sizing and container care in general, the RHS advice pages are the reference, and the RHS school and community gardening pages are good on what children of different ages can actually manage on their own.
The short version#
Wide, shallow, drained container. Only plants that stay small by nature. Gritty compost. Path first, curving. Two or three bought pieces and everything else found on a walk. Bright shade at a height they can see into. Mist rather than pour. Then leave their layout alone.
Related reading#
- Gardening tools for kids: real tools in small sizes, and why plastic sets put children off.
- Gardening with children: the wider version, including what to grow at what age.
- Small balcony garden ideas: container growing where there is no ground at all.
- Japanese garden ideas: miniature composition for grown ups, oddly similar principles.
Frequently asked questions
What plants work in a fairy garden?
Anything genuinely small and slow, not young plants that will outgrow it. Thyme, baby tears, sedum, sagina, dwarf mondo grass, mind your own business and small ferns all stay in scale for a season or more. The classic mistake is planting a normal-sized plant because it is small in the pot, and then watching one plant swallow the whole scene by August.
What container should I use?
Wide and shallow beats deep and narrow, because the whole point is the surface. A bowl or pan at least 30 cm across and 12 to 15 cm deep gives room for roots and enough surface to build a scene. It must have drainage holes. A wooden crate lined with plastic and pierced also works and looks better than most bought planters.
How do I make a fairy garden with a child?
Do the compost and planting yourself, then hand over the whole of the decoration and layout. The part children care about is arranging, naming and telling the story, not firming in plants. Give them the gravel, the pebbles, the moss and the pieces, and resist correcting the spacing. It is their garden and a wonky path is not a problem to be fixed.
Will a fairy garden survive winter?
Outdoors, most will not in their planted form. Thyme, sedum and sagina are hardy and will come through, but the arrangement gets battered and any painted or resin pieces suffer. The simplest approach is to treat it as a spring to autumn project, lift the hardy plants into the garden in November, and rebuild it next year with the child, which they usually enjoy more than maintaining it.
Where should I put it?
Somewhere a child passes, at a height they can see into. A low wall, a bench, a table or a large upturned pot. Bright shade is the easiest light: full sun dries a shallow container out within a day in summer, and deep shade limits the plants. Under a north or east facing window is close to ideal.
How often do I water it?
More often than you would expect, because a shallow wide container has a small soil volume and a large evaporating surface. Every day or two in summer, and check by pushing a finger in rather than guessing. Water with a fine rose or a mister rather than a full can, because a heavy pour washes the gravel paths and small pieces out of place.
How do I stop it looking like plastic tat?
Limit yourself to two or three bought pieces and make everything else from natural material. Twig fences, pebble paths, a bark door propped against a stem, a slice of log as a table, an acorn cup. The gardens that look magical are mostly plants and found objects with one or two manufactured things, not the other way round.
Topics in this article
About the author
Jeff has gardened professionally for over twenty years, mostly on heavy clay, and writes everything here from beds he still works himself. More from Jeff Tanun →
Keep reading
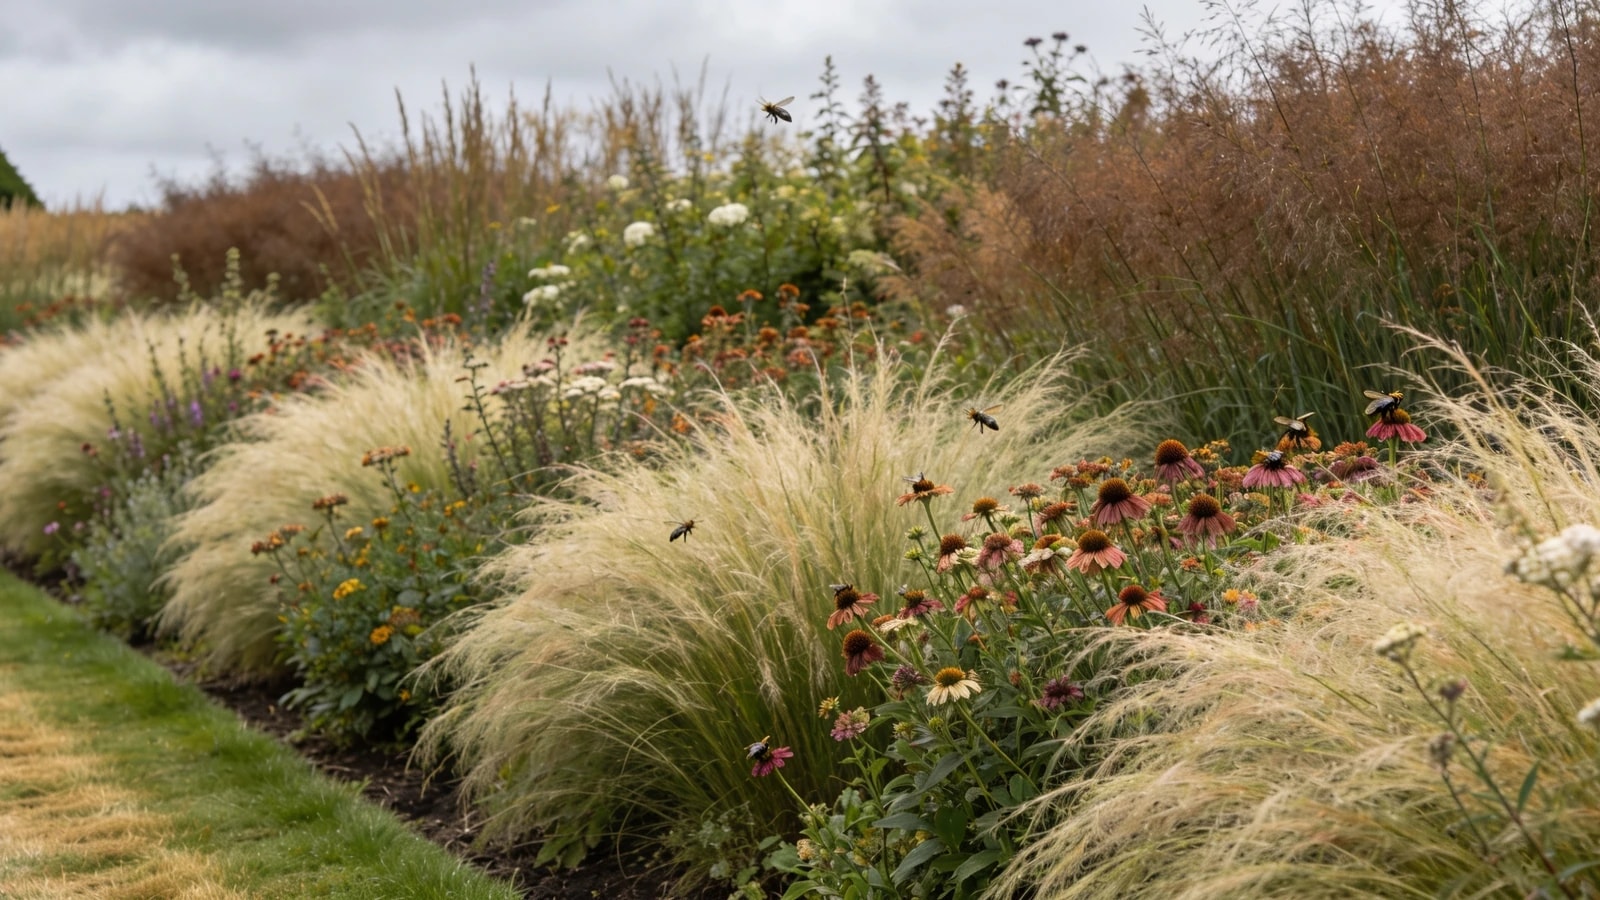
Native Plant Garden
A native plant garden without the purism. Why native means local rather than national, how to find your own list, and where non-natives still earn a place.
Updated
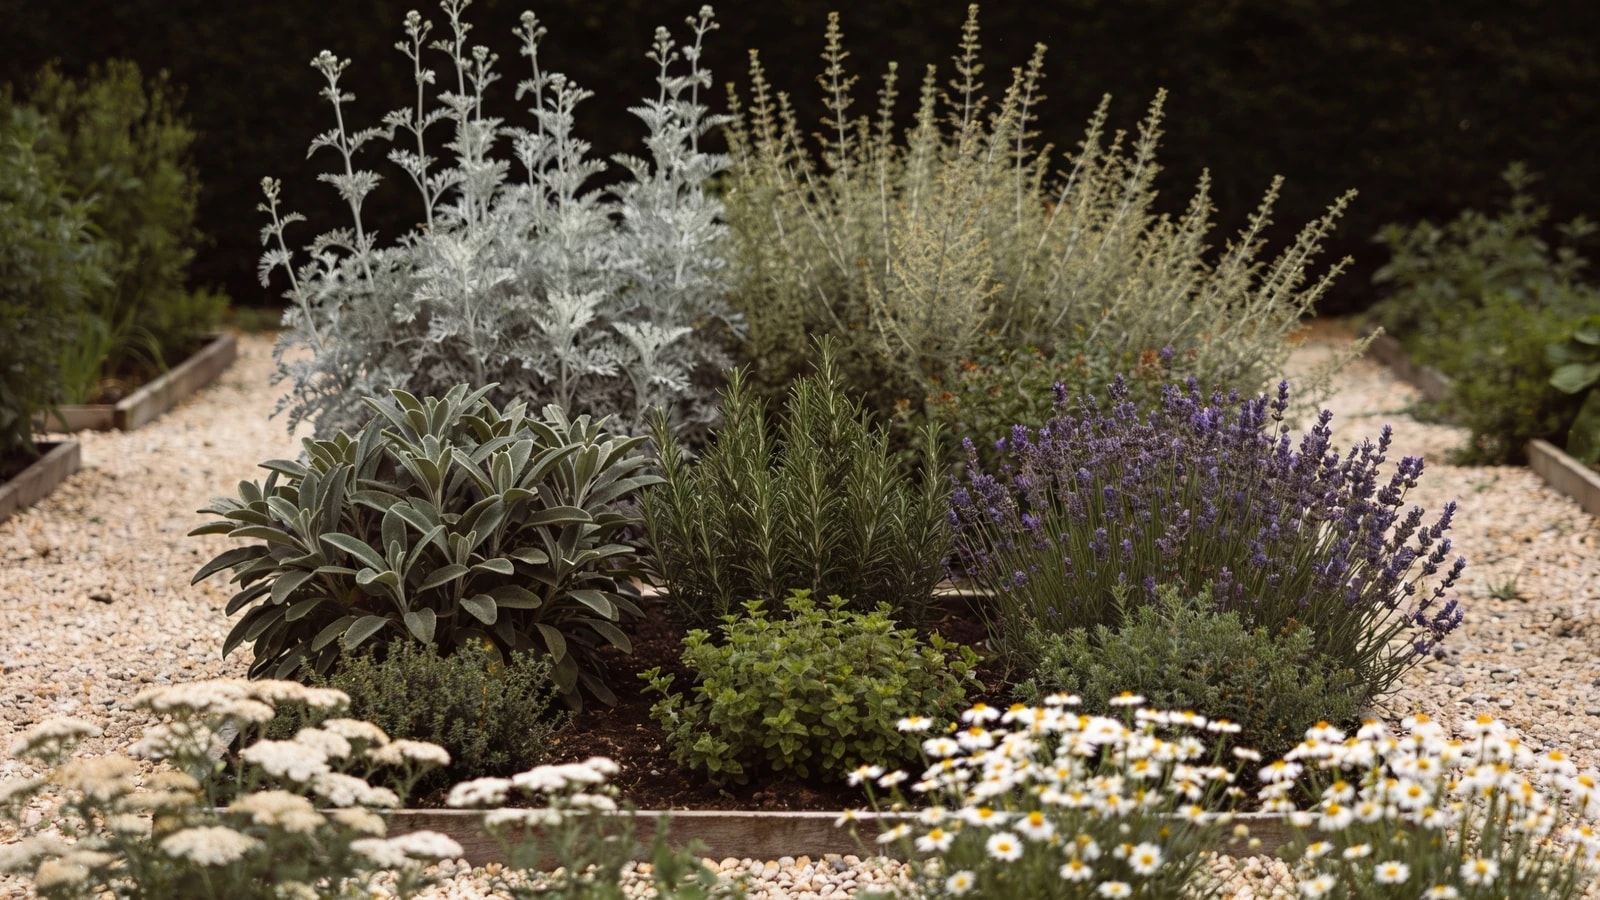
Witches Garden
A witches garden is a historical herb garden. What was actually grown and why, which plants are genuinely dangerous, and a safe planting plan that still looks the part.
Updated
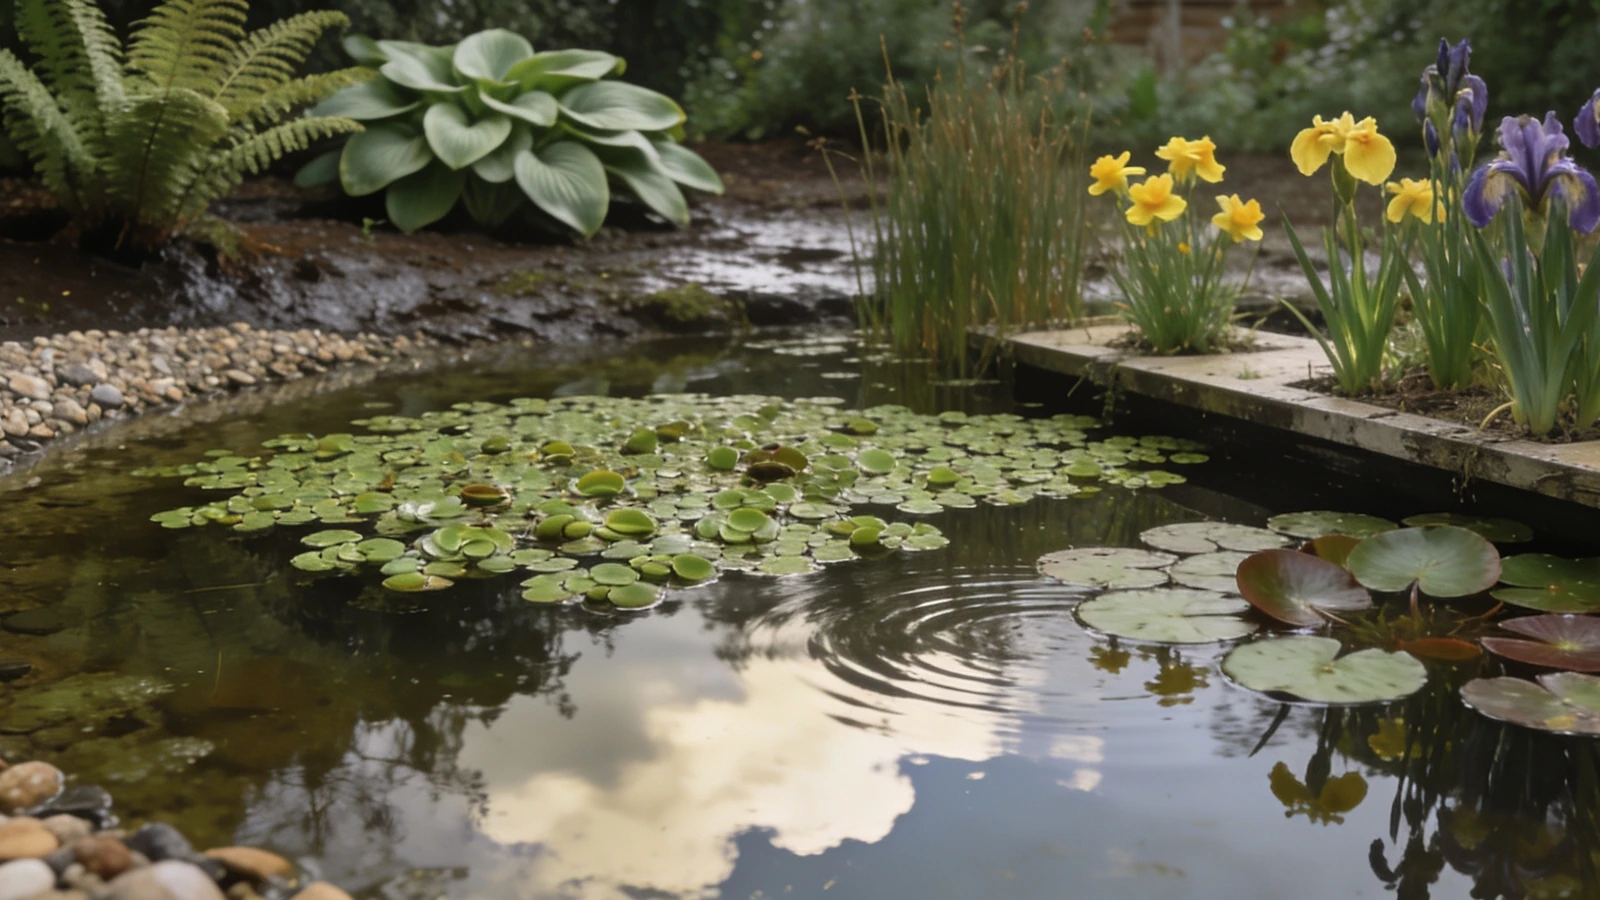
Water Garden Ideas
Water garden ideas from a washing up bowl upwards. What size actually works, why most small ponds go green, and the one feature that matters most for wildlife.
Updated