How to Start a Vegetable Garden: A Complete First-Year Guide
How to start a vegetable garden: pick the spot, build one bed without digging, plant six crops that forgive you. The five mistakes to avoid.
Time4 hr
Rough cost$120
You'll need
- Compost or well-rotted manure (2–3 bags)
- Cardboard or landscape fabric
- Seeds or young plants for 4–5 crops
- Untreated timber or a raised bed kit (optional)
- Mulch: straw, bark or leaf mould
Tools
- Garden fork or spade
- Hand trowel
- Watering can with a rose head
- Gloves
People ask me how to start a vegetable garden and expect a long answer. It is short. Almost every failed first vegetable garden fails for the same three reasons: not enough sun, too much ground, and soil nobody improved. Get those right and the rest is fairly forgiving, plants genuinely want to grow, and a lot of what looks like skill is just having put them somewhere sensible.
This guide walks through a first year from empty ground to eating something. It assumes you have a few hours, a modest budget and no particular expertise.
The short answer
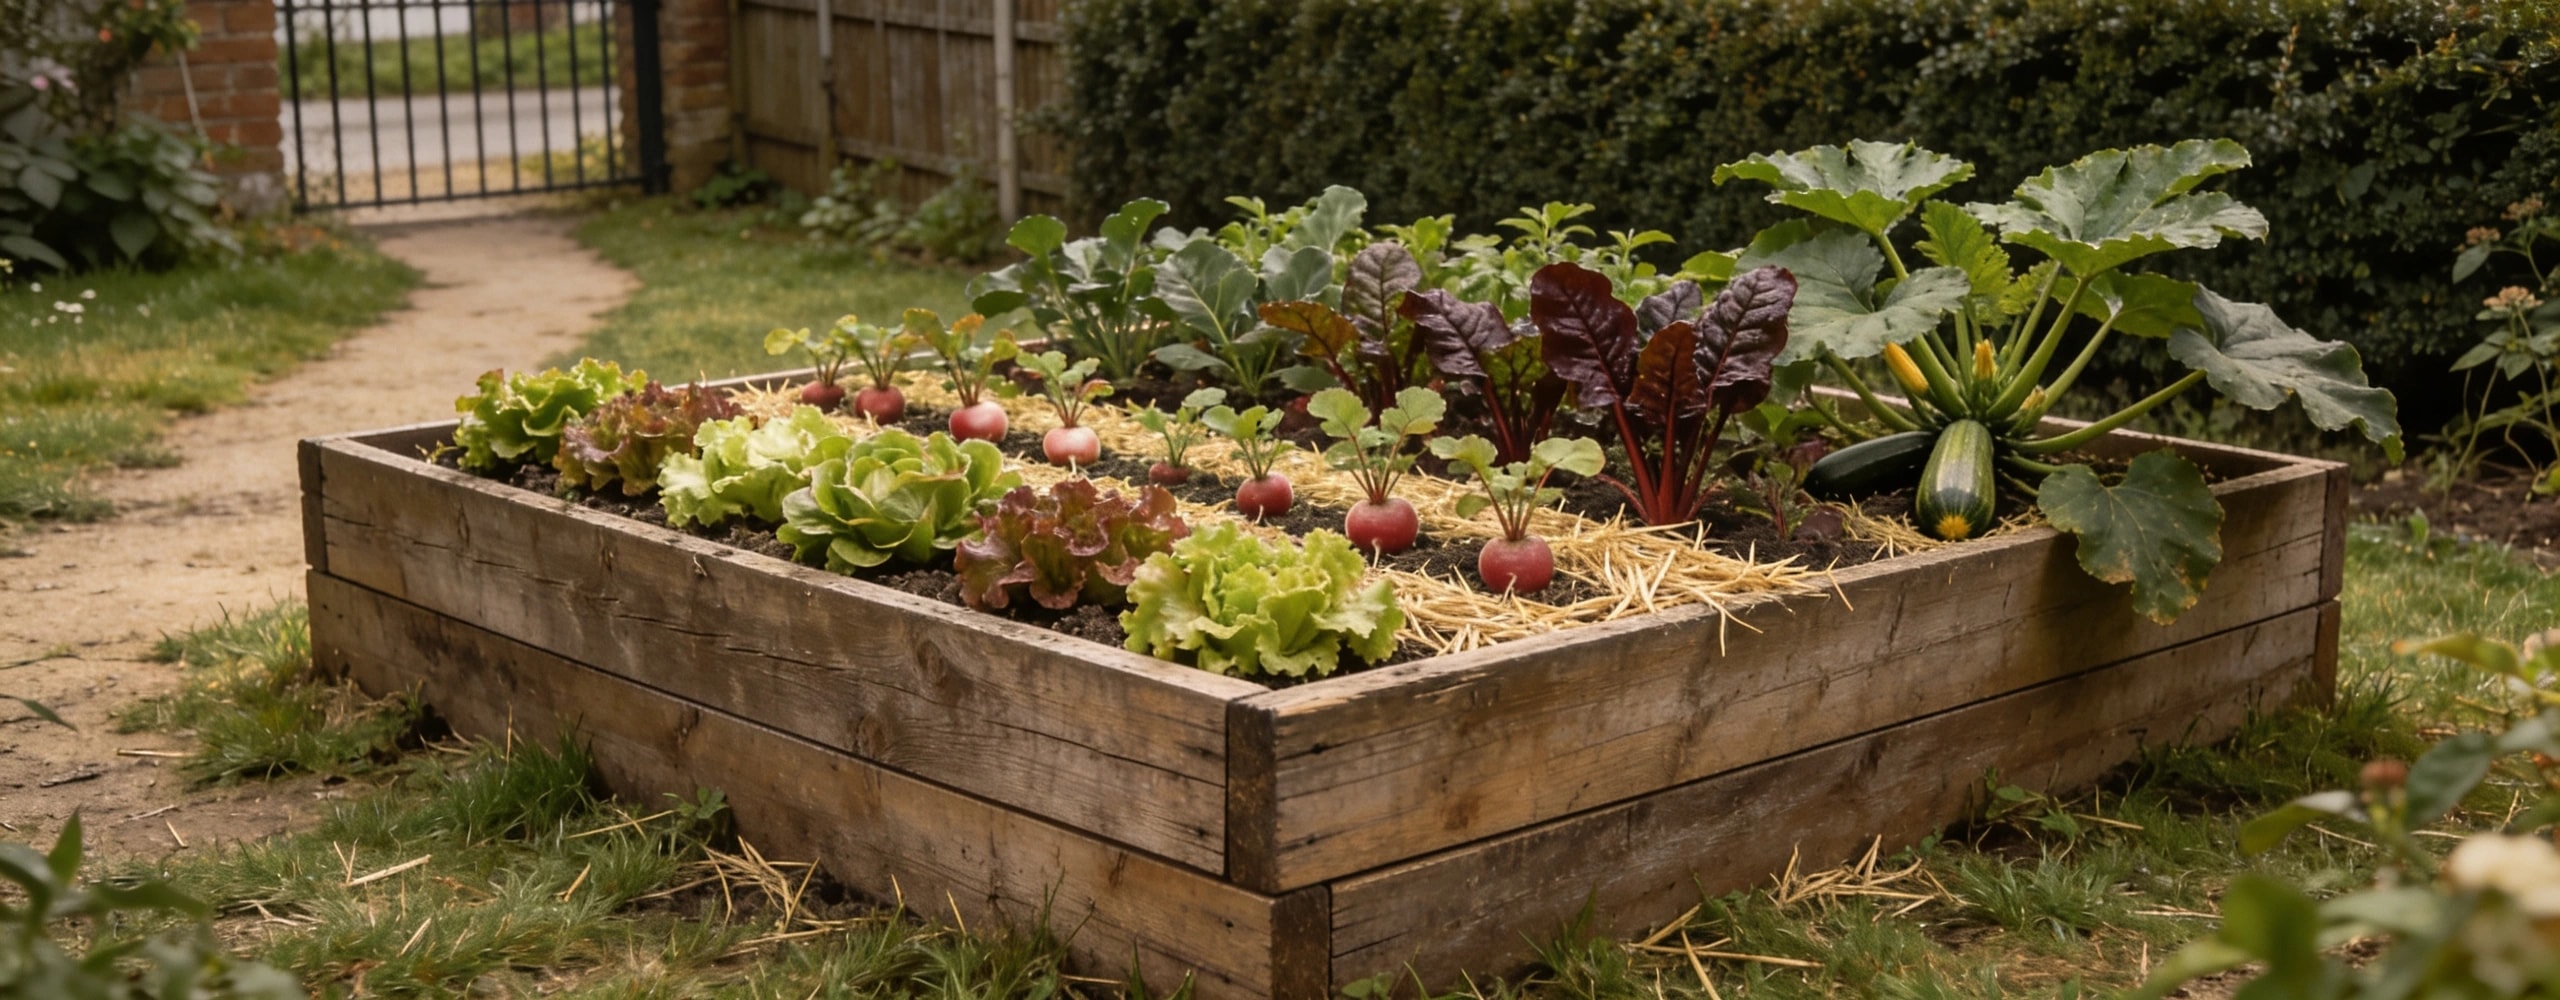
Pick the sunniest spot you have (six hours minimum), build one small bed, 4 by 4 feet, by laying cardboard over the existing ground and piling 6 to 8 inches of compost on top, then plant radishes, lettuce, bush beans, chard and a courgette. Water deeply twice a week, mulch, and walk the bed daily. That is a complete first year, and it costs under $150.
How to start a vegetable garden: sun comes first#
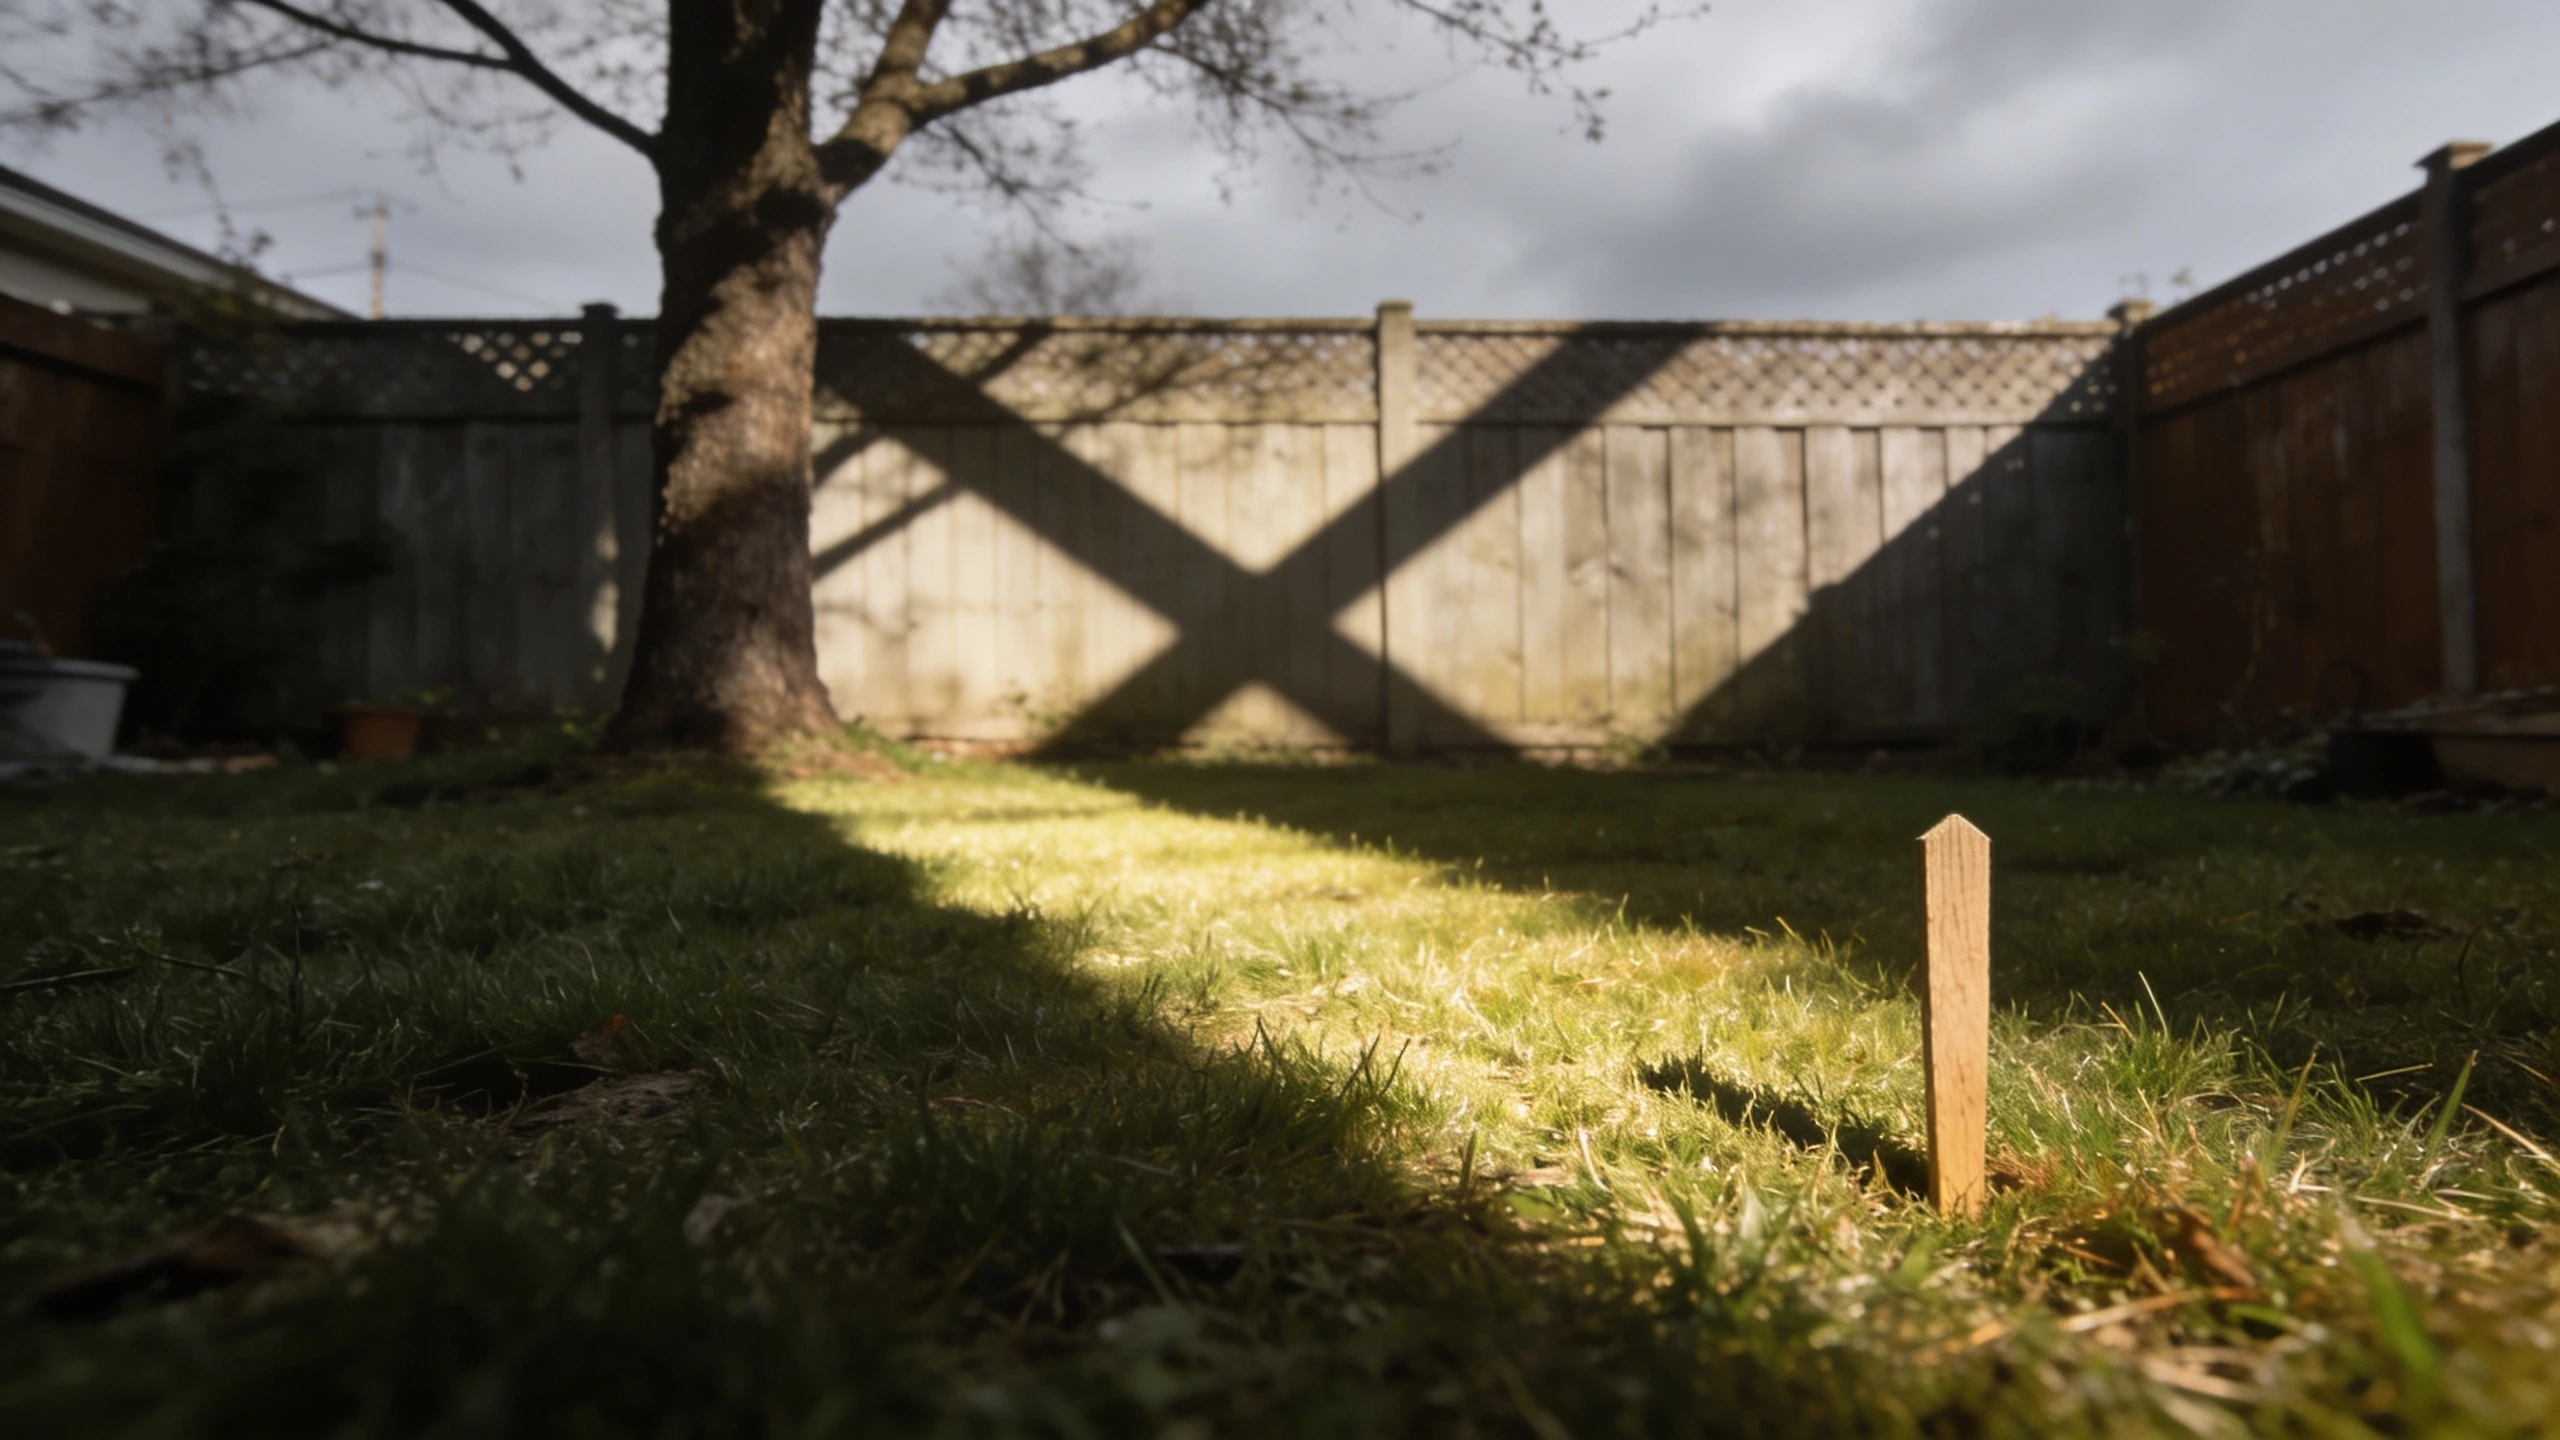
Spend one day noticing where the light falls. Most vegetables are photosynthesis machines with a food-shaped output, and light is the input they cannot substitute for.
- Six or more hours of direct summer sun: you can grow anything on this list, including tomatoes, peppers, courgettes and beans.
- Four to six hours: leafy crops, roots and herbs do well. Fruiting crops will grow, flower and then sulk.
- Under four hours: salad leaves, chard, kale, mint and parsley only. Do not spend money on tomato plants.
If your best spot has three hours of sun and your neighbour's wall has eight, containers on the wall side will outproduce a proper bed in the shade. Light beats infrastructure.
Step 2: Start smaller than feels serious#
The single strongest predictor of whether someone is still gardening in year three is whether year one was small enough to succeed.
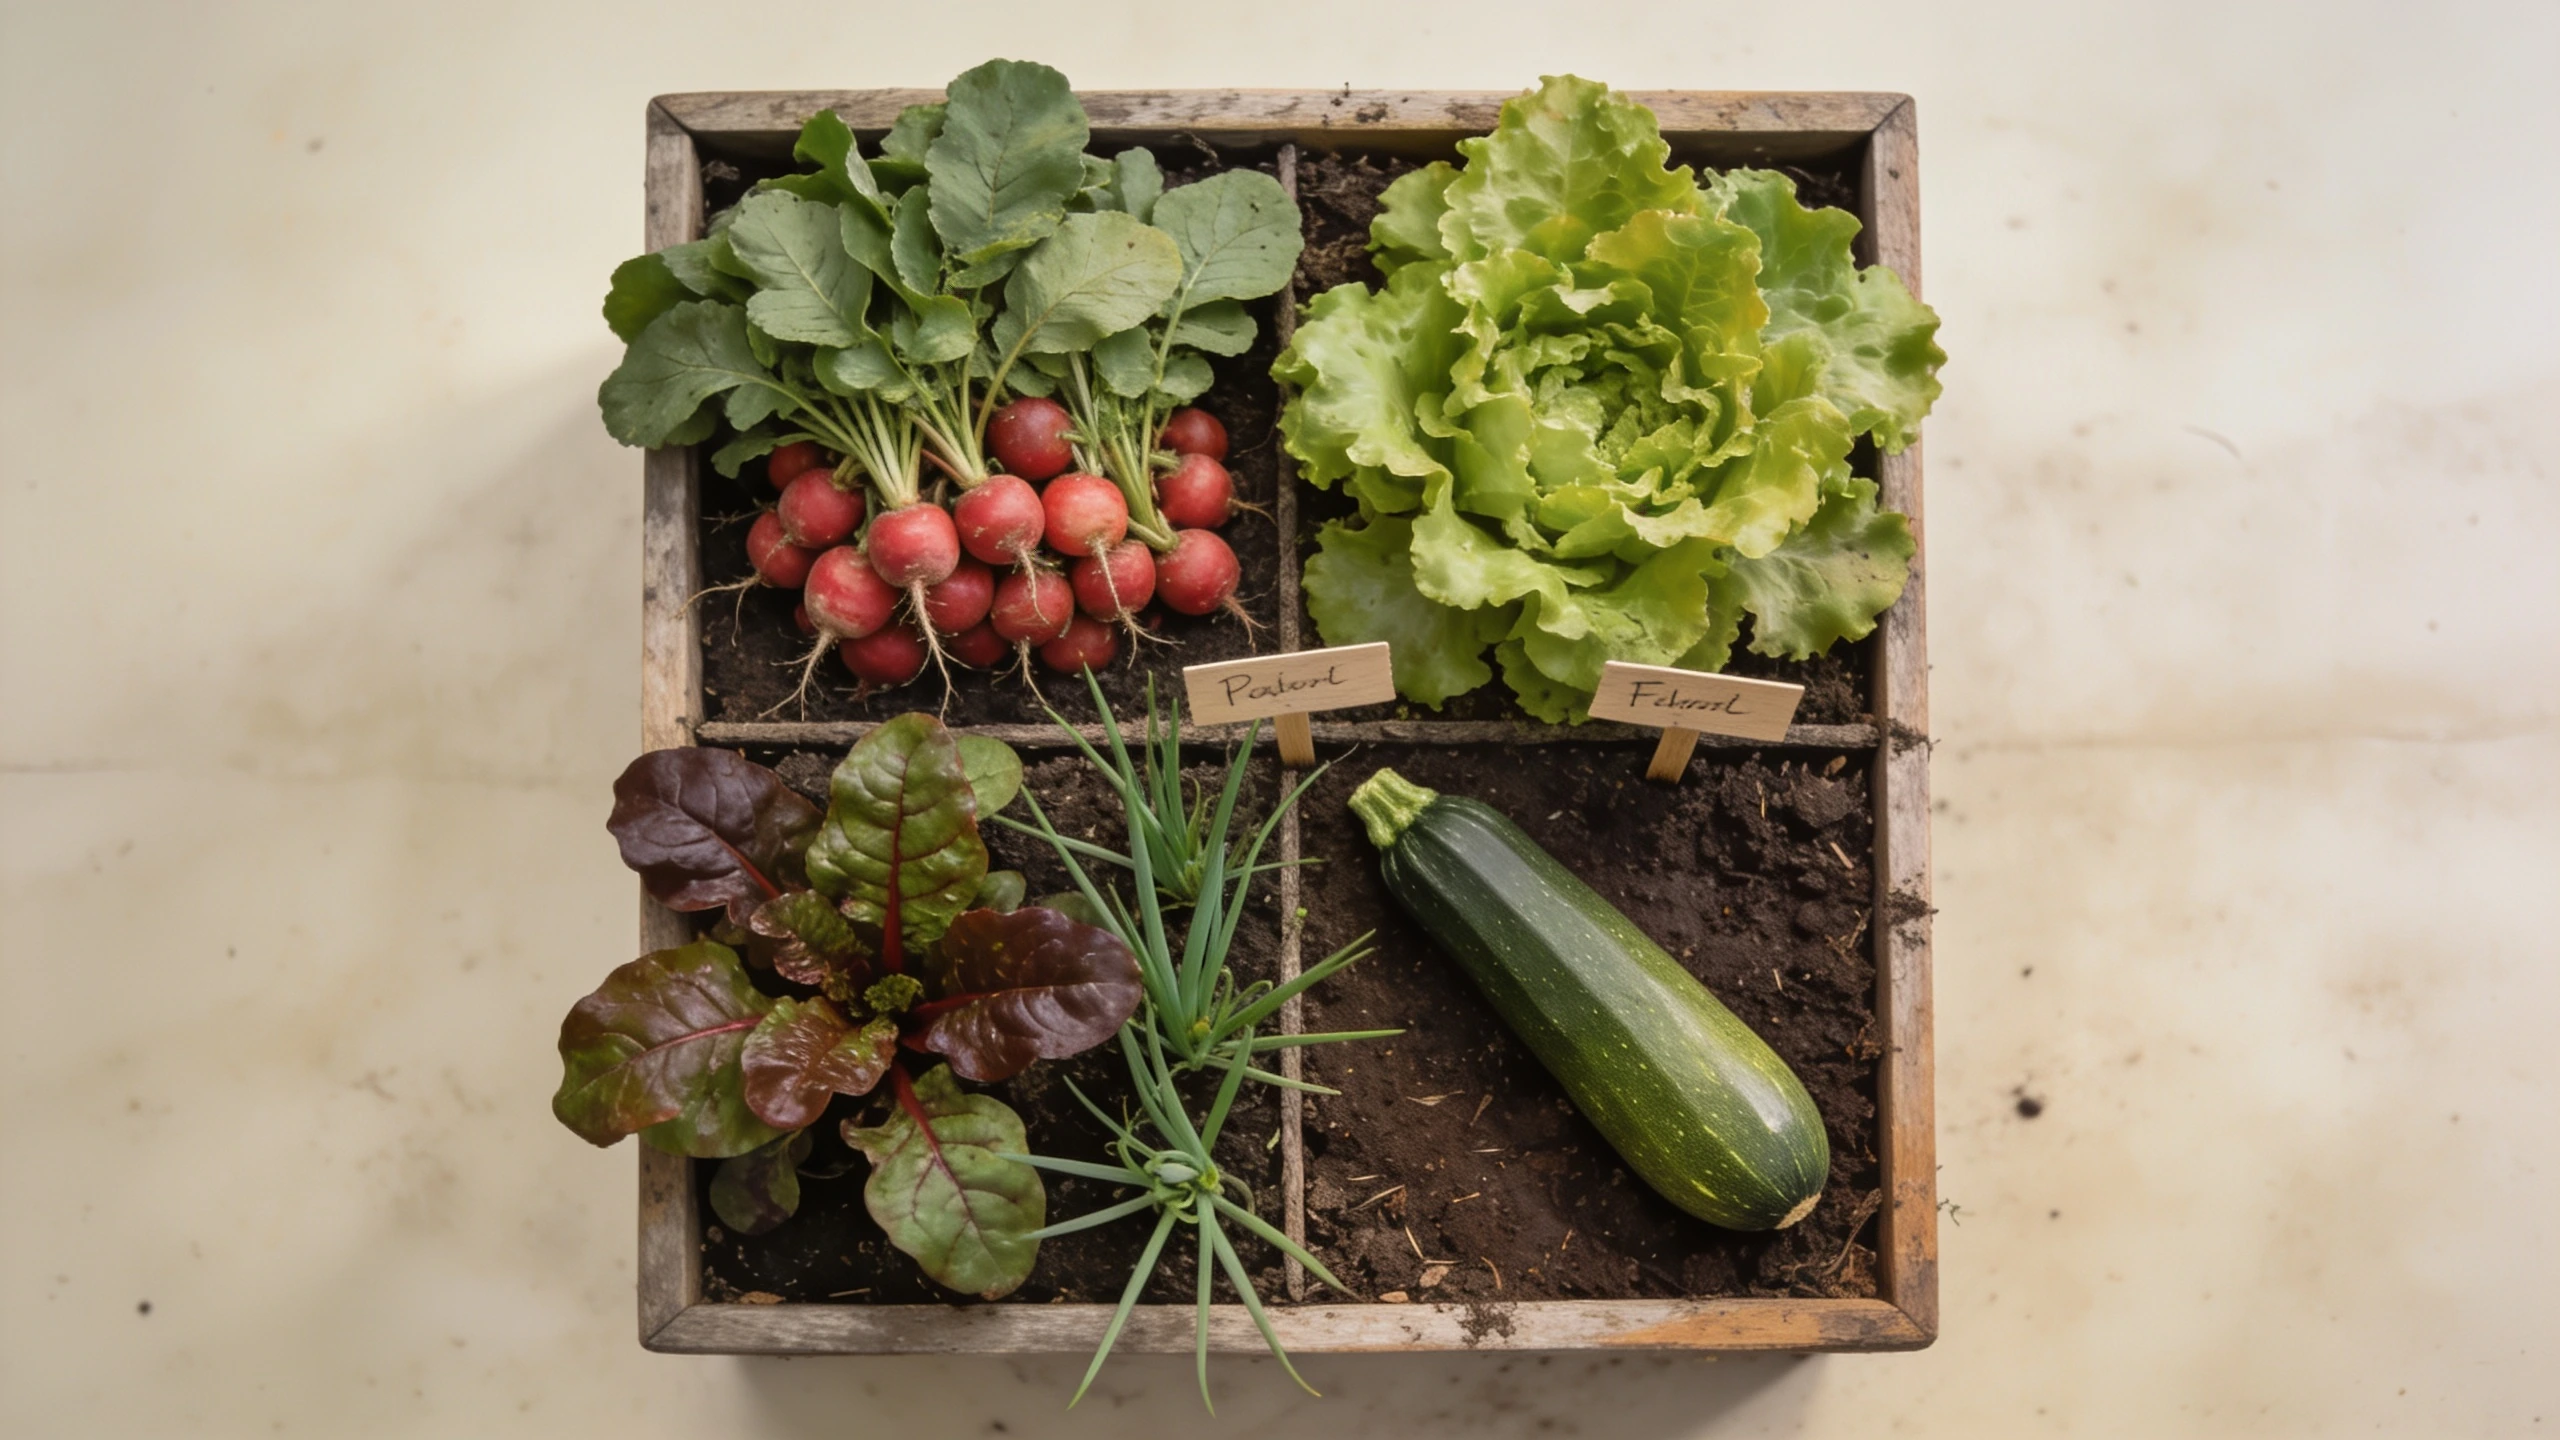
One bed of 4 by 4 feet gives you 16 square feet. Planted sensibly, that is:
| Crop | Space used | Realistic first-year yield |
|---|---|---|
| Lettuce and salad leaves | 2 sq ft | Cut-and-come-again for 8–10 weeks |
| Radishes | 1 sq ft | Two or three sowings, ~40 radishes |
| Bush beans | 4 sq ft | 2–3 lb over a month |
| Chard | 2 sq ft | Picking from midsummer to first frost |
| Courgette (one plant) | 4 sq ft | More courgettes than you want |
| Spring onions and herbs | 3 sq ft | Continuous picking |
That is a genuinely useful amount of food from a bed that takes about twenty minutes a week. Scale up in year two, when you know what you eat and what you can keep up with.
Step 3: Build the bed the lazy way (it also works better)#
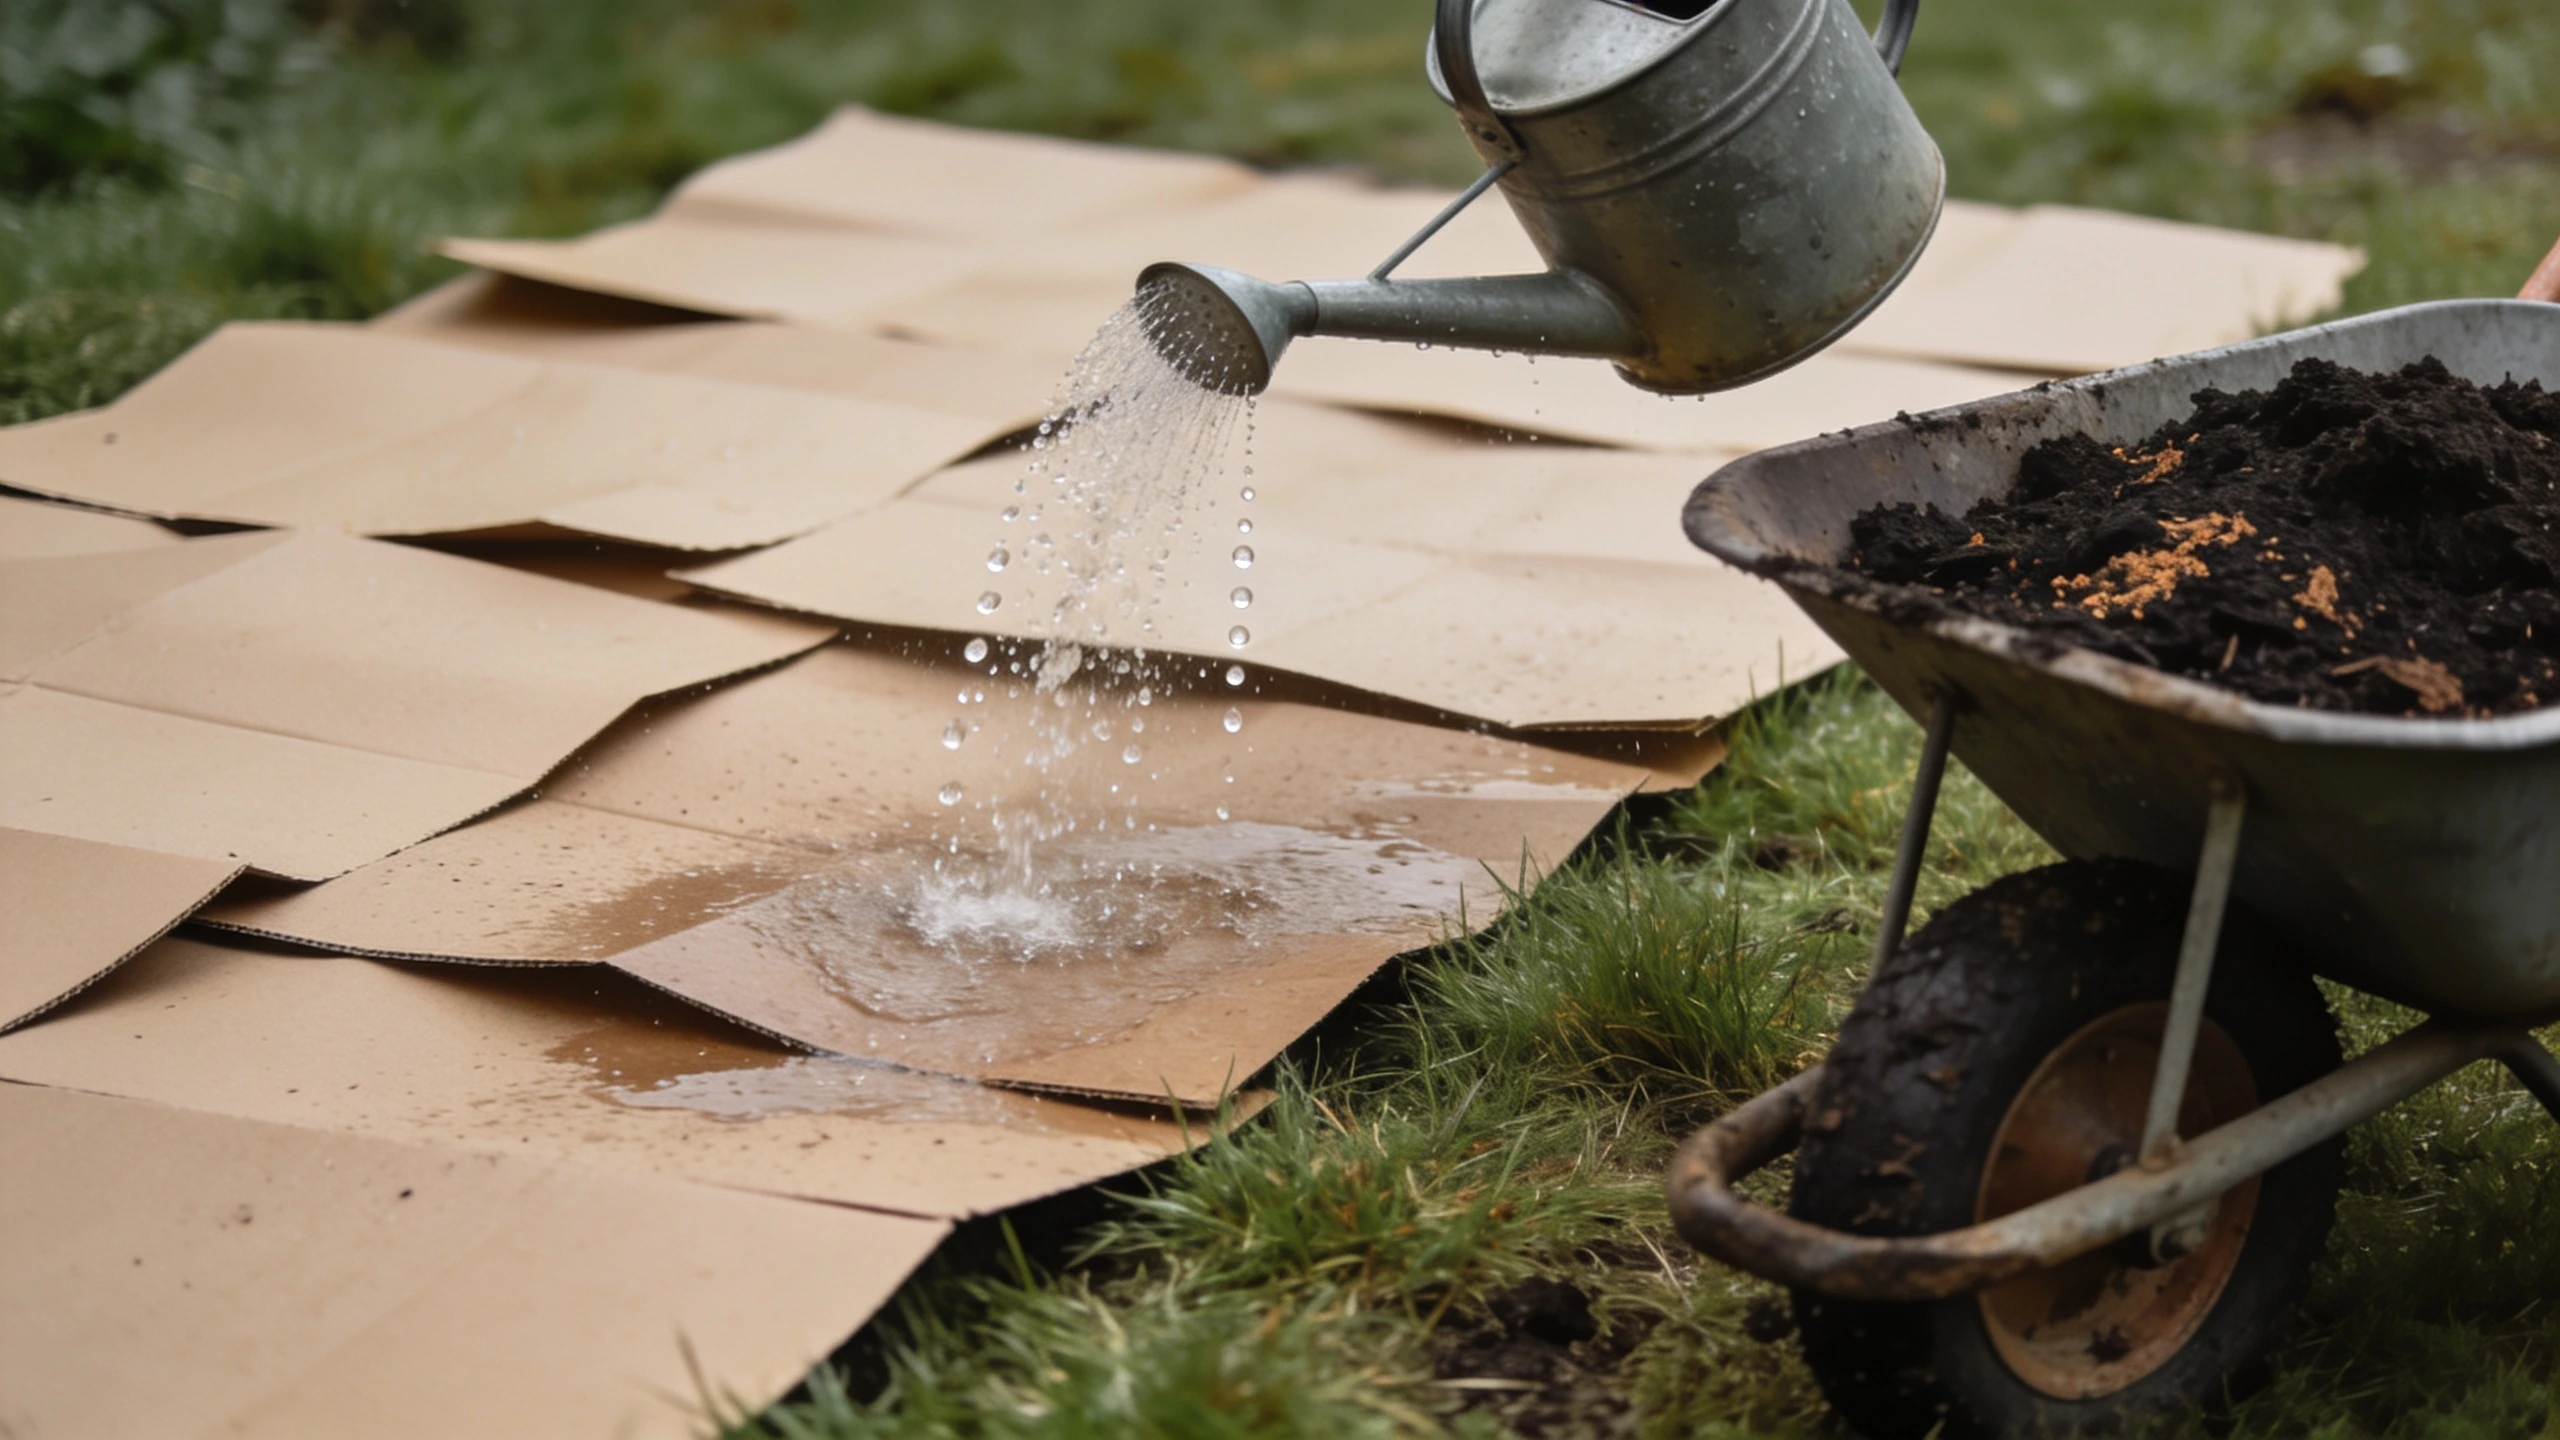
You do not need to dig. The no-dig approach is faster, less damaging to soil life, and considerably kinder to your back.
- Mow or trample whatever is growing there. Do not remove it.
- Lay plain cardboard over the whole area, overlapping the edges by 4 inches so nothing grows through the seams. Remove tape and staples. Wet it thoroughly.
- Pile 6 to 8 inches of compost straight on top. Municipal green-waste compost is cheapest in bulk; bagged multipurpose compost works for small areas.
- Optional edging: untreated timber, scaffold boards or a raised bed kit keeps things tidy and stops compost washing out. It is cosmetic and structural, not horticultural.
- Plant directly into the compost. Roots will find their way through the softened cardboard into the soil beneath within weeks.
For deep-rooted crops there is one exception: if your subsoil is genuinely compacted, you cannot push a fork in more than a couple of inches, loosen it with a fork before laying cardboard. Do not turn it over, just wiggle the tines to open channels.
Step 4: Choose crops that pay you back quickly#
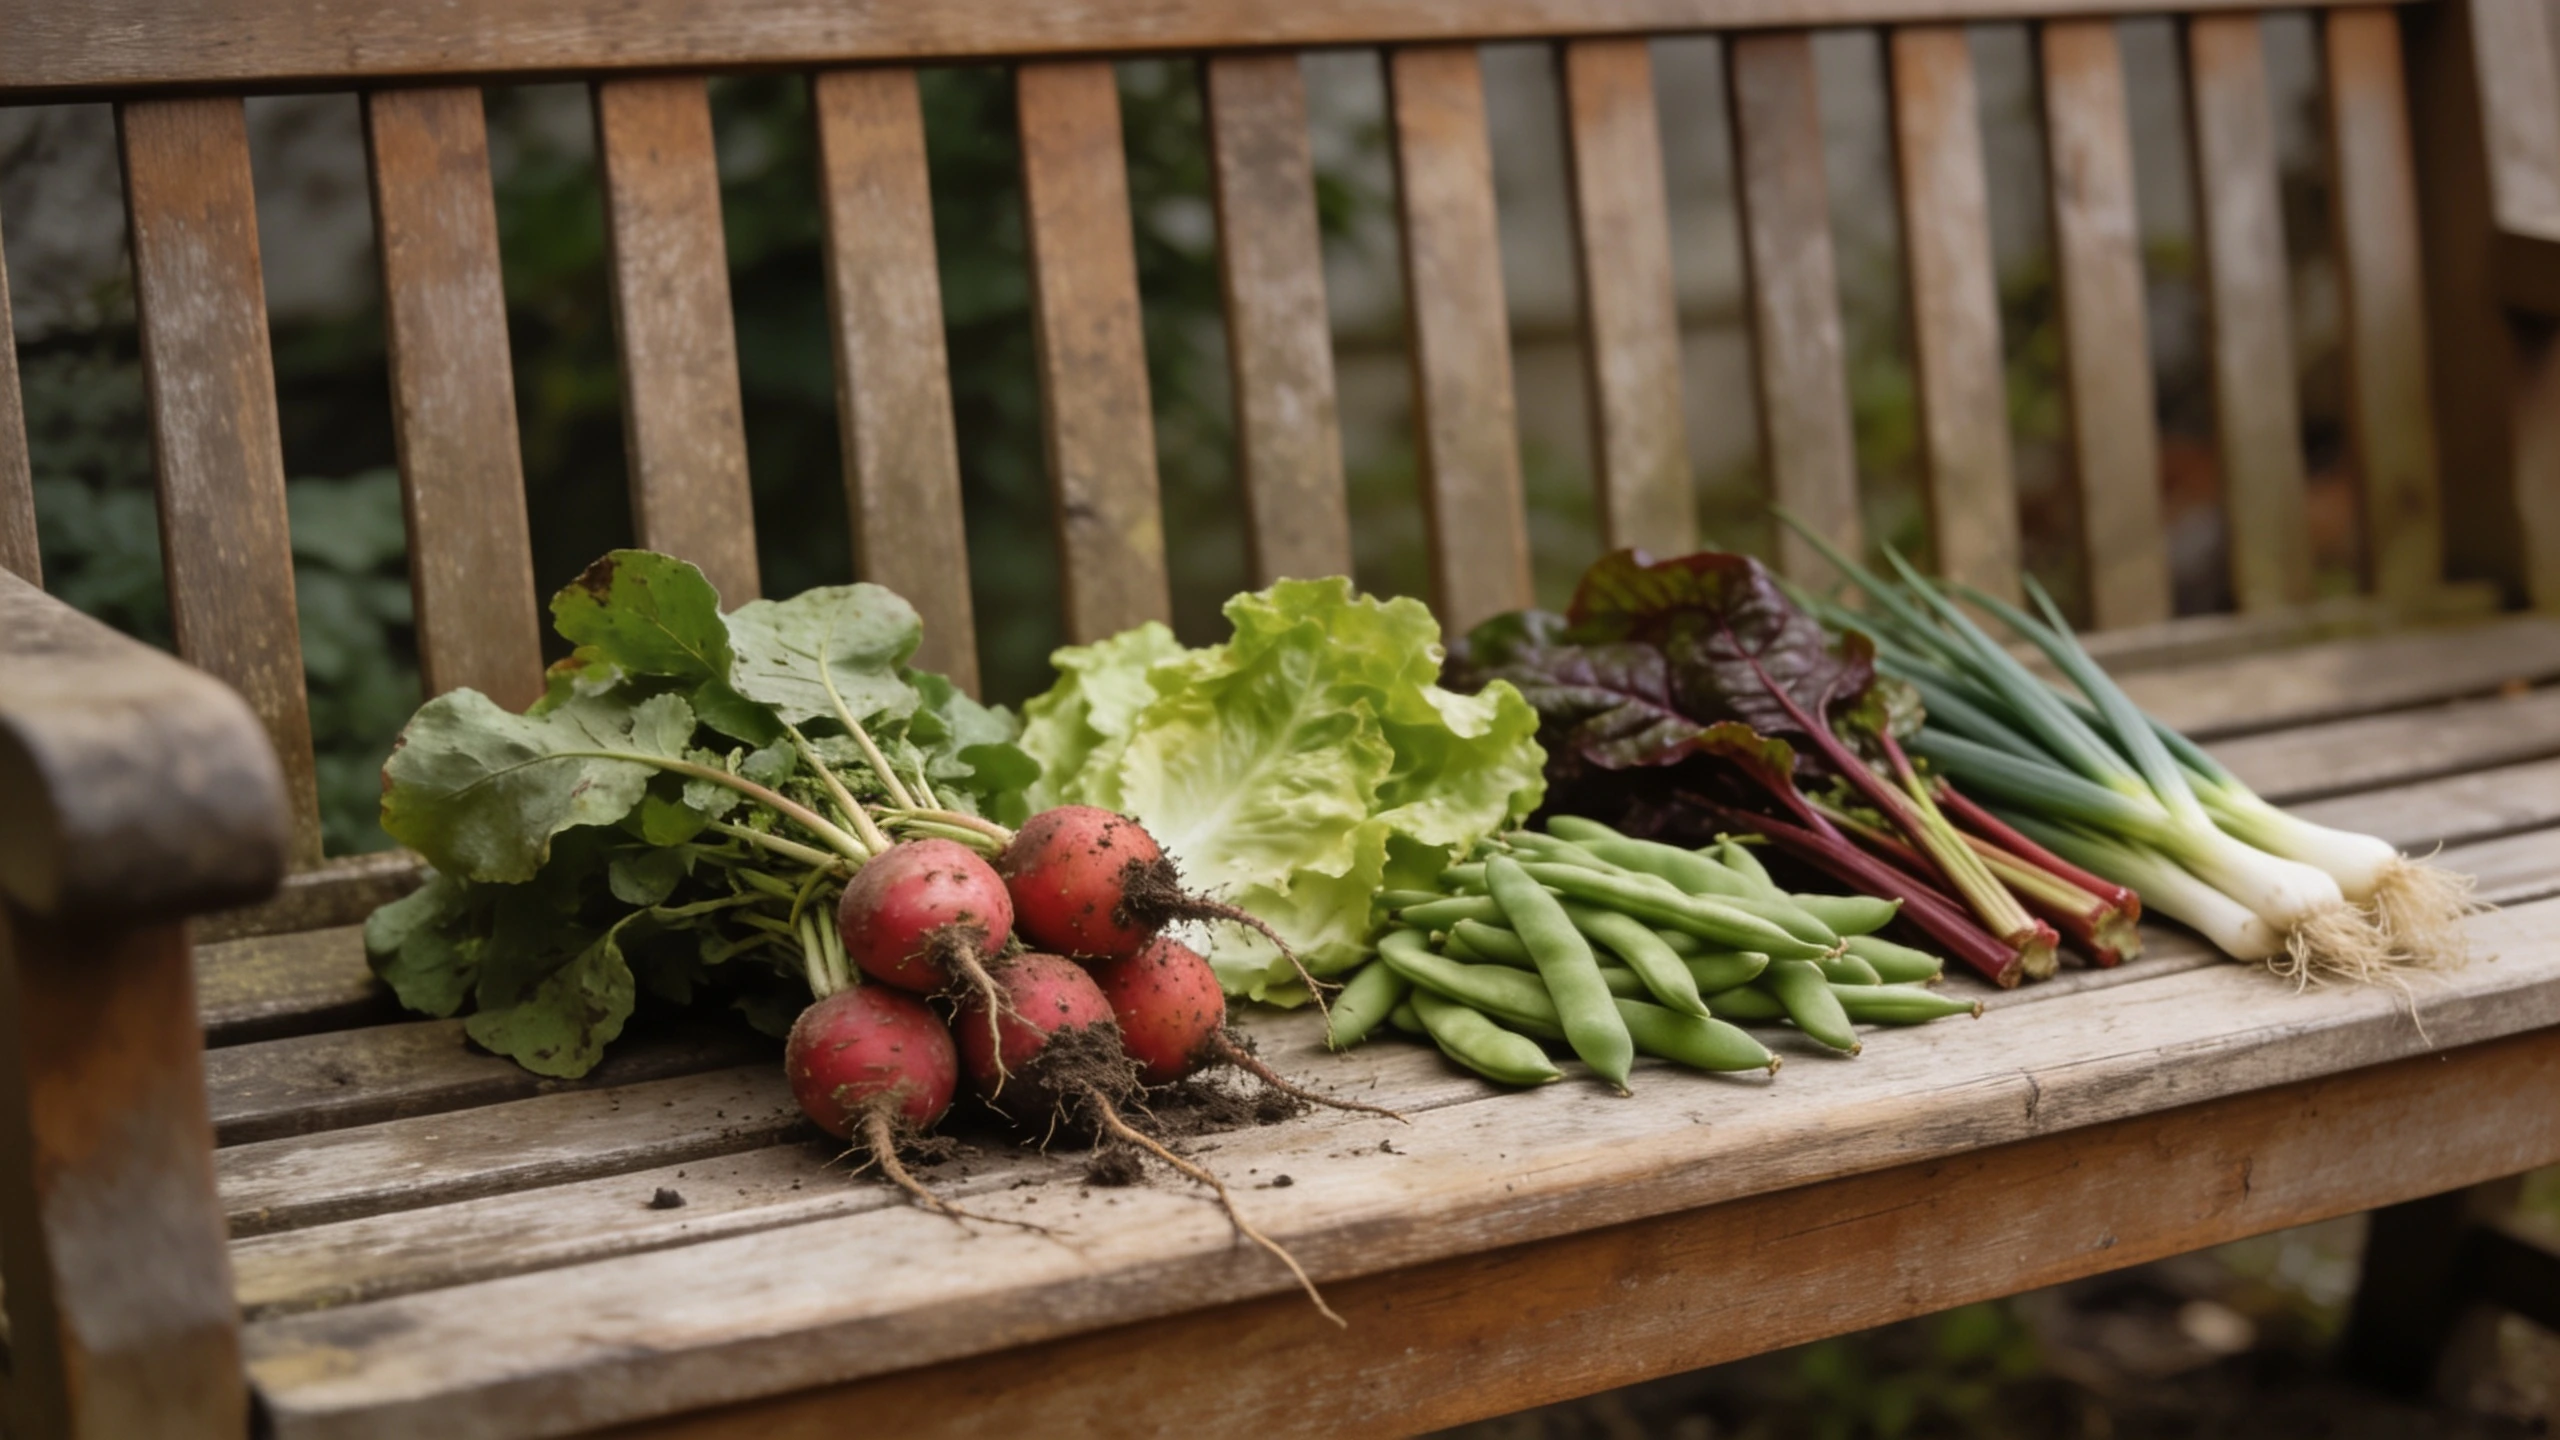
Beginner-friendly means three things: germinates reliably, tolerates inconsistency, and produces visibly within weeks.
Worth it because
- Radishes, edible in 25 days, the fastest confidence boost in gardening
- Lettuce and salad leaves, cut repeatedly from one sowing
- Bush beans, no staking, heavy croppers, fix their own nitrogen
- Courgette, one plant is genuinely enough for two people
- Chard, survives neglect, heat, and mild frost
- Spring onions, thin sowings, pick as you need them
Bear in mind
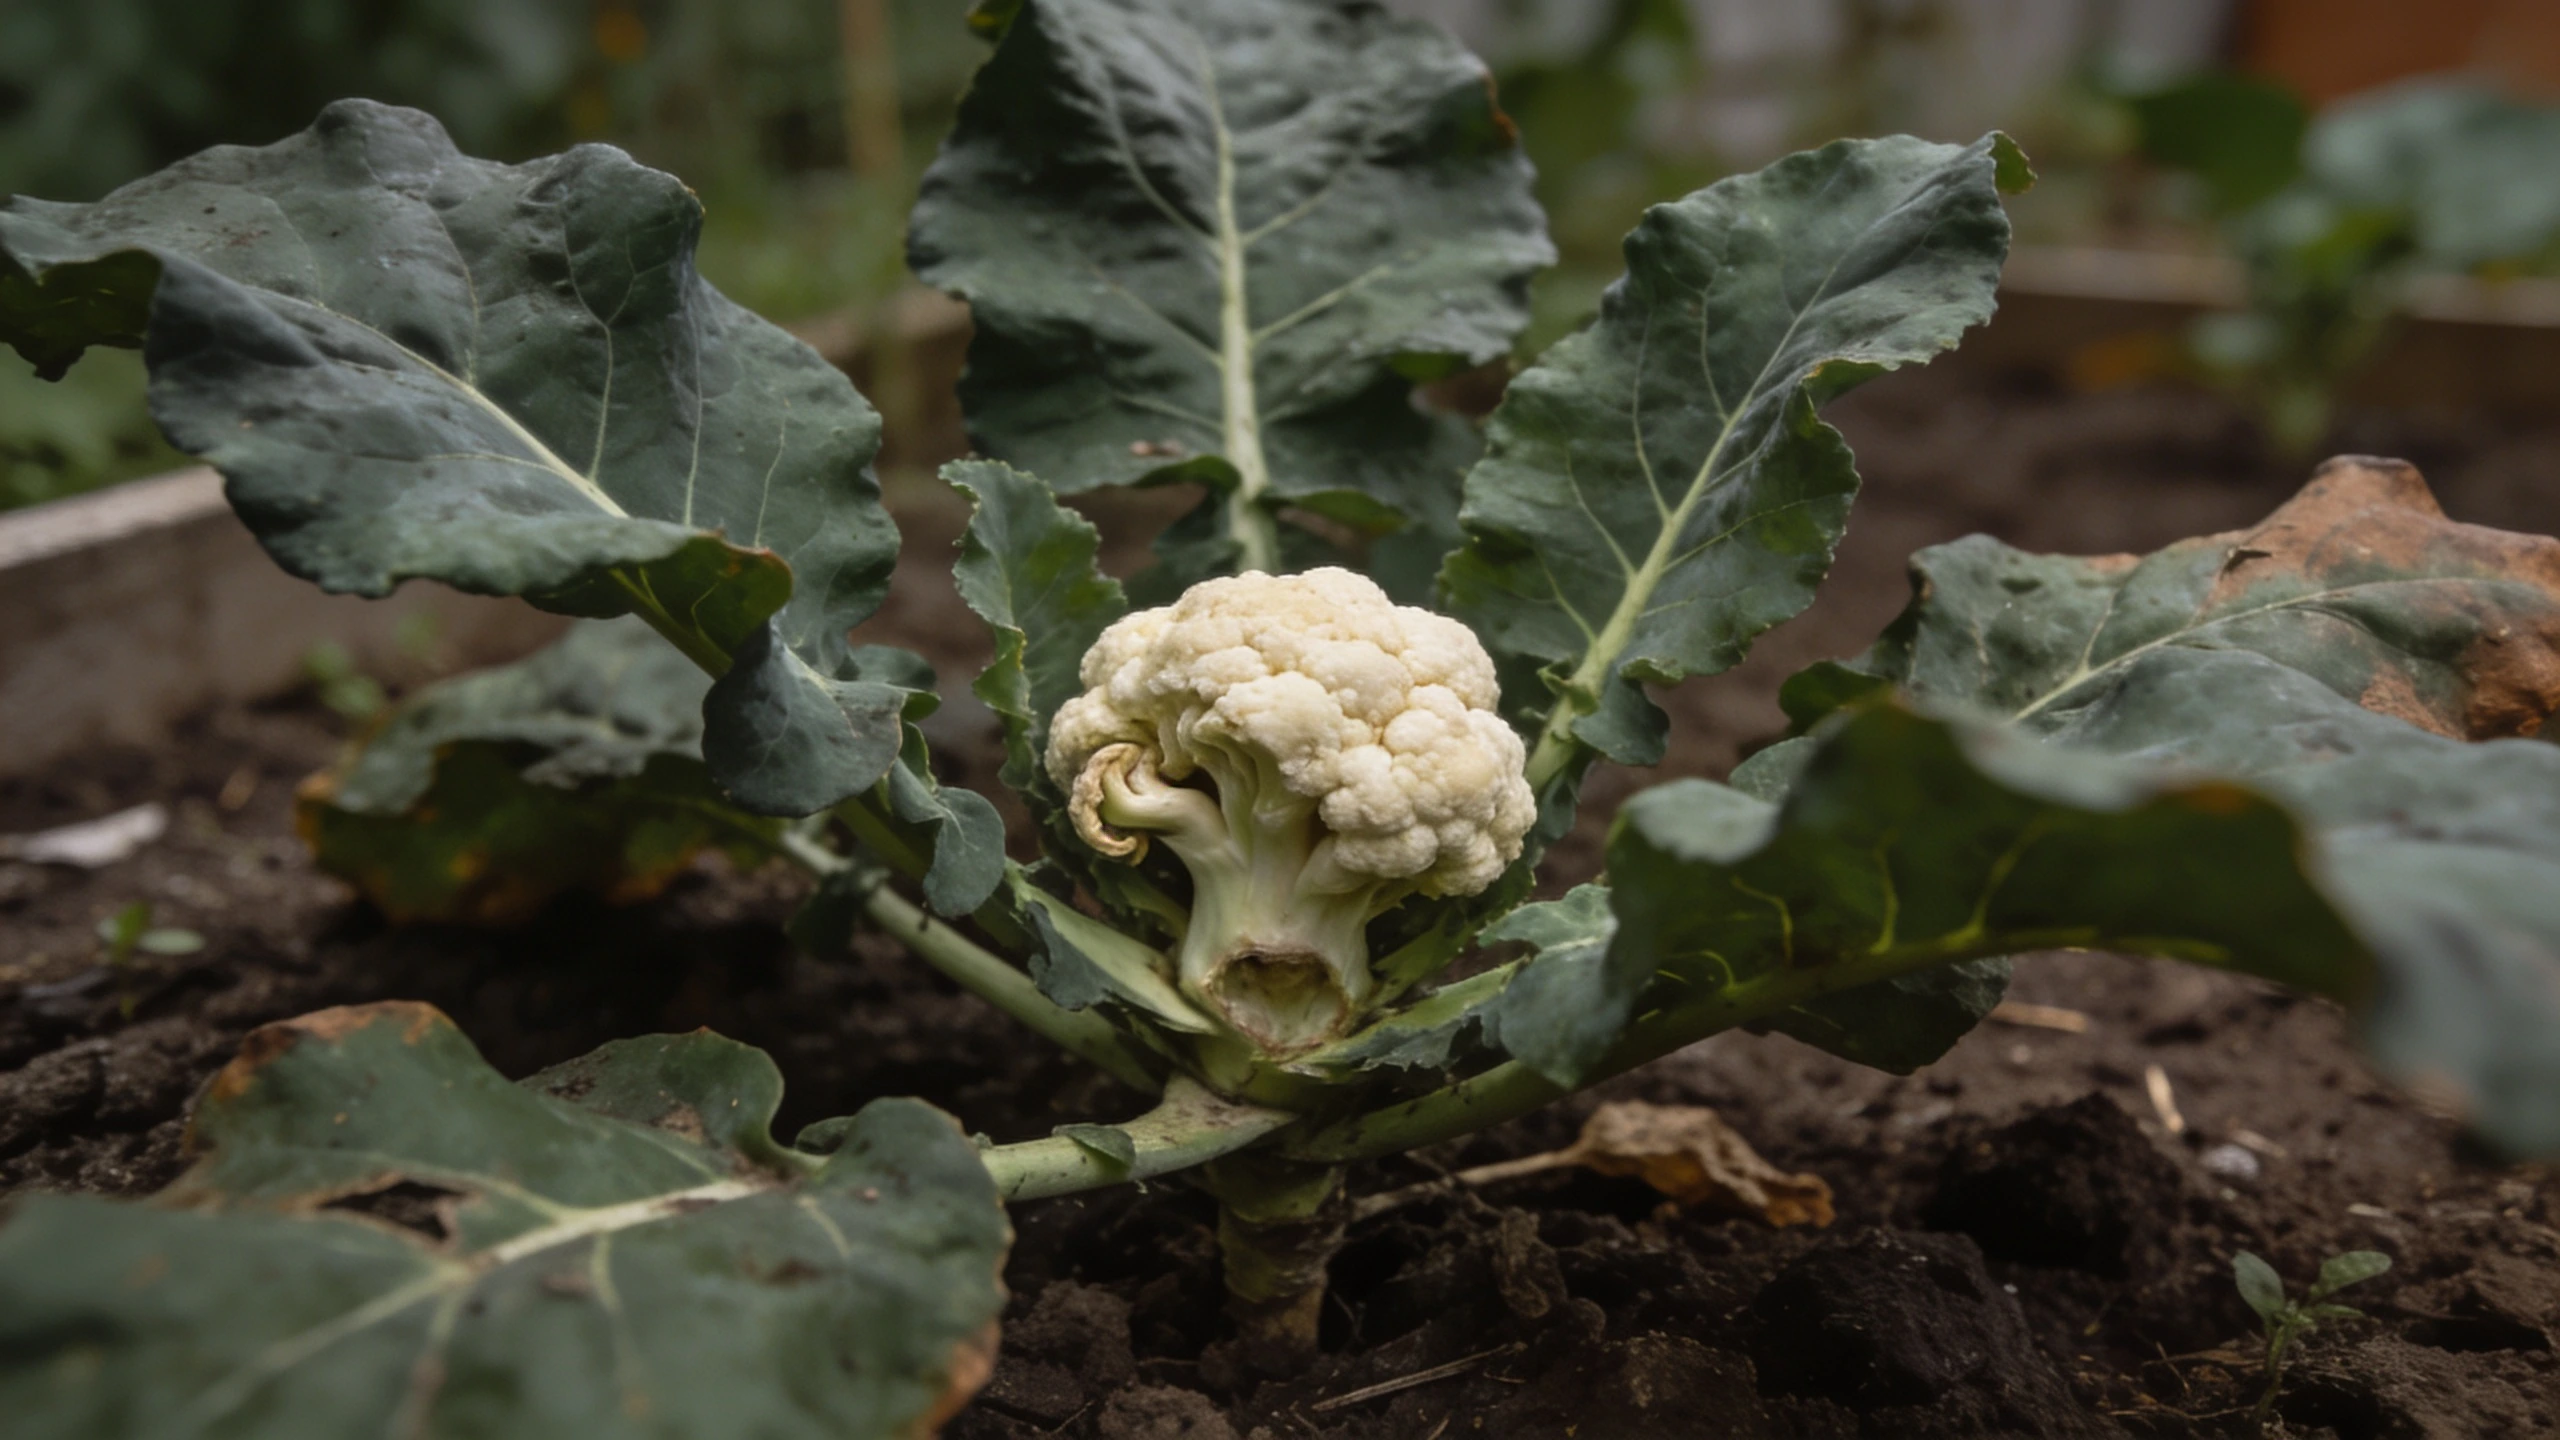
- Cauliflower, needs unwavering water and still often fails
- Celery, thirsty, slow, and bitter if stressed once
- Aubergine and melon, need more heat than most temperate gardens supply
- Sweetcorn, huge space for one cob per stem, and needs a block for pollination
- Carrots in shallow compost, they fork and stunt unless the bed is deep and stone-free
Buy young plants rather than seed for anything you only need one or two of, courgette, tomato, kale. Sow seed for anything you want lots of, or repeatedly: radish, salad, beans, spring onions. A tray of six courgette seedlings is a waste of money and space when you need one plant.
Step 5: Sow at the spacing on the packet#
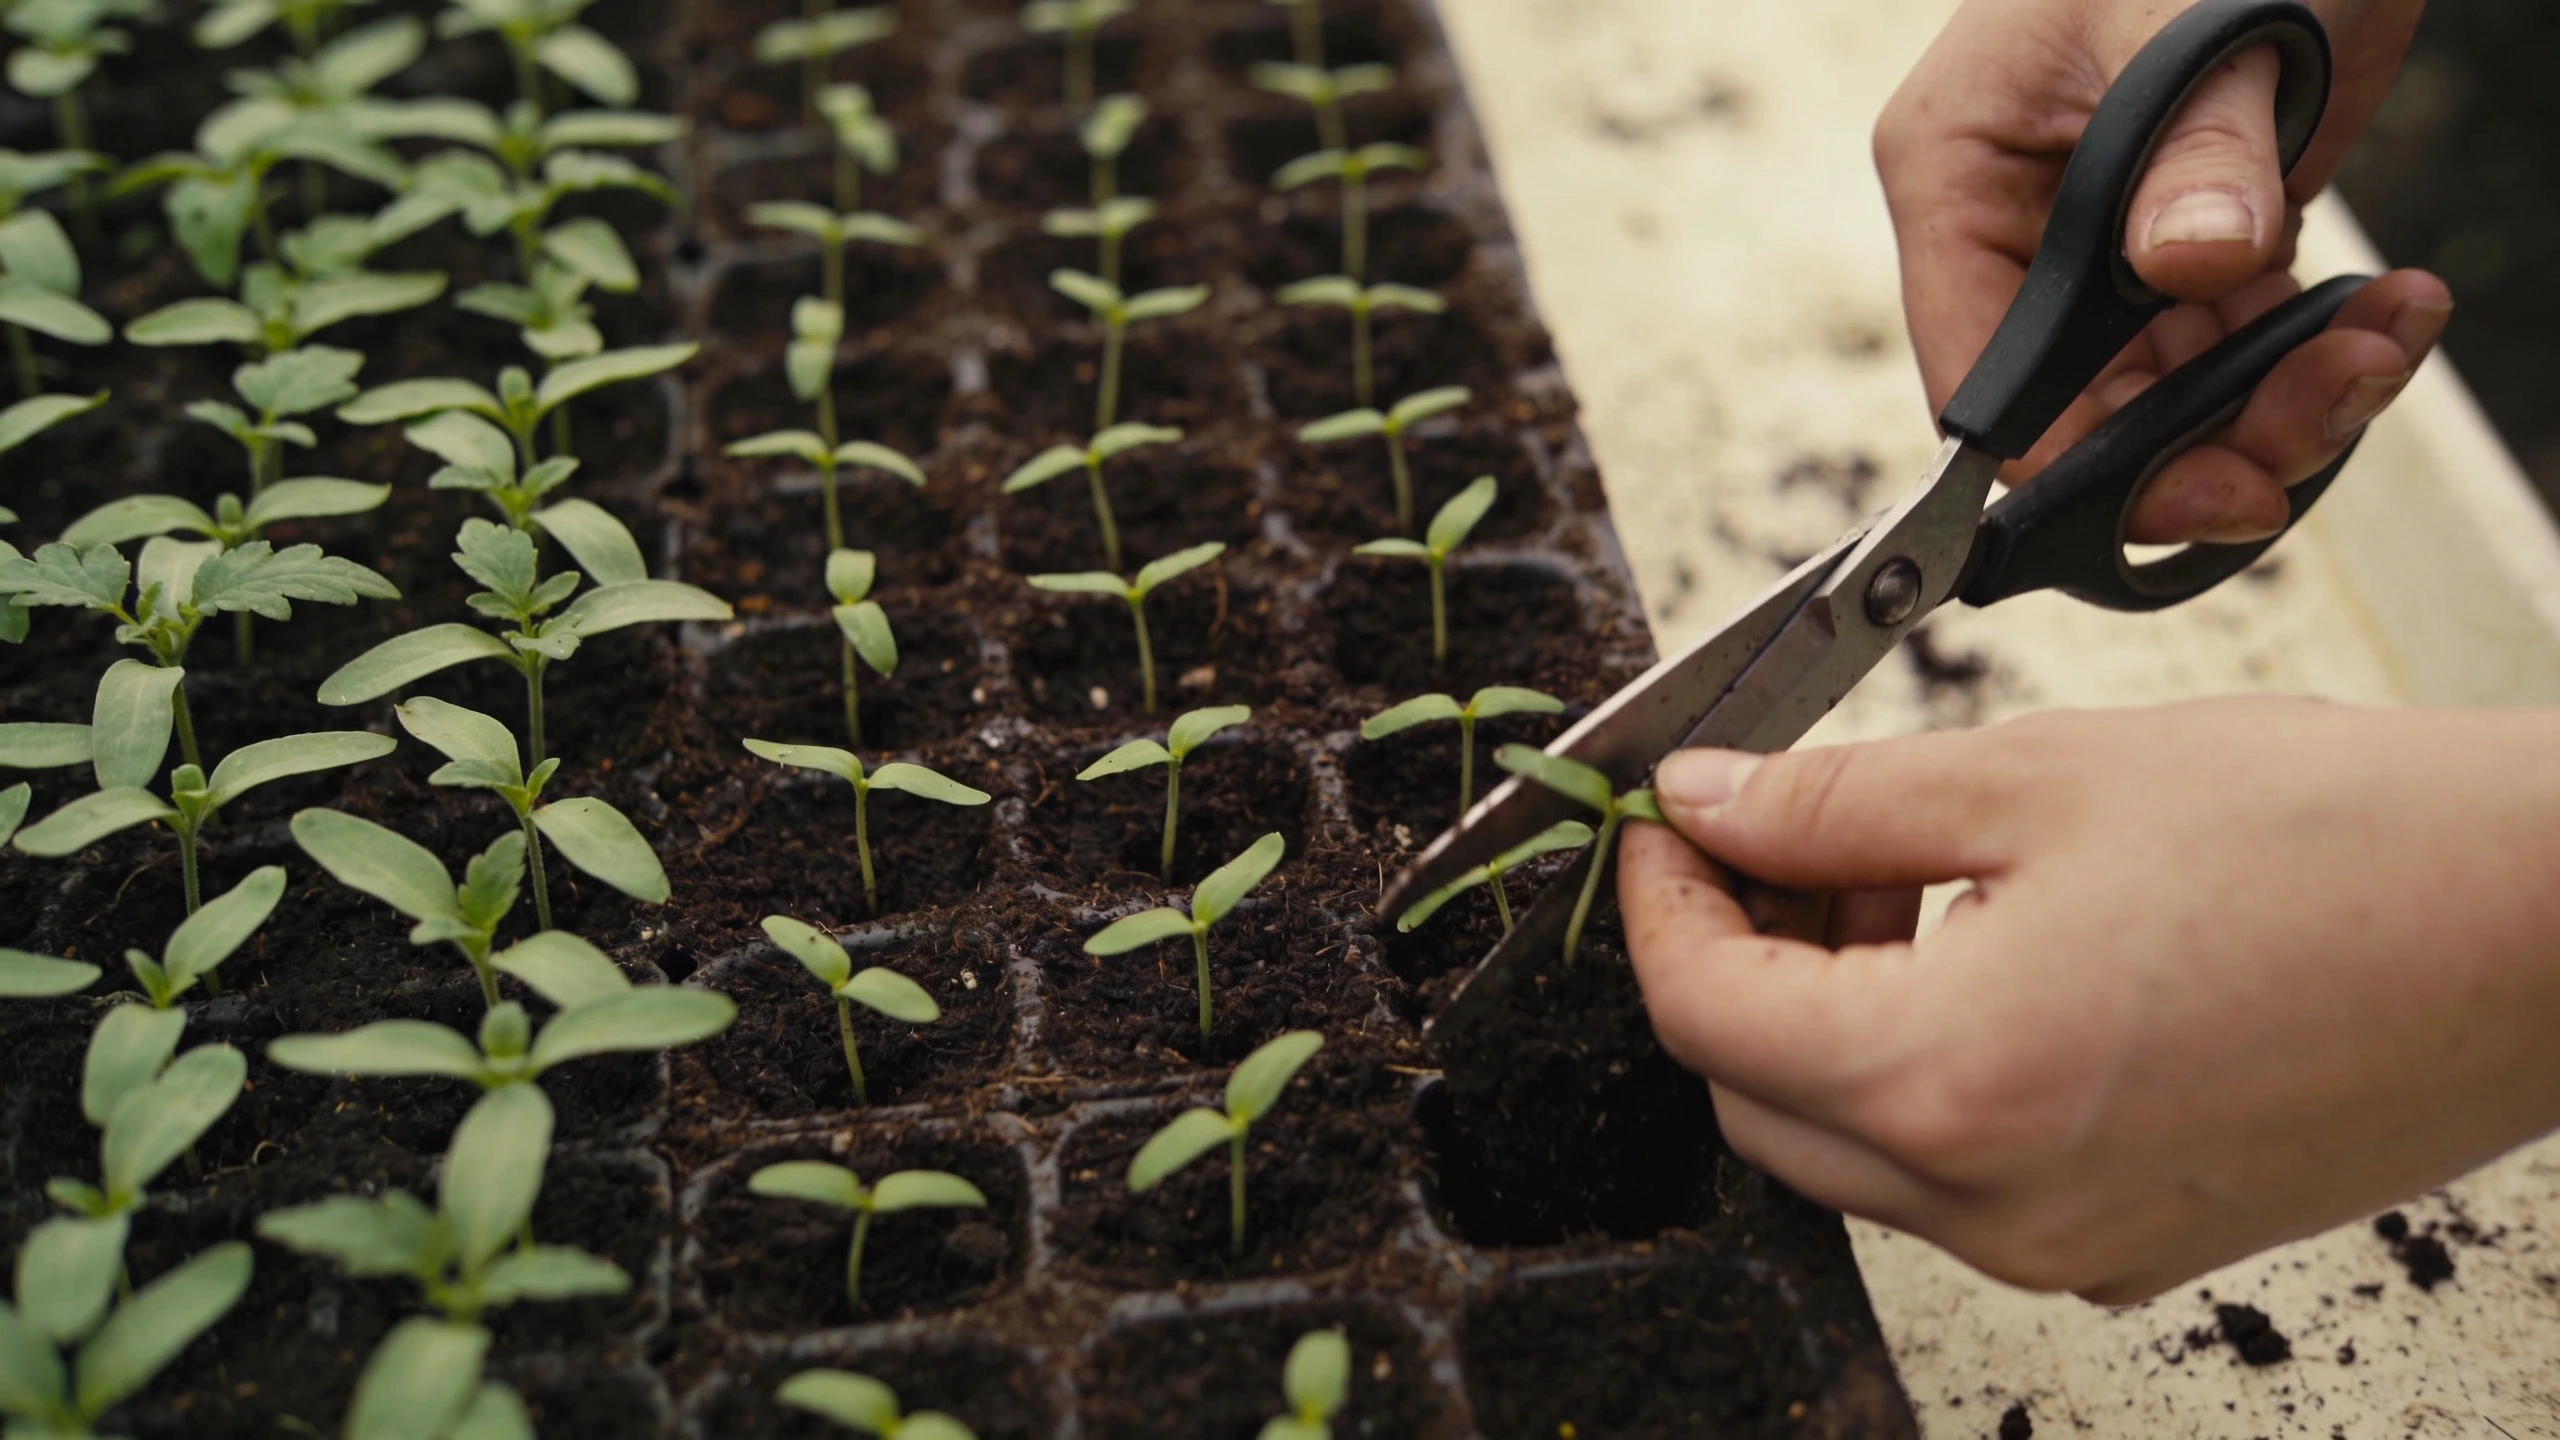
This is the instruction most beginners quietly ignore, and it costs them the most. A seedling looks absurdly lonely at its final spacing. Six weeks later, at full size, it does not.
Overcrowded plants compete for light and water, produce less per plant, dry the bed out faster and hold humid air around their leaves, which is what powdery mildew and botrytis are waiting for. Thinning feels wasteful and is not.
Two practical adjustments:
- Sow a short row every two or three weeks rather than the whole packet at once. Radishes and lettuce all mature at the same time otherwise, and you cannot eat forty radishes in one week.
- Thin with scissors, not fingers. Snipping unwanted seedlings at the base avoids disturbing the roots of the one you are keeping.
Step 6: Water deeply, and much less often#
Shallow daily watering trains roots to stay near the surface, where the soil dries first. Deep and infrequent watering pushes roots down into cooler, more reliable moisture.
- The finger test. Push a finger two inches in. Dry at that depth means water; damp means wait. Do this rather than watering on a schedule.
- Aim for six inches of penetration when you do water, for a bed that is roughly two full watering cans per square metre, or 20–30 minutes on a slow trickle.
- Water the soil, not the leaves, and preferably in the morning. Wet foliage overnight is how fungal problems start.
- Containers are different. They have no reservoir, so in high summer daily watering is normal and twice daily is not unusual for anything in full sun.
Then mulch. Two inches of straw, bark, leaf mould or even grass clippings over the soil surface cuts evaporation substantially and stops most annual weed seeds germinating. Leave a small gap around plant stems so they are not sitting in damp material.
Step 7: Five minutes a day is the real skill#
Experienced gardeners are not doing anything clever. They are looking. Slugs, aphids, the first mildew spots, a wilting plant, a crop about to bolt, all of these are trivial to fix on day one and much harder on day ten.
Walk the bed with a cup of tea. That is the entire practice.
The five mistakes that sink most first gardens#
- Not enough sun. Nothing else on this list matters if you get this wrong.
- Too much ground. Ambition in March becomes guilt in July.
- Planting into unimproved soil. Compost is not optional; it is the whole substrate.
- Watering little and often. Encourages shallow roots and constant stress.
- Ignoring spacing. Crowding costs you yield and invites disease.
How I know this#
The spacings, timings and depths here are the working figures used in general growing advice rather than measurements I have taken. I have cross-checked them against the USDA Plant Hardiness Zone Map and Oregon State Extension gardening.
Where a number is a rough band, the text says so. Our editorial policy explains how corrections work.
What to do next#
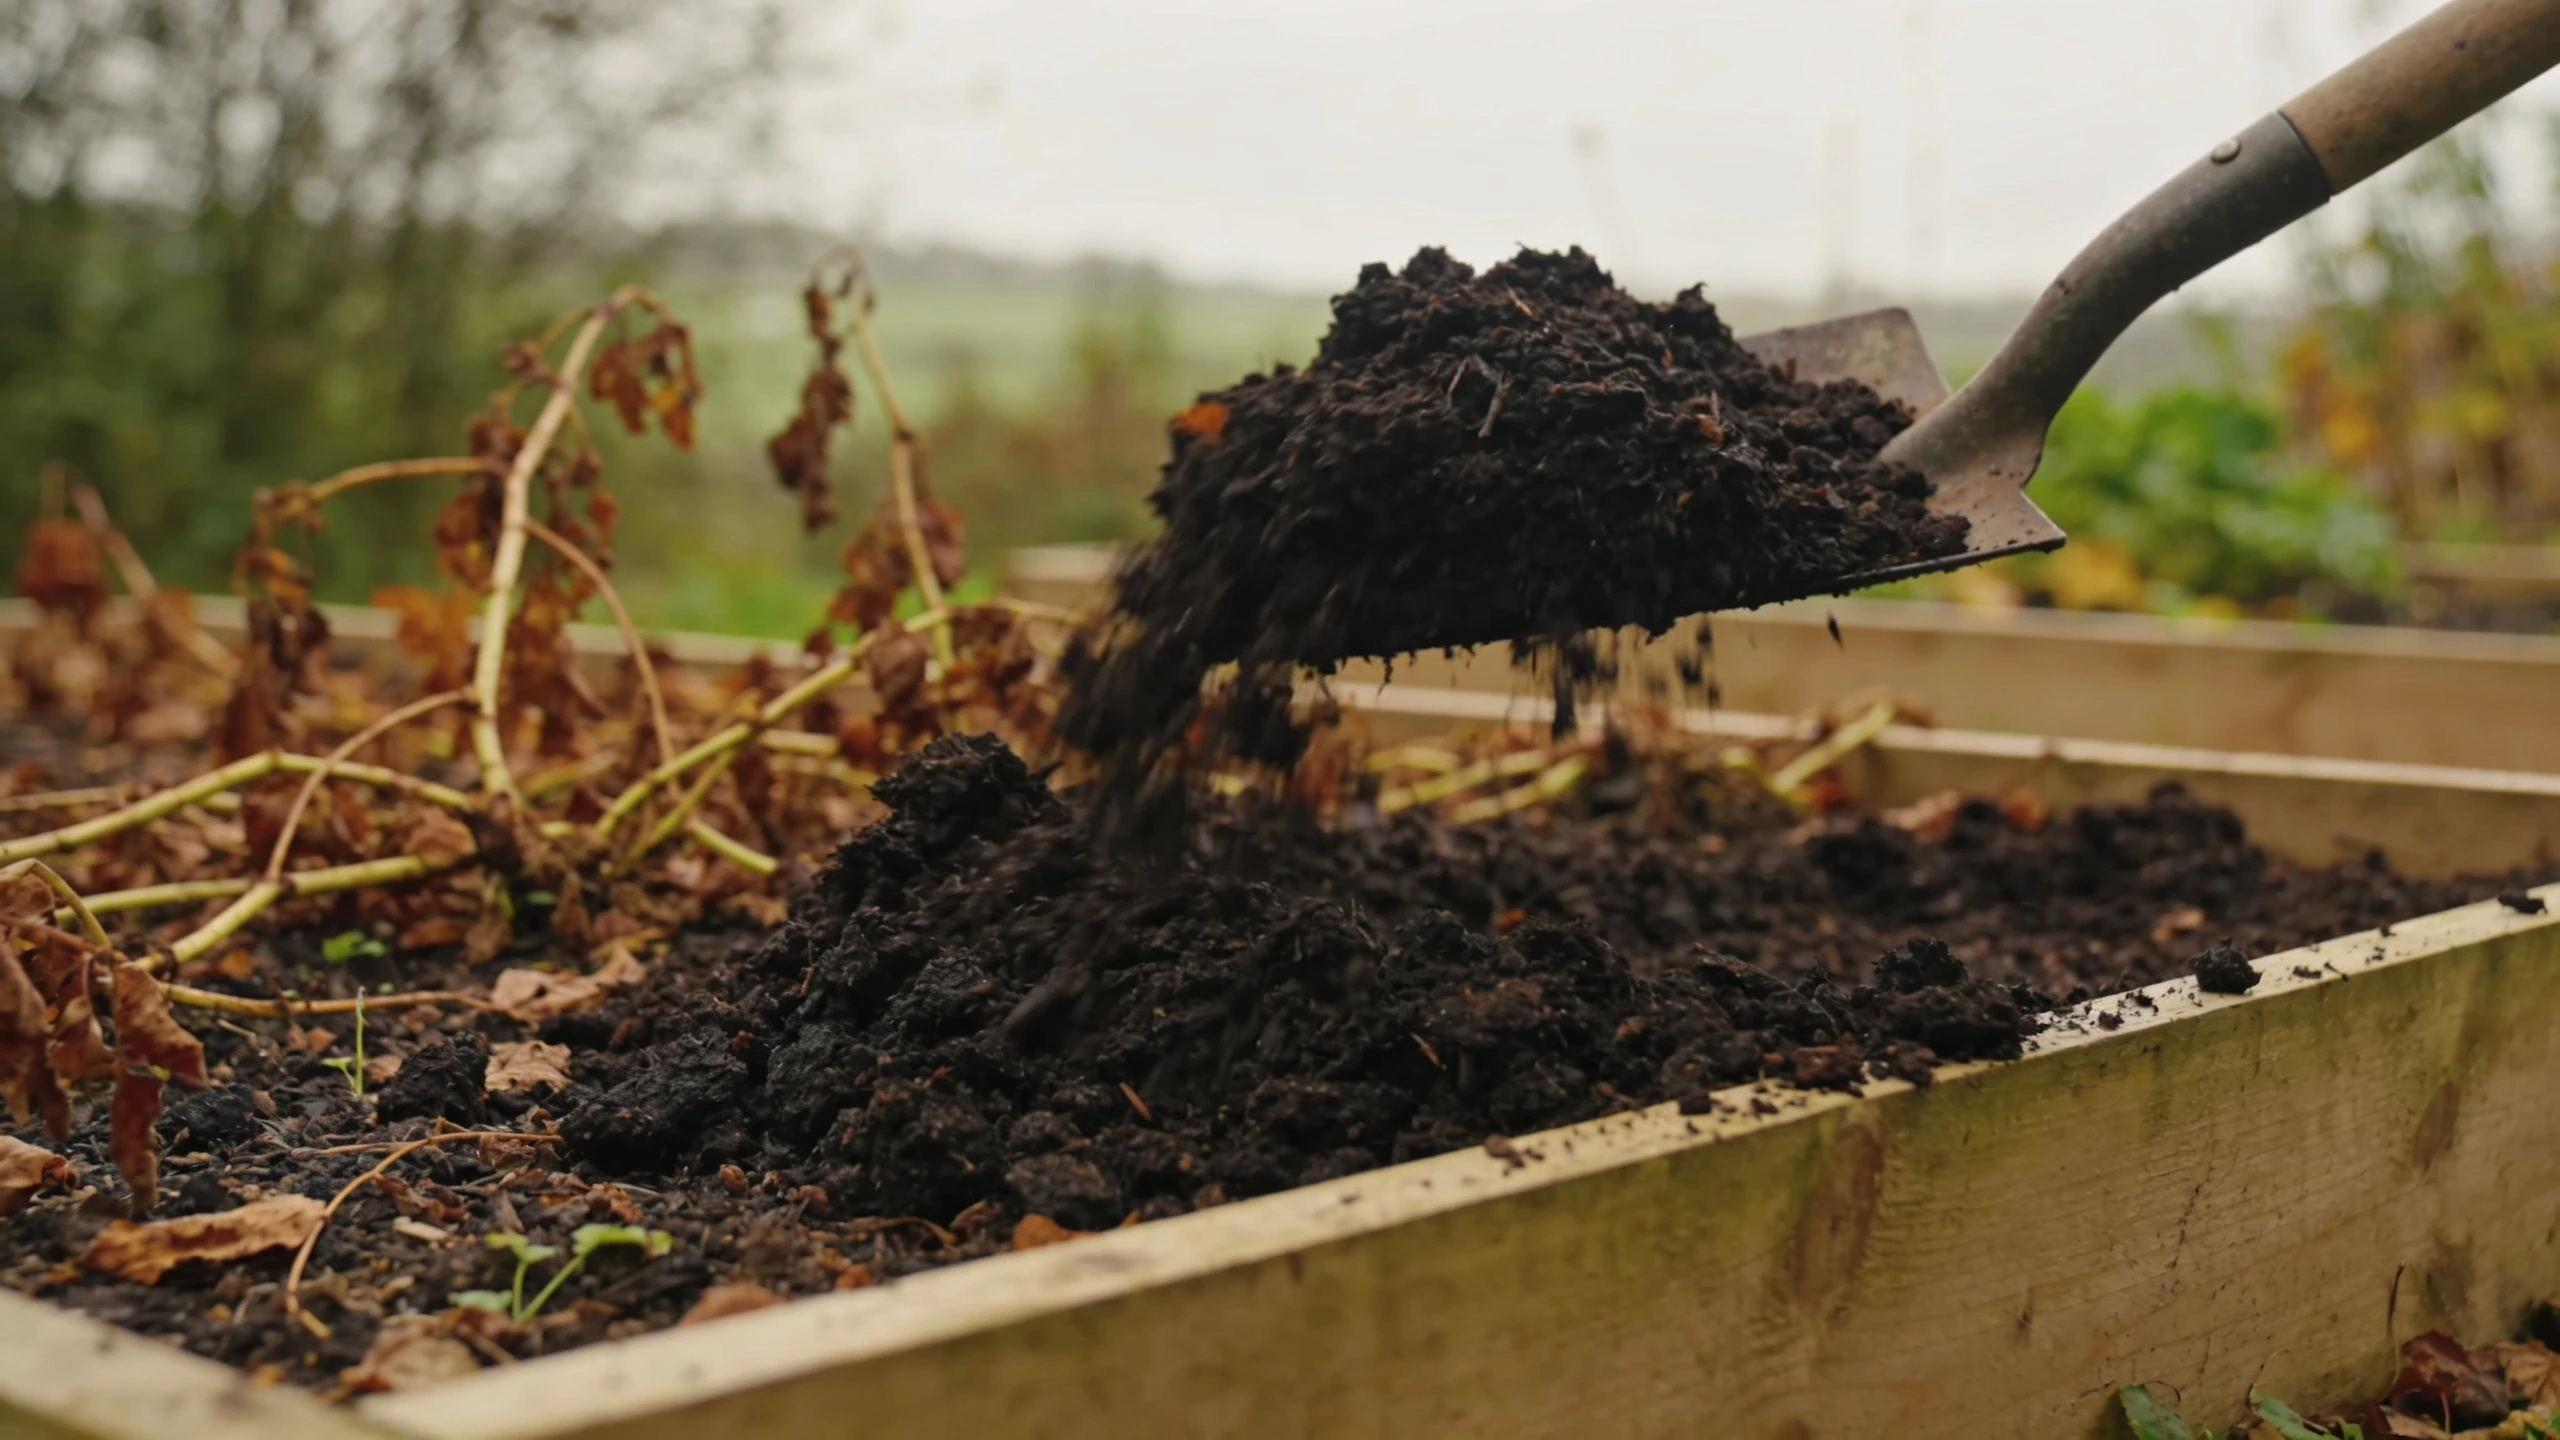
Once the bed is in and something is growing, two things are worth your attention: the kit that makes upkeep painless, and a plan for what goes in when a crop finishes.
- Our guide to gardening tools for beginners covers the small number of tools genuinely worth buying in year one.
- If you are working in a small space, the balcony garden ideas piece covers containers, light and wind in more depth.
- Once the bed is running, composting for beginners closes the loop and cuts your compost bill.
Frequently asked questions
When is the best time to start a vegetable garden?
Early spring is easiest for most temperate gardeners, because soil is warming and there is a long season ahead. But the genuinely best time to build a bed is autumn. You get winter to let compost settle and weeds break down, and you plant into ready soil in spring. If it is midsummer now, start with fast salad crops and containers rather than waiting a whole year.
How big should a first vegetable garden be?
About 16 square feet, one 4 by 4 foot bed. That will genuinely feed a household in salad, herbs and a surprising volume of beans and courgettes, and it takes roughly 20 minutes of upkeep a week. Beginners who start at 200 square feet almost always abandon the far half by August.
Do I need to dig or rotovate the soil first?
No. The no-dig method, cardboard over the existing surface, then 6 to 8 inches of compost on top, works on lawn, weeds and compacted ground, and it leaves soil structure and fungal networks intact. Digging is only necessary for badly compacted subsoil or removing deep perennial roots like bindweed.
What vegetables should a beginner absolutely avoid in year one?
Cauliflower, celery, aubergine and melons. All four are fussy about consistent water, temperature and feeding, and they punish you with nothing at all rather than a smaller crop. Sweetcorn and brussels sprouts are also poor first choices because they take up a lot of space for a single harvest.
How much time does a small vegetable garden take?
Twenty to thirty minutes a week for a 4 by 4 foot bed once it is planted, plus watering, which is daily for containers in high summer and every three to four days for a mulched bed. The setup weekend is the only large time commitment.
Topics in this article
About the author
Jeff has gardened professionally for over twenty years, mostly on heavy clay, and writes everything here from beds he still works himself. More from Jeff Tanun →
Keep reading
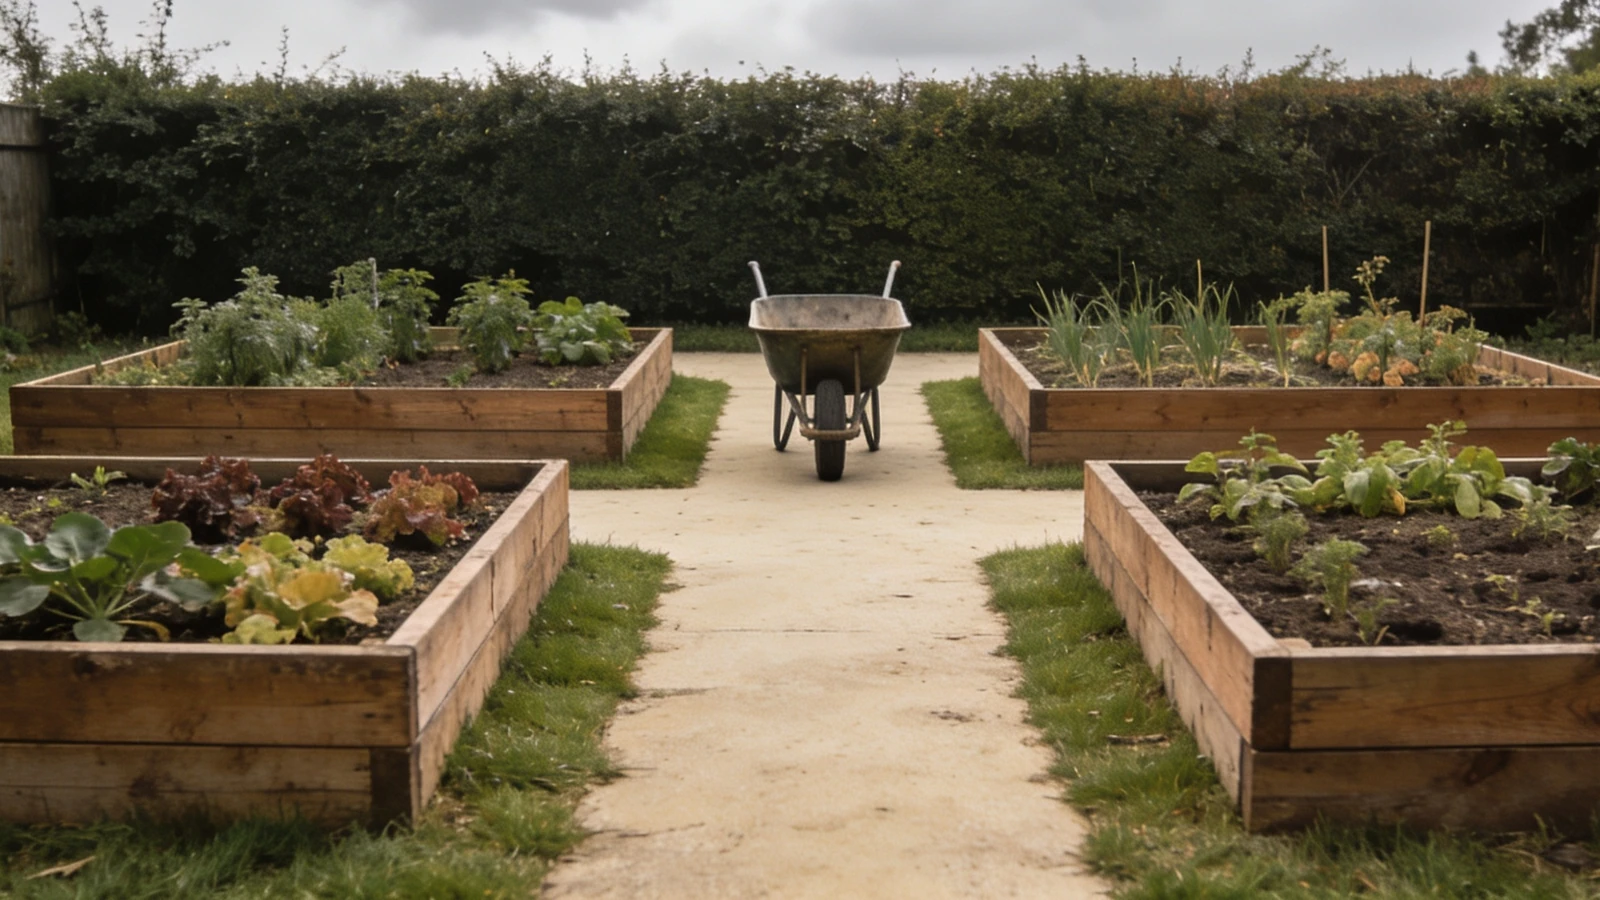
Raised Bed Layout Ideas
Raised bed layouts with real dimensions, bed widths, path widths, depths and orientation, plus five planting plans for beds of different sizes.
Updated
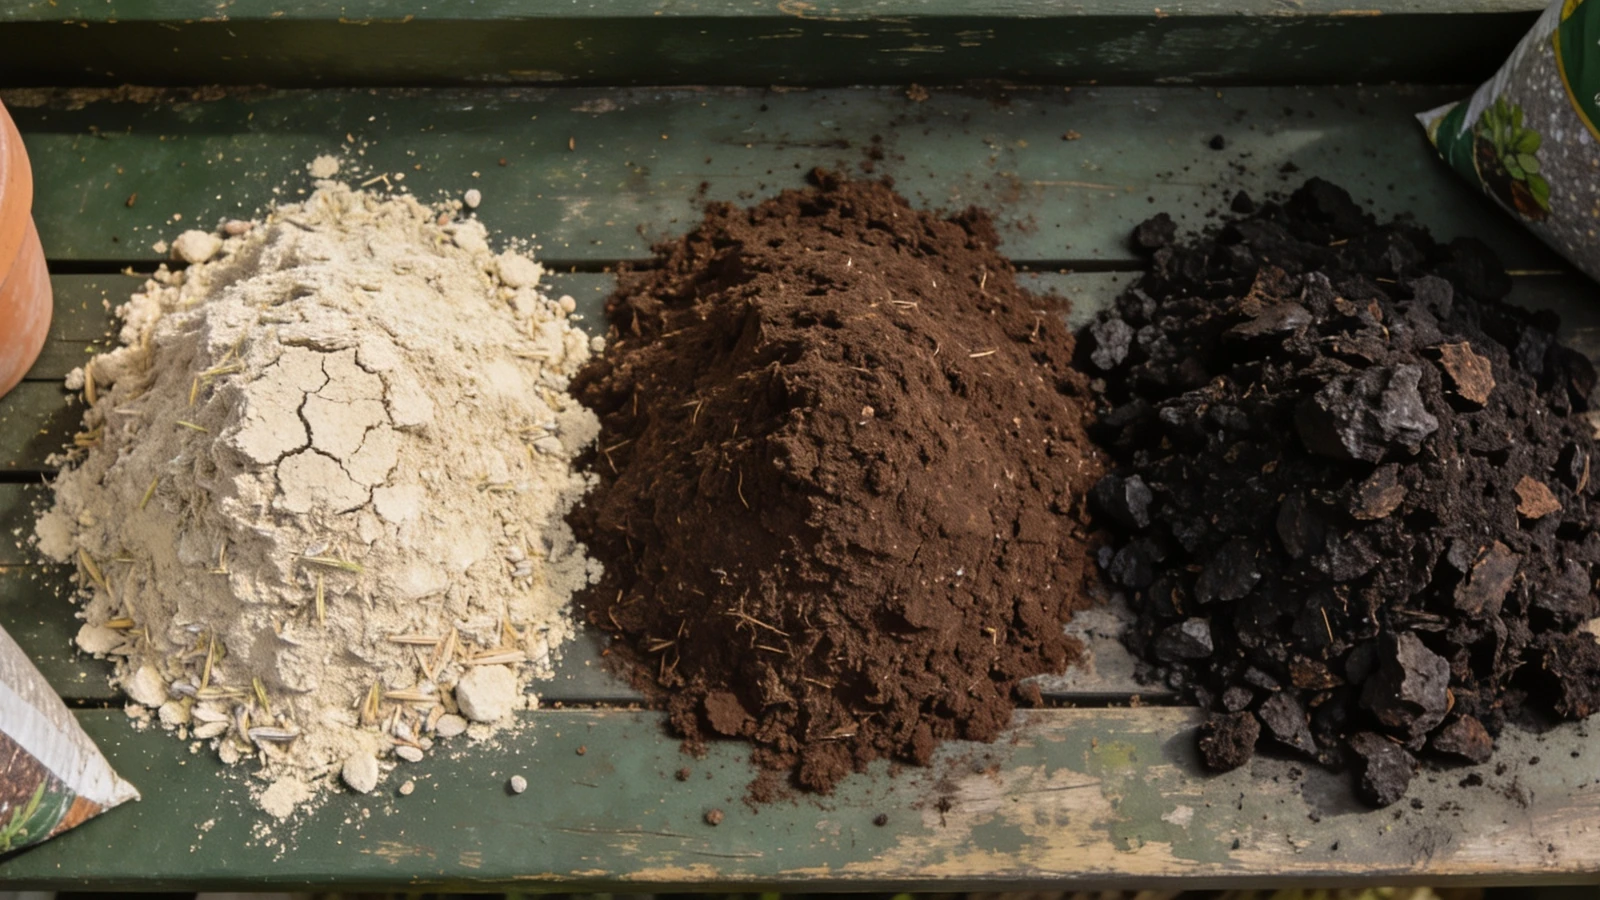
Garden Soil vs Potting Soil
Garden soil vs potting soil, explained by what each one is for. Why garden soil fails in a pot, why potting compost is wasted in a bed, and what to buy for what.
Updated
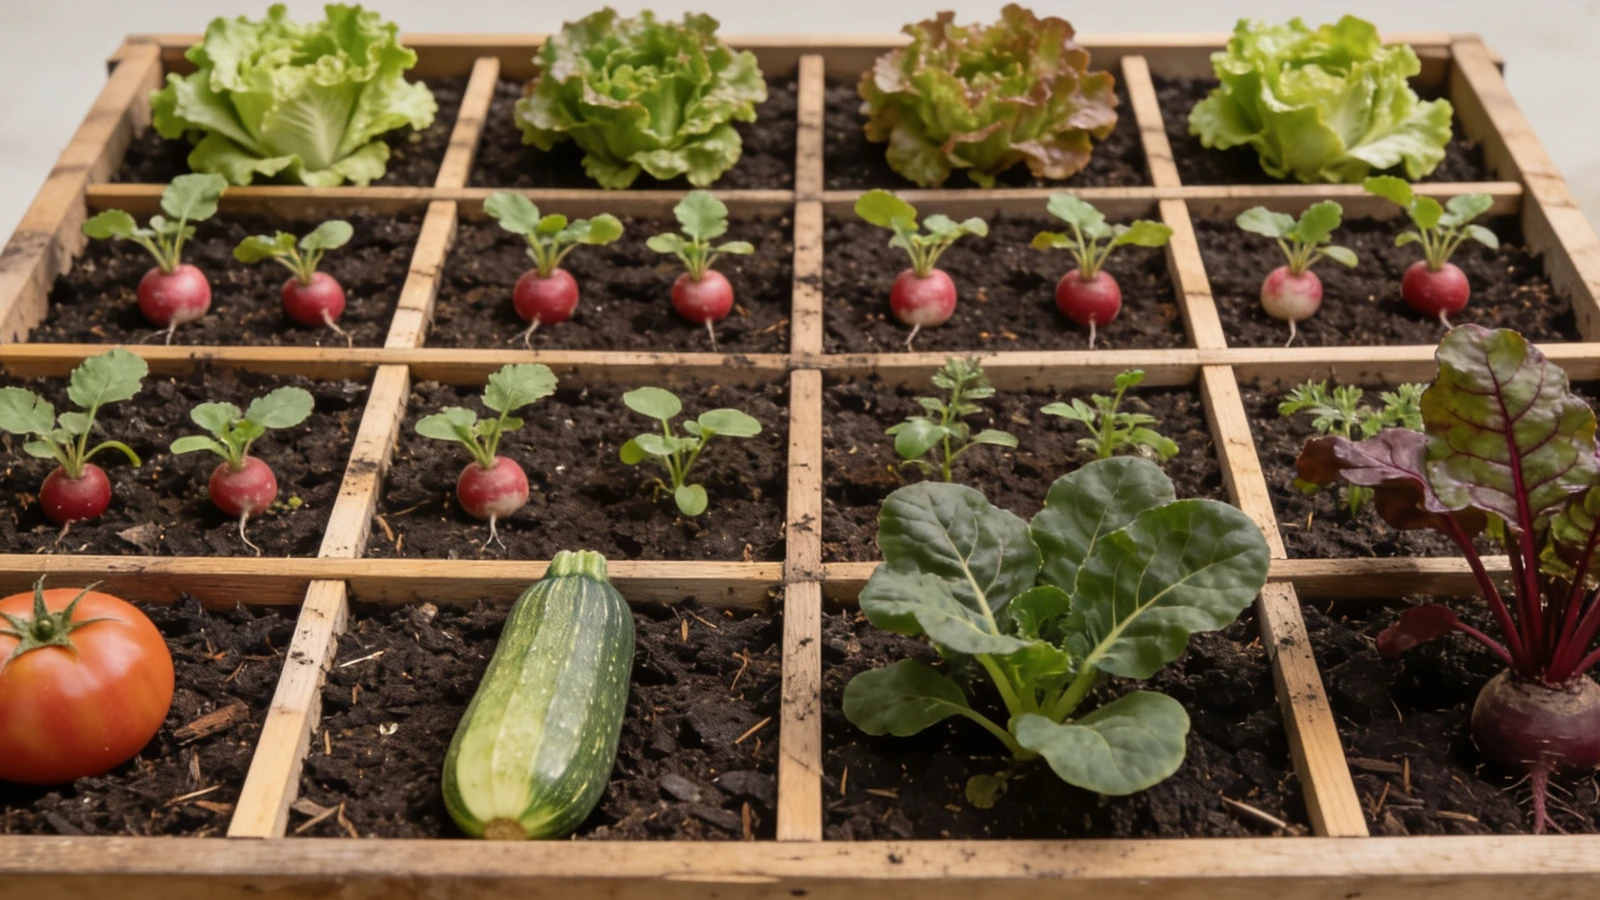
Square Foot Gardening
Square foot gardening explained honestly: the grid and the spacing chart are genuinely useful, the compulsory soil mix and the shallow bed depth are not.
Updated