Lasagna Gardening: Build a Bed Without Digging
Lasagna gardening is sheet mulching: cardboard and layers of organic matter straight onto grass. What to layer, how deep, how long to wait, and what it cannot fix.
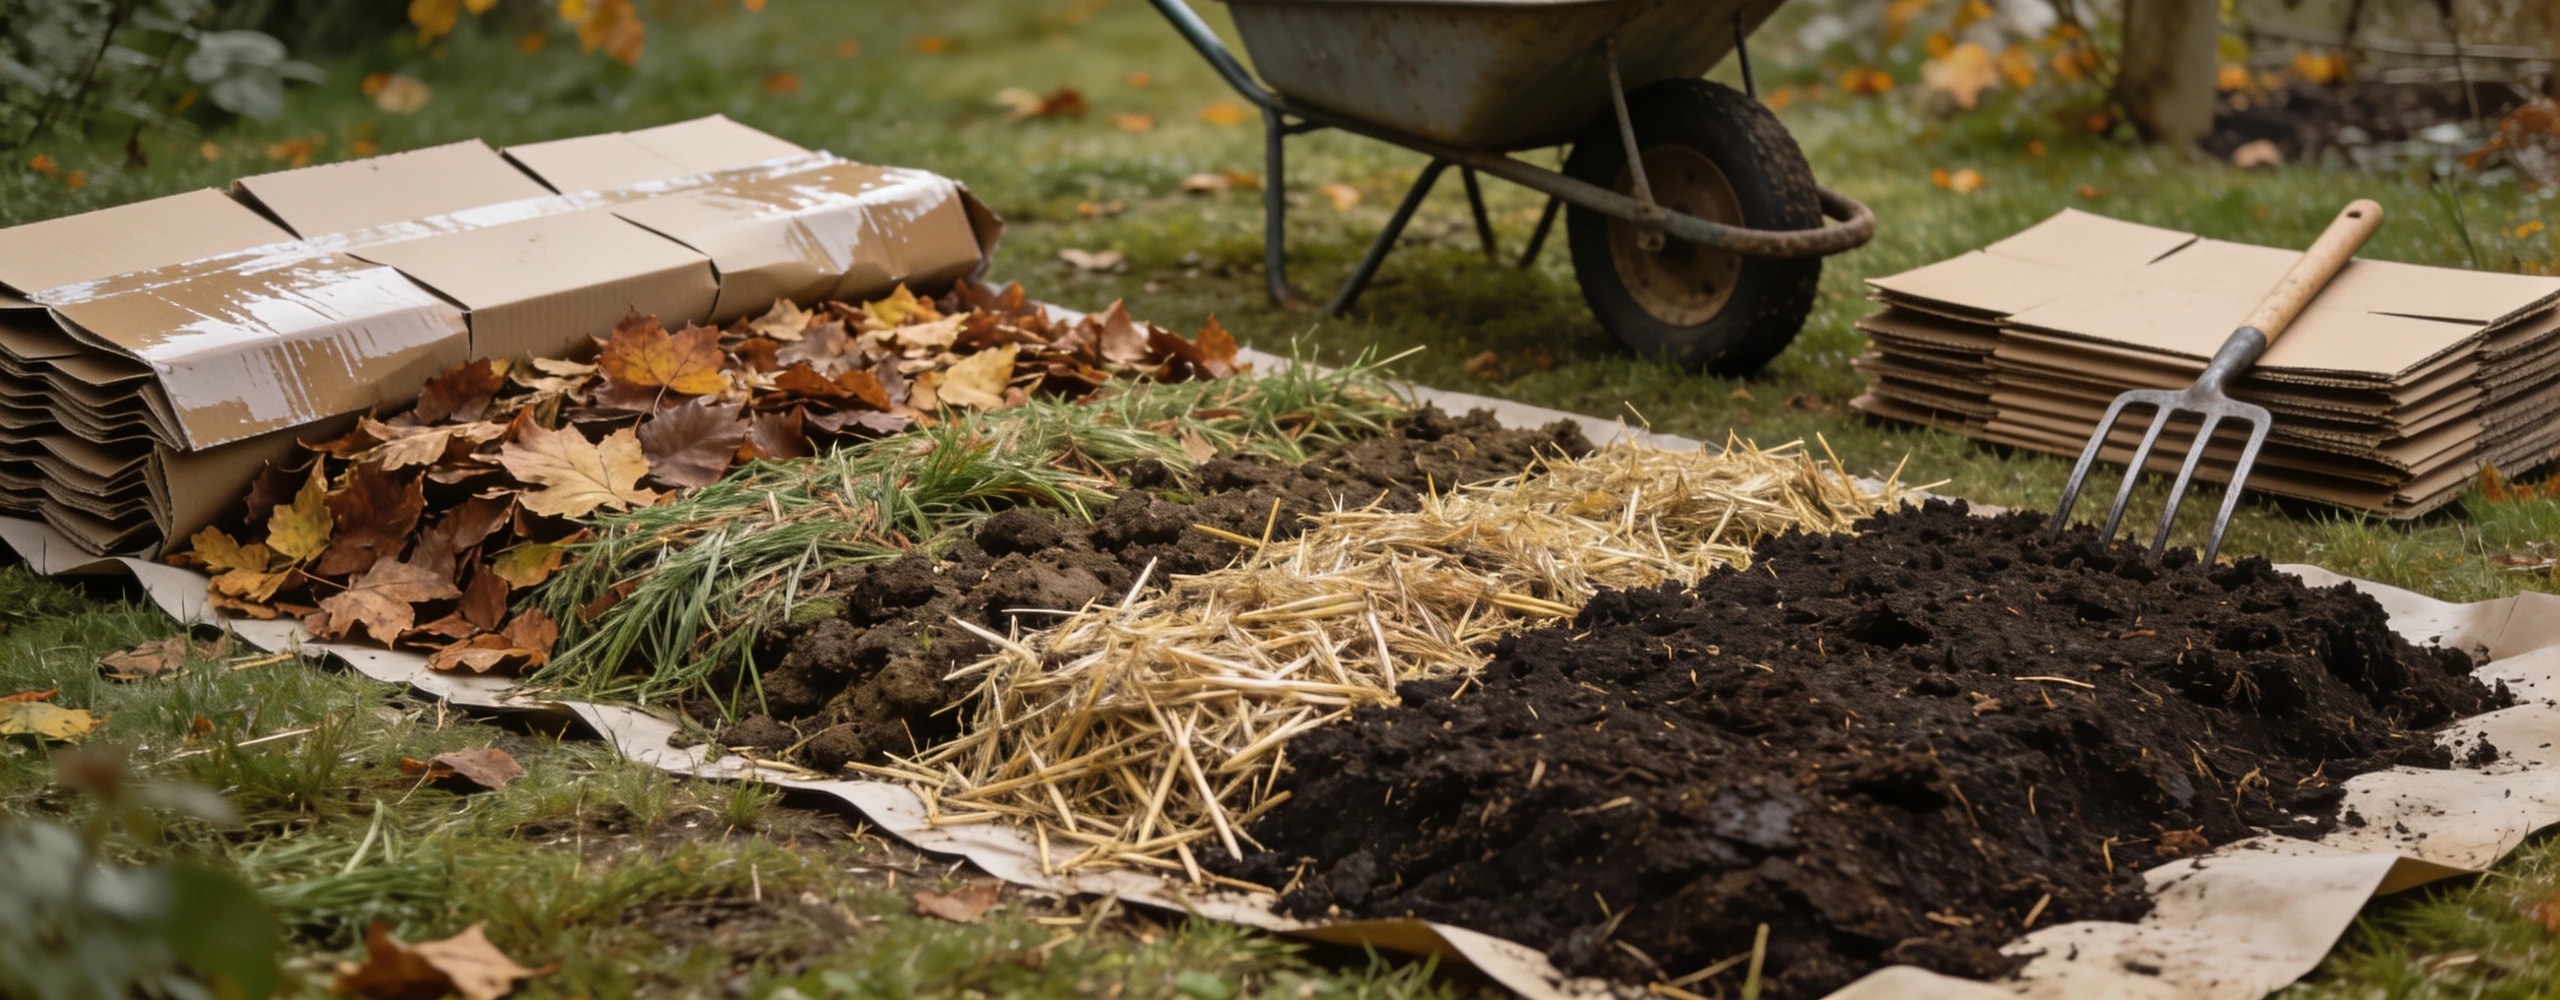
Lasagna gardening is a friendly name for sheet mulching, which is one of the genuinely good ideas in gardening: you build a new bed in layers on top of the grass instead of digging it out. It works, it is far less effort than digging, and there are two things it will not do that most write-ups gloss over. Both are worth knowing before you spend a weekend on it.
The short answer
Soak plain cardboard and overlap it by 15 cm over the grass. Then alternate roughly two parts carbon, leaves, straw, shredded paper, with one part nitrogen, grass clippings, kitchen waste, manure, in 5 to 8 cm layers to a total of 30 to 45 cm. Finish with at least 10 cm of finished compost, which is what you plant into. Build in autumn, plant in spring. It will not kill bindweed or ground elder, and it will not fix compaction underneath.
Why it works#
Two mechanisms, and both are simple.
The cardboard excludes light. Grass and annual weeds beneath it die because they cannot photosynthesise, and they then rot in place and feed the bed.
The layers compost where they lie. Instead of building a heap, turning it and moving the result, you assemble the heap in the shape of the bed and let the worms do the incorporating. Everything that would have been carried twice gets carried once.
And you keep the soil structure. No inversion, no broken fungal networks, no weed seed brought up to the surface from the seed bank below.
The layers, and the ratio#
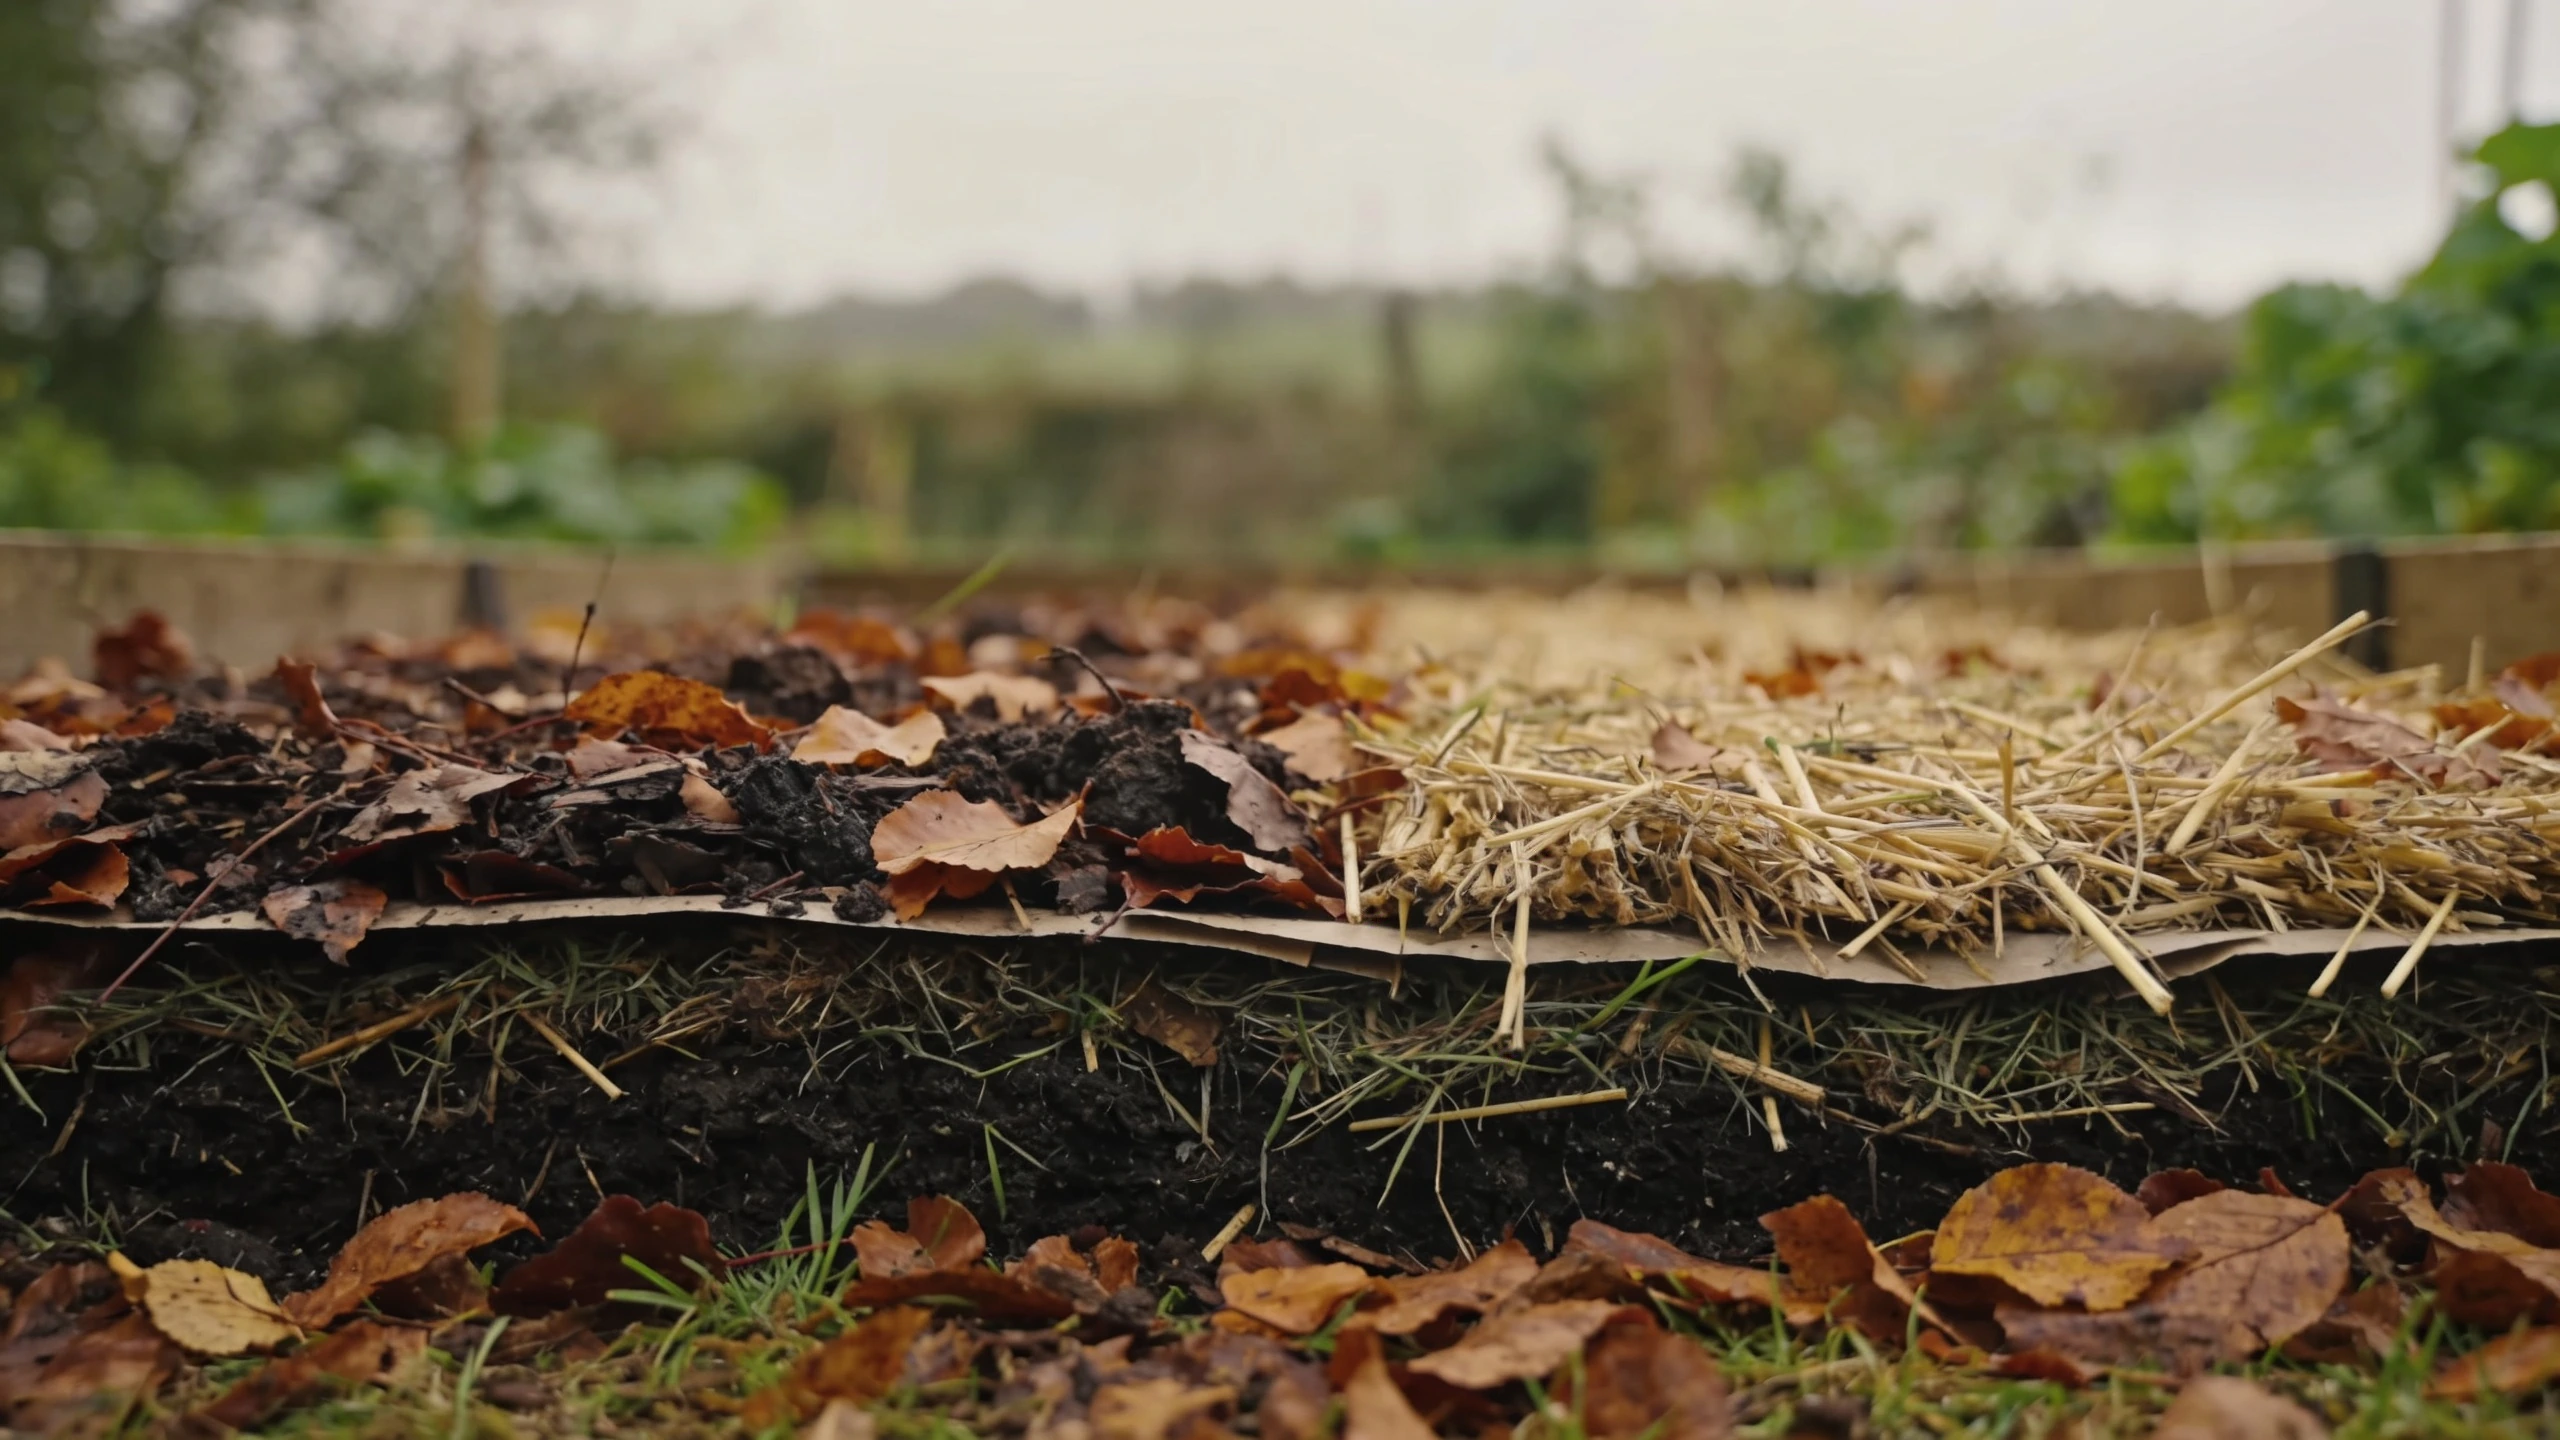
The mental model is a compost heap laid flat. Same requirement: a mix of carbon and nitrogen, roughly two to one by volume.
- Carbon, the browns
- Autumn leaves, straw, shredded paper and cardboard, wood chip, spent bedding. Bulky, slow, and the majority of the volume.
- Nitrogen, the greens
- Grass clippings, kitchen scraps, coffee grounds, well rotted manure, spent crops, comfrey. Wetter, faster, and the fuel.
- The finishing layer
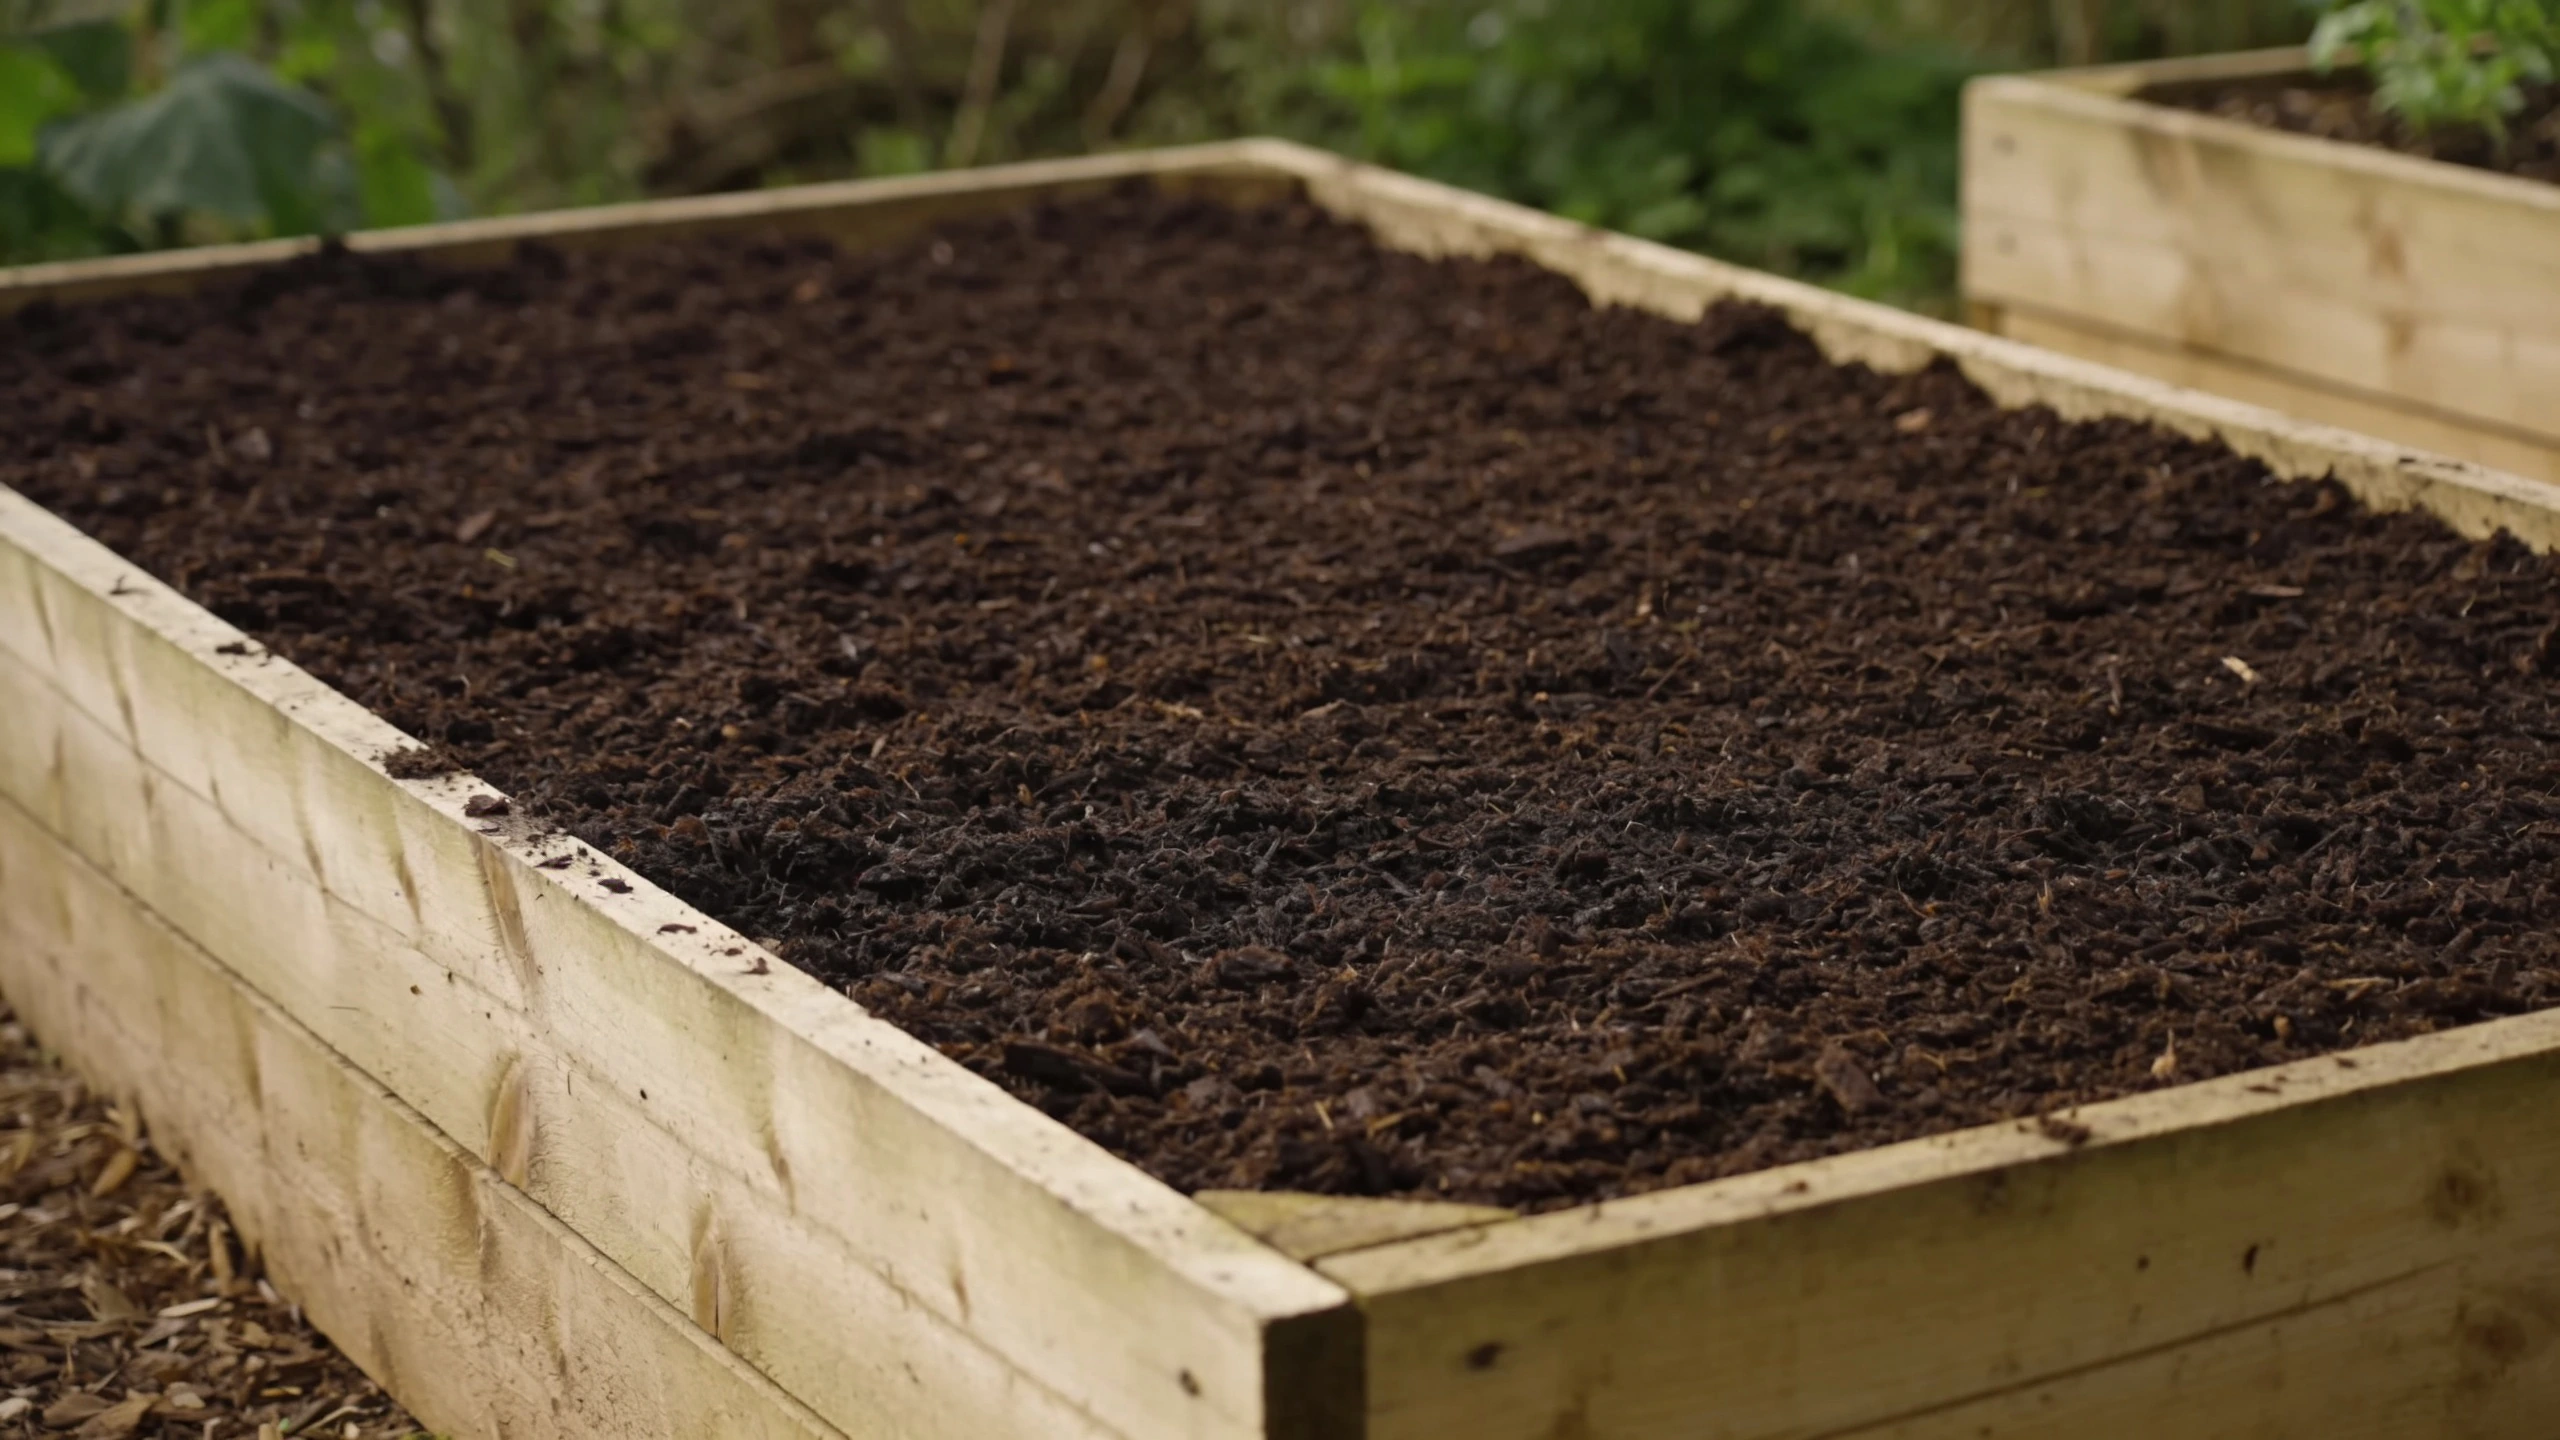
- At least 10 cm of finished compost. This is the only part you plant into in the first season.
- The ratio
- About two parts carbon to one part nitrogen. Too much nitrogen and it goes slimy and smells; too much carbon and it just sits there.
- Layer thickness
- 5 to 8 cm each. Thick single layers of grass clippings in particular turn into an airless slimy mat.
Total depth 30 to 45 cm, and expect it to settle to about a third of that. A bed that looks absurdly high in November looks right in April.
The two things it will not do#
Here is where I would depart from a lot of the writing on this, because both of these get discovered after the work.
It will not kill deep rooted perennial weeds. Grass and annuals, yes, reliably. Bindweed, ground elder, couch grass, horsetail and brambles all come up through or around it. Bindweed will travel sideways under the cardboard and emerge cheerfully at the edge of your new bed. If you have any of those, deal with them before you build, or accept two years of pulling them out of a bed you cannot dig.
It will not fix compaction. Sheet mulching improves the soil above; it does nothing to a compacted pan below. If the ground was a builders' access route or a much-used path, that pan is still there, and deep rooting crops will hit it. That is one of the few cases where a single deep fork through before you start is worth it.
Materials, which is the actual constraint#
The recipe is easy. Finding 800 litres of organic matter is the part that stops people.
A bed 2 m by 1 m at 40 cm deep needs roughly 800 litres. No ordinary garden produces that in a week.
Key points
- Cardboard: any shop will give you boxes. Ask at the back door rather than the counter.
- Autumn leaves: the single best bulk carbon source, and neighbours will often hand you bagfuls.
- Grass clippings: yours plus anyone else's, in thin layers only.
- Coffee grounds: cafés often bag them up. Nitrogen rich and free.
- Straw: a farm supplier or equestrian shop, and far cheaper by the bale than in garden centre bags.
- Manure: stables usually want rid of it. Ask about spraying, per the warning above.
- Woodchip: tree surgeons will sometimes tip a load for nothing, and it makes excellent paths as well.
Autumn is the natural moment for all of this, which is the other reason to build then.
Building it, in order#
- 1. Mow or trample the grass
- Cut it short. No need to remove it, and no need to strip turf.
- 2. Deal with perennial weeds
- Dig out bindweed, ground elder and bramble roots now. This is your only easy chance.
- 3. Fork through if compacted
- One pass with a fork, no turning. Only if the ground was compacted.
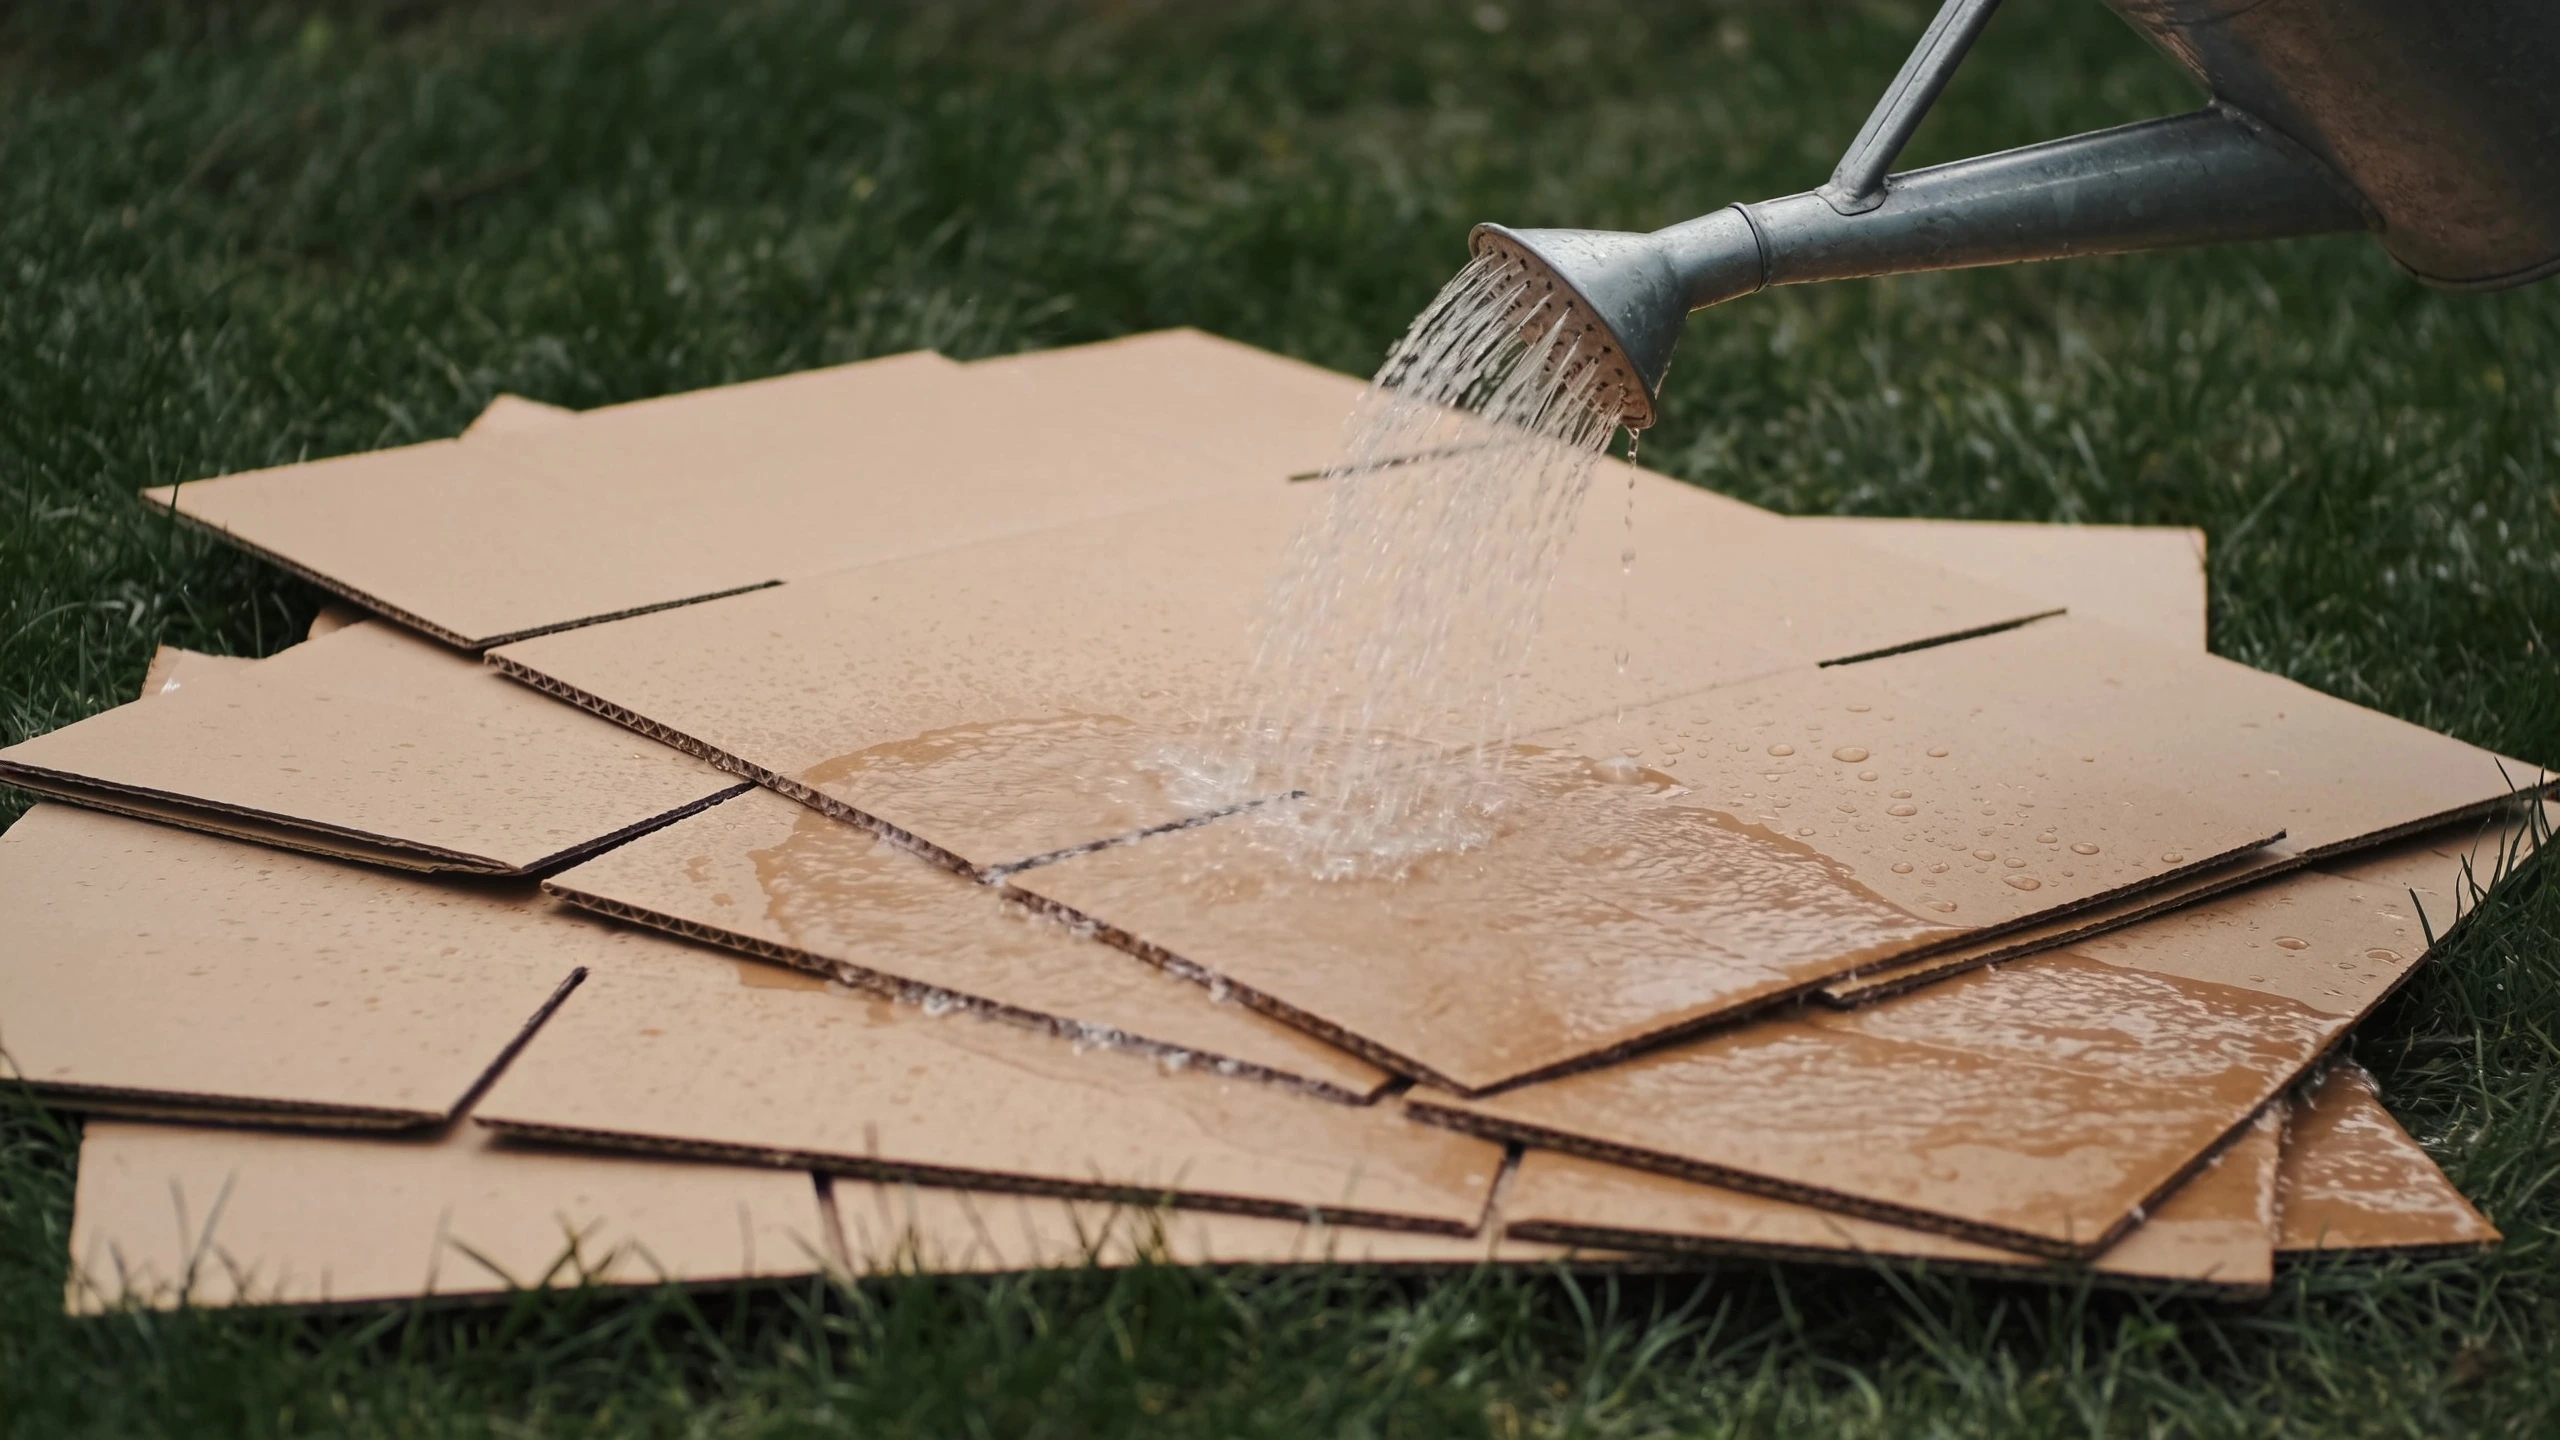
- 4. Cardboard, overlapped and soaked
- Plain brown, no tape or staples, 15 cm overlaps, thoroughly wet.
- 5. Alternate layers
- Two parts carbon to one part nitrogen, 5 to 8 cm each, watering as you go if material is dry.
- 6. Finish with compost
- At least 10 cm of finished compost on top. This is the planting layer.
- 7. Edge it, or not
- Optional. An edge keeps the shape and stops material migrating, and it costs the price of some timber.
What to plant in year one#
Plant into the top layer, and choose accordingly.
Good in year one: courgettes, squash, potatoes, beans, salad, chard, brassicas. Anything shallow rooted or hungry, and squash in particular loves a rotting bed.
Wait until year two: carrots, parsnips and anything wanting a fine deep tilth. Root crops in a still-rotting bed fork and fail, and it is not the bed's fault.
Then top up with two or three centimetres of compost every spring and never dig it again.
What it costs#
- Cardboard
- Free. Ask any shop.
- Leaves, clippings, coffee grounds
- Free, with some collecting and asking.
- A bale of straw
- $8 to $25 from a farm supplier. A quarter of the garden centre price.
- Manure, delivered
- $0 to $80 depending on distance and whether the stables are keen to lose it.
- Compost for the top layer, 200 litres
- $20 to $50 loose, and this is the one part worth buying if you cannot make it.
- Timber edging
- $0 to $60. Optional, and it does keep the shape.
- Total for a 2 by 1 metre bed
- Often under $60, against several times that for bagged compost and a dug bed.
Where this needs adjusting#
On a windy site, the light carbon layers blow away before they are wet. Water each layer as you build and put the heavier material on top.
In a hot dry climate, the layers dry out rather than rotting. Water the bed occasionally through summer as you would a compost heap, and lean more on manure and less on straw.
And if you need the bed level, or you are building against a house wall, or drainage is genuinely poor, digging or a proper raised bed with a base may be the better answer. Sheet mulching is a soil method, not a construction method.
Where the guidance here comes from#
The layering ratio and the settle-to-a-third rule are conventional, and the two limits I emphasise are the ones I learned by hitting them: bindweed came round the edge of my first sheet mulched bed, and a compacted strip under another one stopped the parsnips dead. For soil and composting practice the RHS pages on soil, composts and mulches are the reference, and Garden Organic is the best source on the herbicide residue problem in manure, which is not well enough known and does real damage.
The short version#
Mow, dig out the perennial weeds, soak overlapped cardboard, then two parts brown to one part green in thin layers to 30 to 45 cm, topped with 10 cm of compost. Build in autumn, plant in spring, squash and potatoes first and carrots next year. It will not beat bindweed and it will not fix compaction, so handle both before you start.
Related reading#
- Mulching a garden: the annual version of the same principle.
- Composting for beginners: the ratios here are the ratios of a compost heap.
- Raised bed garden layout ideas: dimensions, and when a built bed beats a mulched one.
- Garden soil vs potting soil: what to buy for the top layer, and what not to.
Frequently asked questions
What is lasagna gardening?
Building a bed in layers on top of existing ground rather than digging it out. Cardboard goes down first to smother the grass, then alternating layers of carbon rich material like leaves, straw or shredded paper and nitrogen rich material like grass clippings, kitchen waste or manure, finished with compost you can plant into. It is the same idea as sheet mulching, and the layers compost in place.
How deep do the layers need to be?
Aim for 30 to 45 cm of material in total, because it will settle to roughly a third of that. Alternate roughly two parts carbon to one part nitrogen by volume, in layers of about 5 to 8 cm each. Finish with at least 10 cm of finished compost on top, which is the part you actually plant into while everything below is still rotting.
How long before I can plant?
You can plant into the top compost layer immediately, and that is the usual approach: build in autumn, plant in spring. If you want the whole depth broken down, allow six months over winter. If you build in spring and want to plant that week, make the top layer deeper, 15 cm of compost, and plant into that rather than expecting the layers below to be ready.
Does the cardboard need removing?
No, it breaks down within a season, and it is doing the important job of excluding light from the grass beneath. Use plain brown cardboard, remove all tape and staples, overlap the sheets generously by 15 cm or more because grass finds any gap, and soak it thoroughly before you build on top. Avoid glossy printed card.
Will it kill perennial weeds?
Grass and annual weeds, yes, reliably. Deep rooted perennials, no. Bindweed, ground elder, couch grass, horsetail and brambles will all come up through or around a sheet mulch, and bindweed in particular will travel sideways and emerge at the edge. Deal with those before you build, or accept that you will be pulling them out of the new bed for a couple of years.
Where do I get enough material?
This is the real constraint. A single 2 by 1 metre bed at 40 cm deep needs about 800 litres of material, which is a lot more than one garden produces in a week. Sources worth asking: cardboard from any shop, autumn leaves from neighbours, grass clippings, spent coffee grounds from a café, straw from a farm supplier, and manure from a stables.
Is it better than digging a bed?
For most home situations, yes: it preserves soil structure and fungal networks, it is far less physical work, and it adds a large volume of organic matter in one go. Where digging still wins is when you need to remove perennial weed roots, break a compacted pan, or level ground. Sheet mulching improves soil; it does not fix physical problems below it.
Topics in this article
About the author
Jeff has gardened professionally for over twenty years, mostly on heavy clay, and writes everything here from beds he still works himself. More from Jeff Tanun →
Keep reading
Soil, Mulch & Feeding
Mulching cuts watering and weeding more than any other job. What to use on beds, borders and pots, how deep to lay it, and why membrane fails.
Updated
Chickens in the Garden
Chickens in the garden, honestly. What they wreck, what they are genuinely good for, and the fenced-run-plus-supervised-access system that keeps both alive.
Updated
How to Start a Garden
How to start a garden in one season: check your light first, build one small bed without digging, plant six easy crops. Costs from $60, step by step.
Updated