How to Clean and Sharpen Garden Tools (So They Last Decades)
A twenty-minute routine for cleaning, sharpening and oiling secateurs, spades, hoes and shears, the single highest-return maintenance job in gardening.
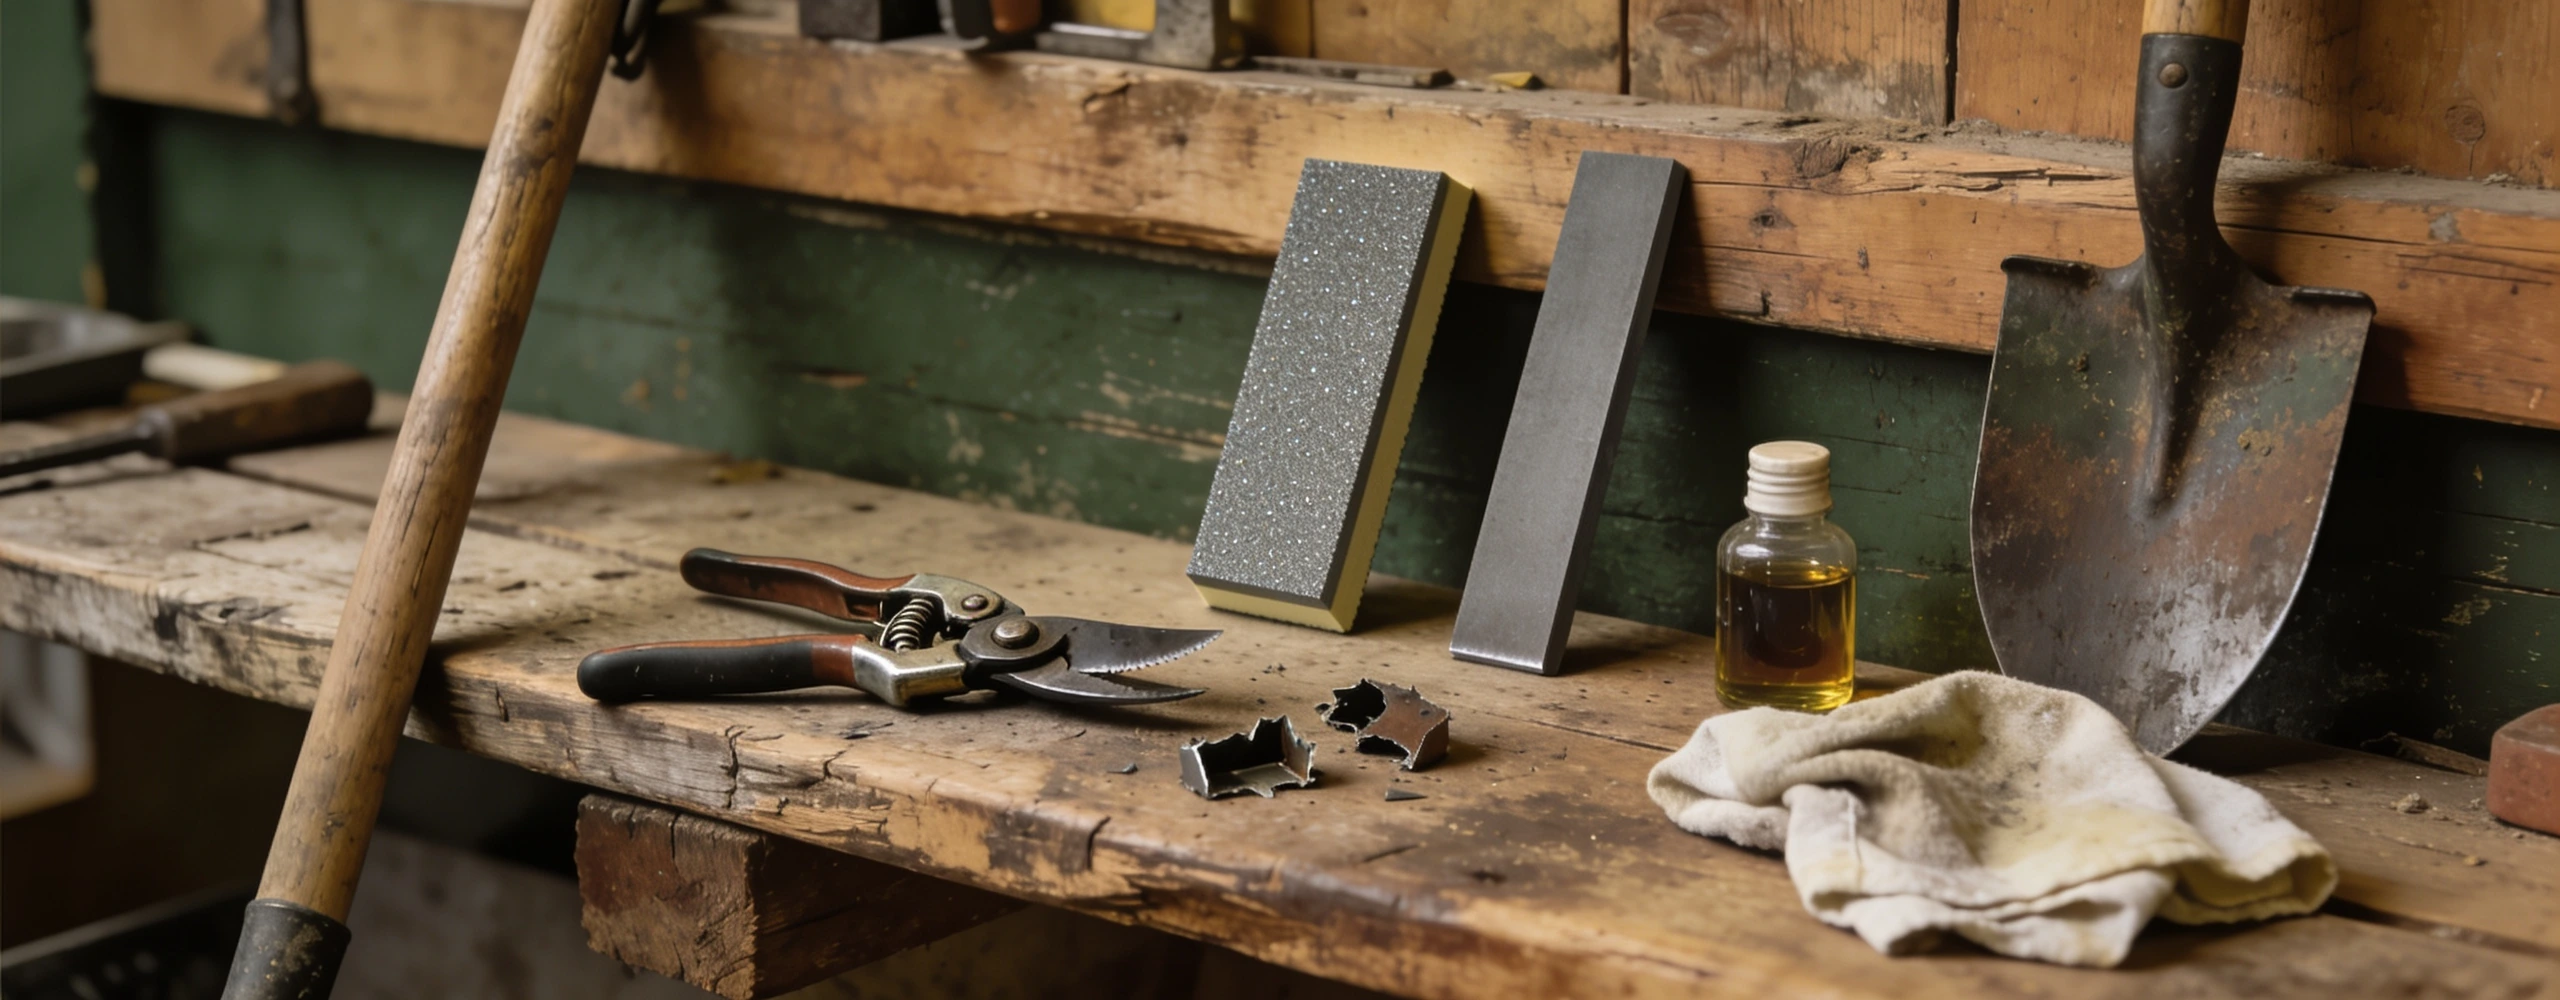
Time30 min
Rough cost$25
You'll need
- Warm water and washing-up liquid
- Wire brush or coarse abrasive pad
- Boiled linseed oil or camellia oil
- Clean rag
- Isopropyl alcohol or household disinfectant
Tools
- Diamond sharpening card or whetstone (300–600 grit)
- Flat file for spades and hoes
- Screwdriver or spanner to strip secateurs
- Gloves and eye protection
How to sharpen garden tools is the skill I would teach first if I could only teach one. A sharp, clean spade is a different tool from a blunt, sappy one. It cuts rather than tears, takes less force, is less likely to slip, and does not spread disease around the garden. Sharpening is also the cheapest upgrade available to any gardener: twenty minutes and a $15 diamond card will do more for your pruning than a $90 pair of secateurs.
The short answer
Clean the metal with soapy water and remove sap with alcohol, sharpen only the existing outer bevel with a diamond card or 300–600 grit stone (20–30° for secateurs, 45° for spades and hoes), make one flat pass to remove the burr, then wipe every bare metal surface and wooden handle with camellia or boiled linseed oil. Twenty minutes, twice a season.
How to sharpen garden tools, and why it matters more than you think#
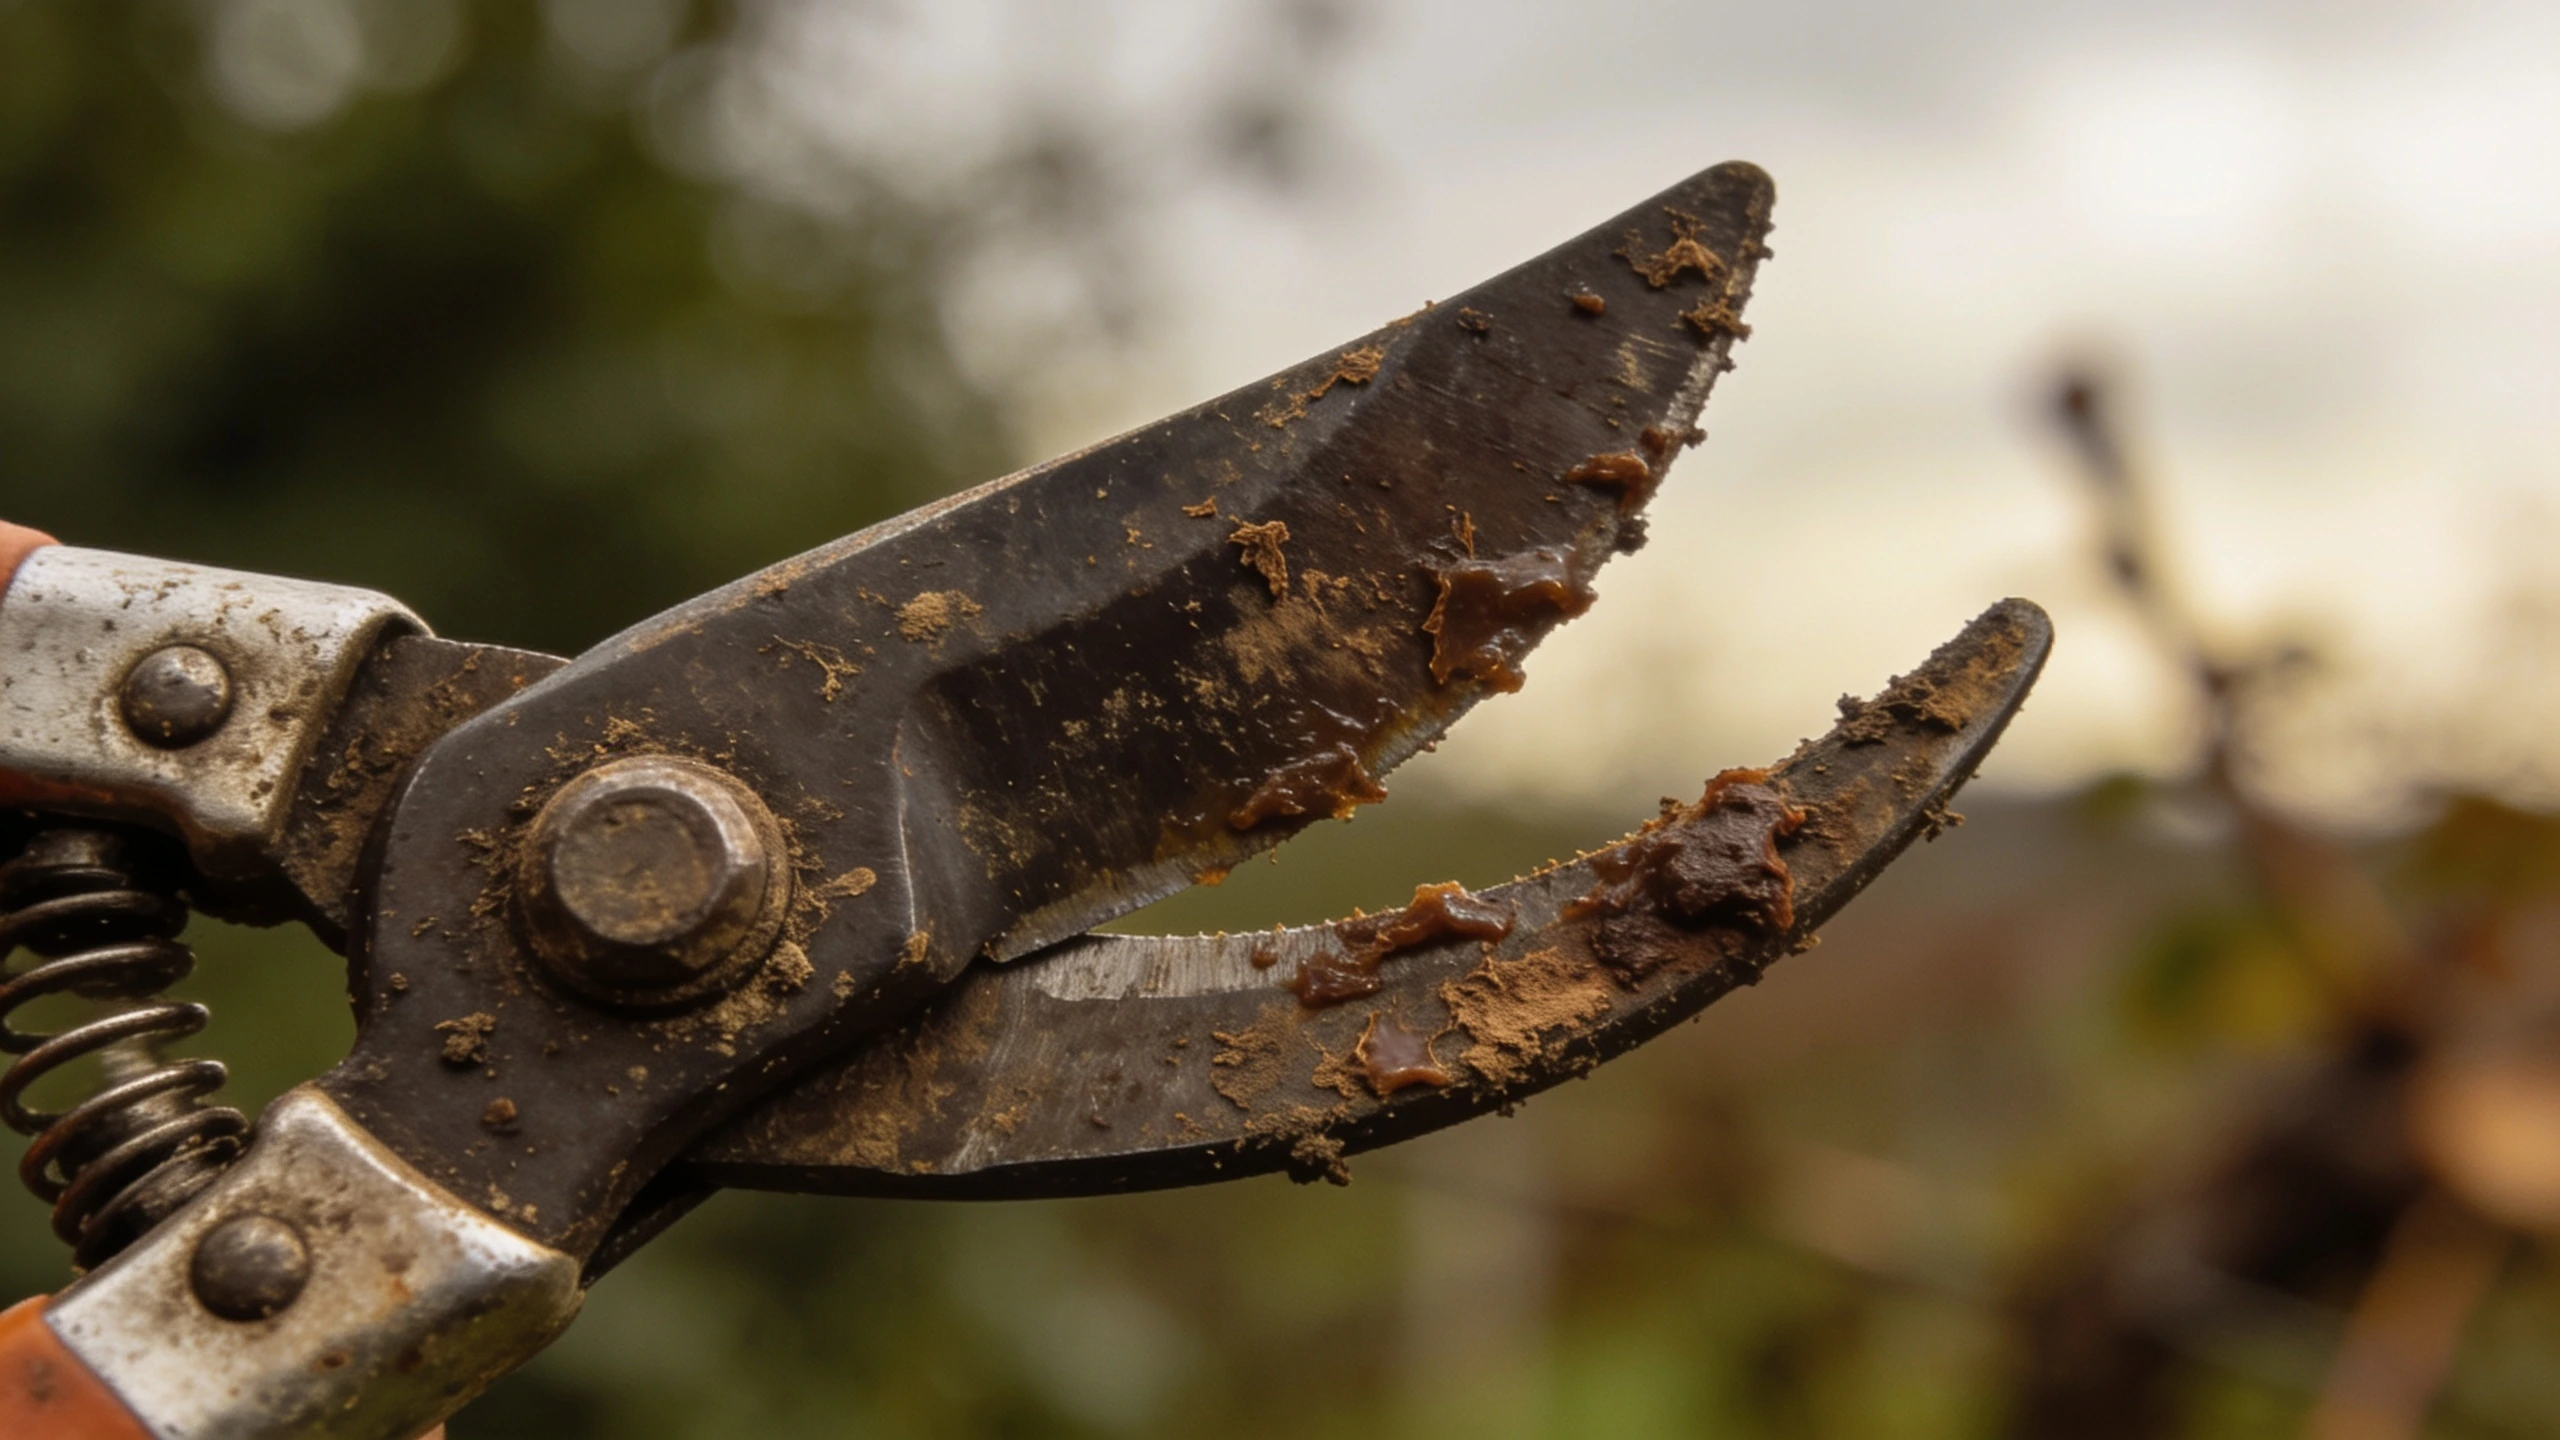
Three things happen when a cutting tool goes dull:
- The cut crushes instead of slicing. Crushed stem tissue heals slowly and is an open invitation to fungal infection. On roses and fruit trees this matters a great deal.
- You apply more force. More force means less control, and the tool is more likely to jump. Most secateur injuries happen with blunt blades.
- Sap and rust accelerate the problem. Dried sap makes blades stick, which feels like bluntness and is actually just dirt. A lot of "worn out" secateurs are simply filthy.
What you need#
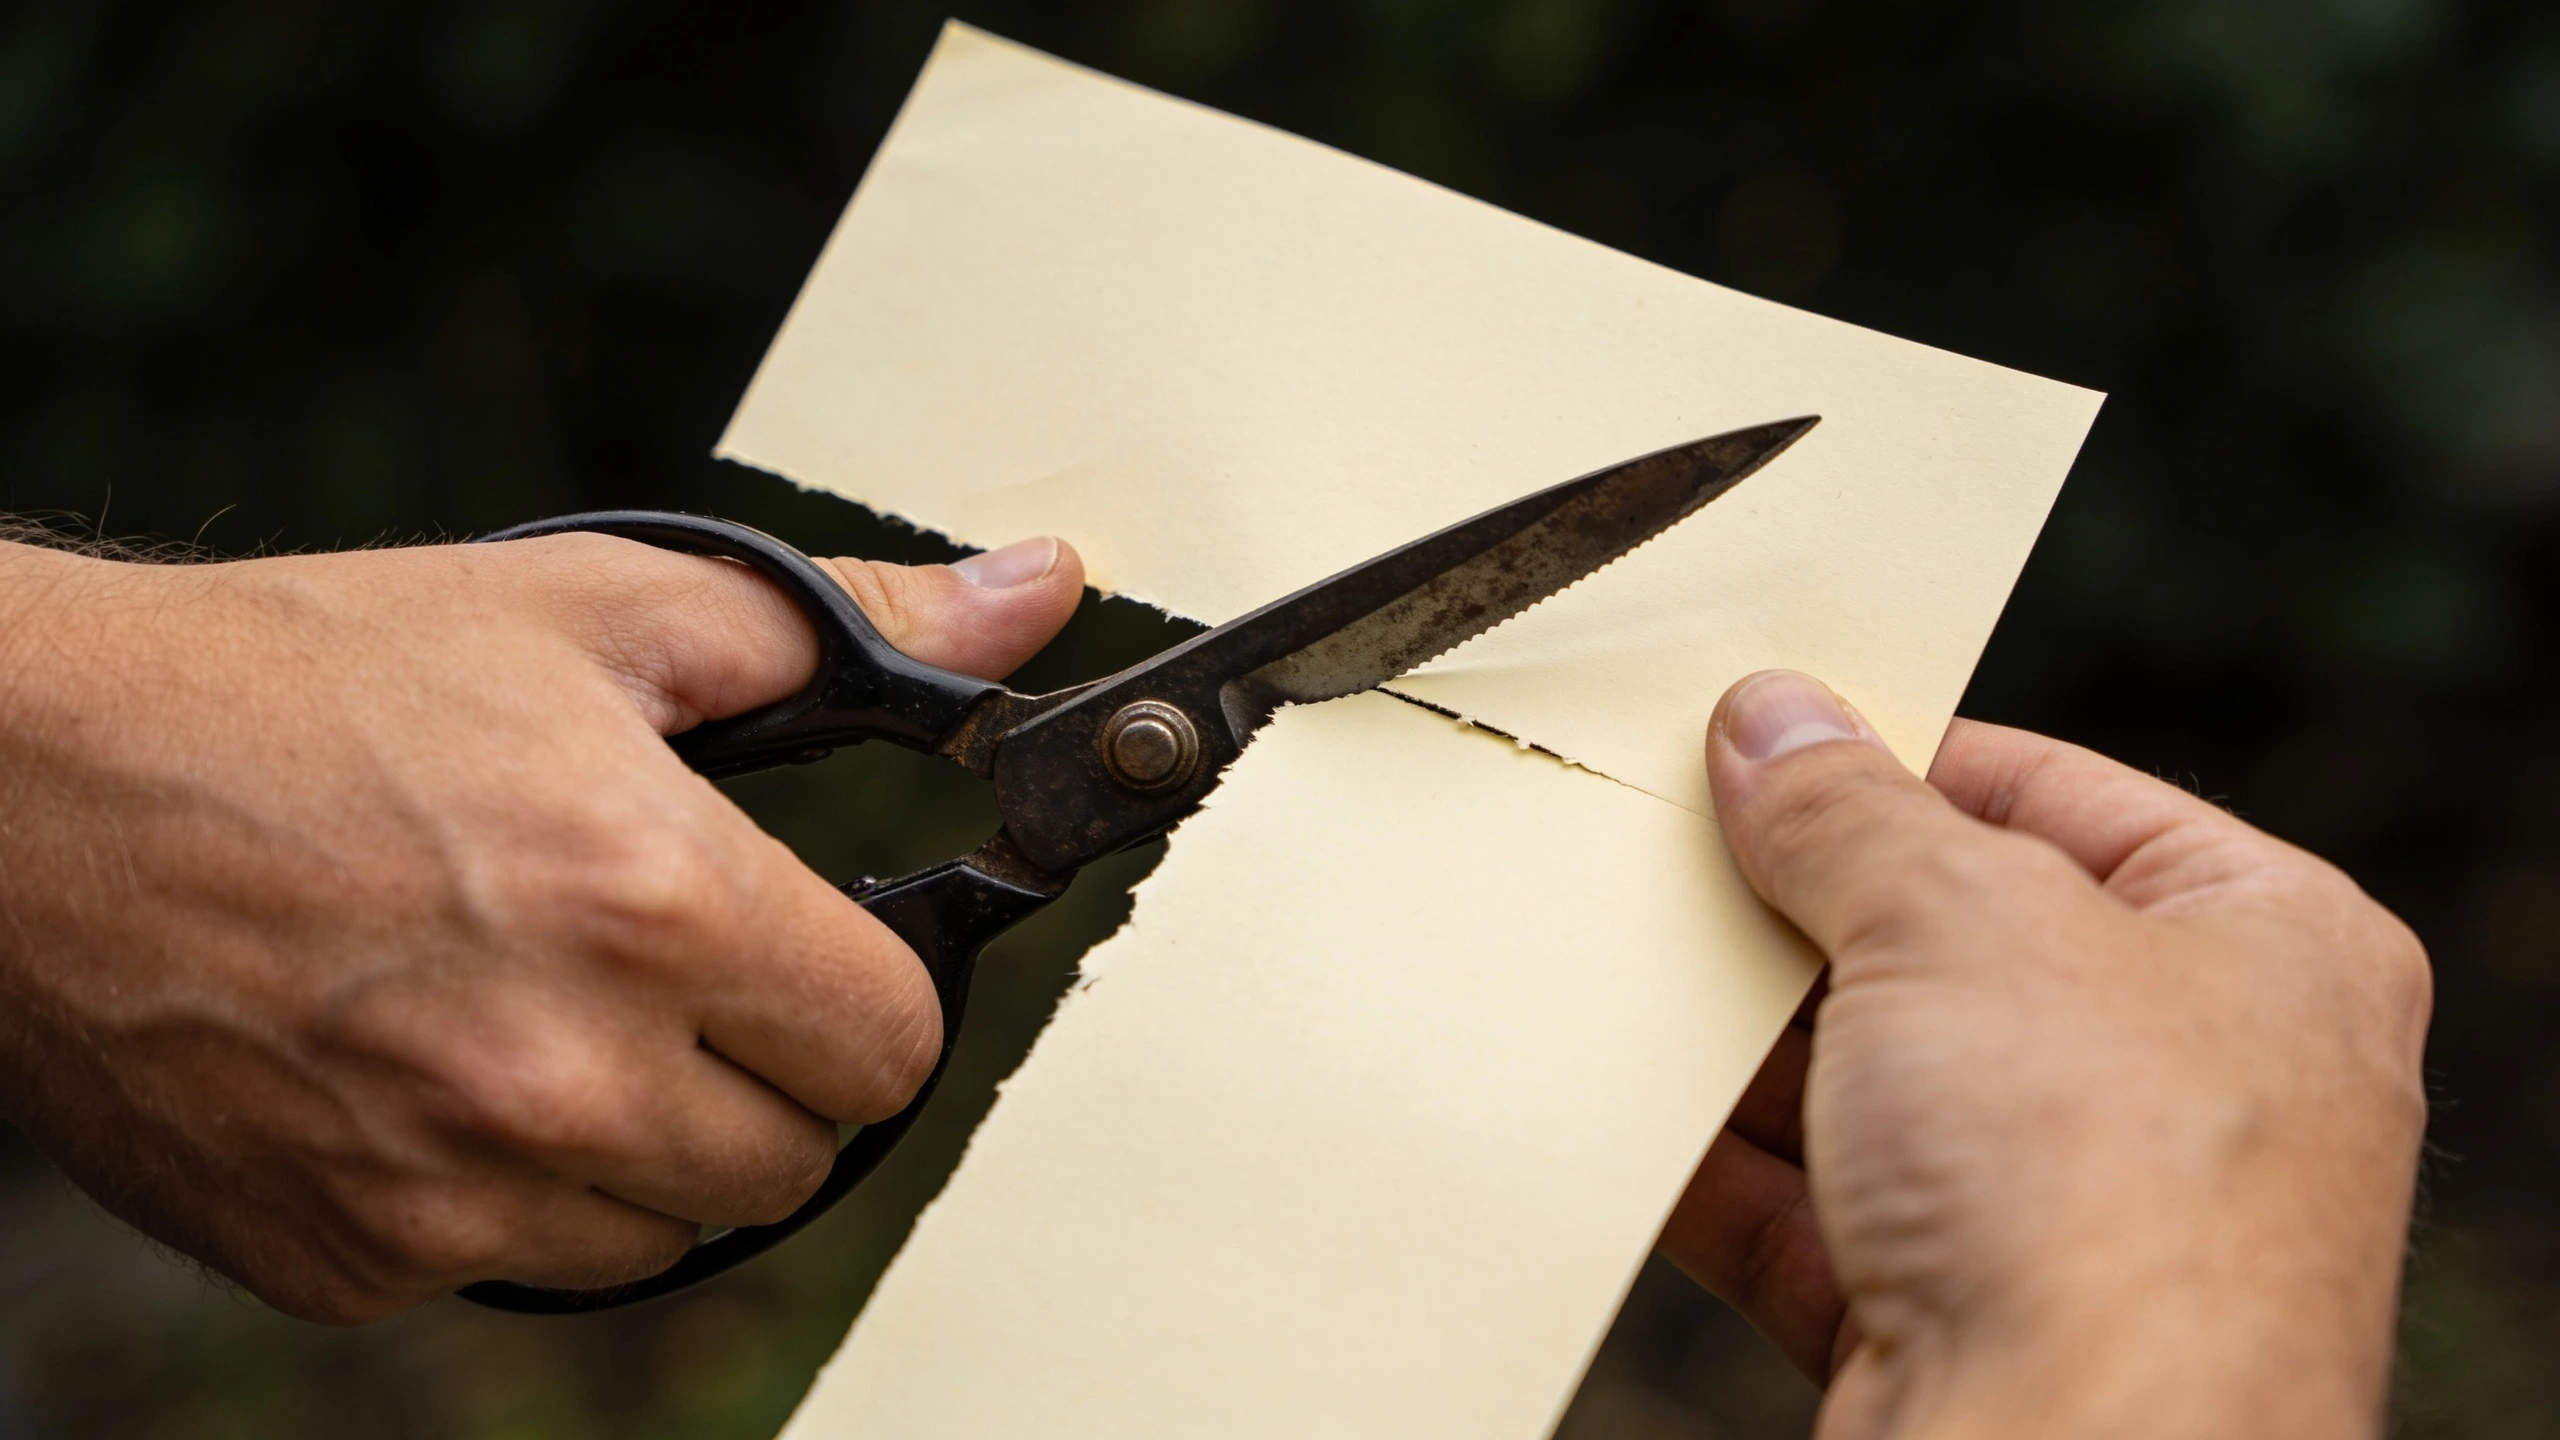
You can do everything on this page with about $25 of kit:
- Diamond sharpening card
- A steel plate with industrial diamond grit bonded to it. Cheap, flat, works wet or dry, and does not need to be soaked or flattened like a whetstone. 300–600 grit is the useful range for garden tools.
- Flat file (mill file)
- For spades, hoes, edging irons and mattocks. Removes metal much faster than a stone, which is what a chipped digging edge needs.
- Camellia or boiled linseed oil
- A thin rust-preventing oil that does not go gummy. Camellia is traditional for blades; boiled linseed is excellent on both steel and wooden handles.
- Abrasive pad
- A coarse synthetic pad for lifting surface rust. Gentler on the steel than a wire wheel and far less likely to round over an edge.
Cleaning: do this every session, not every season#
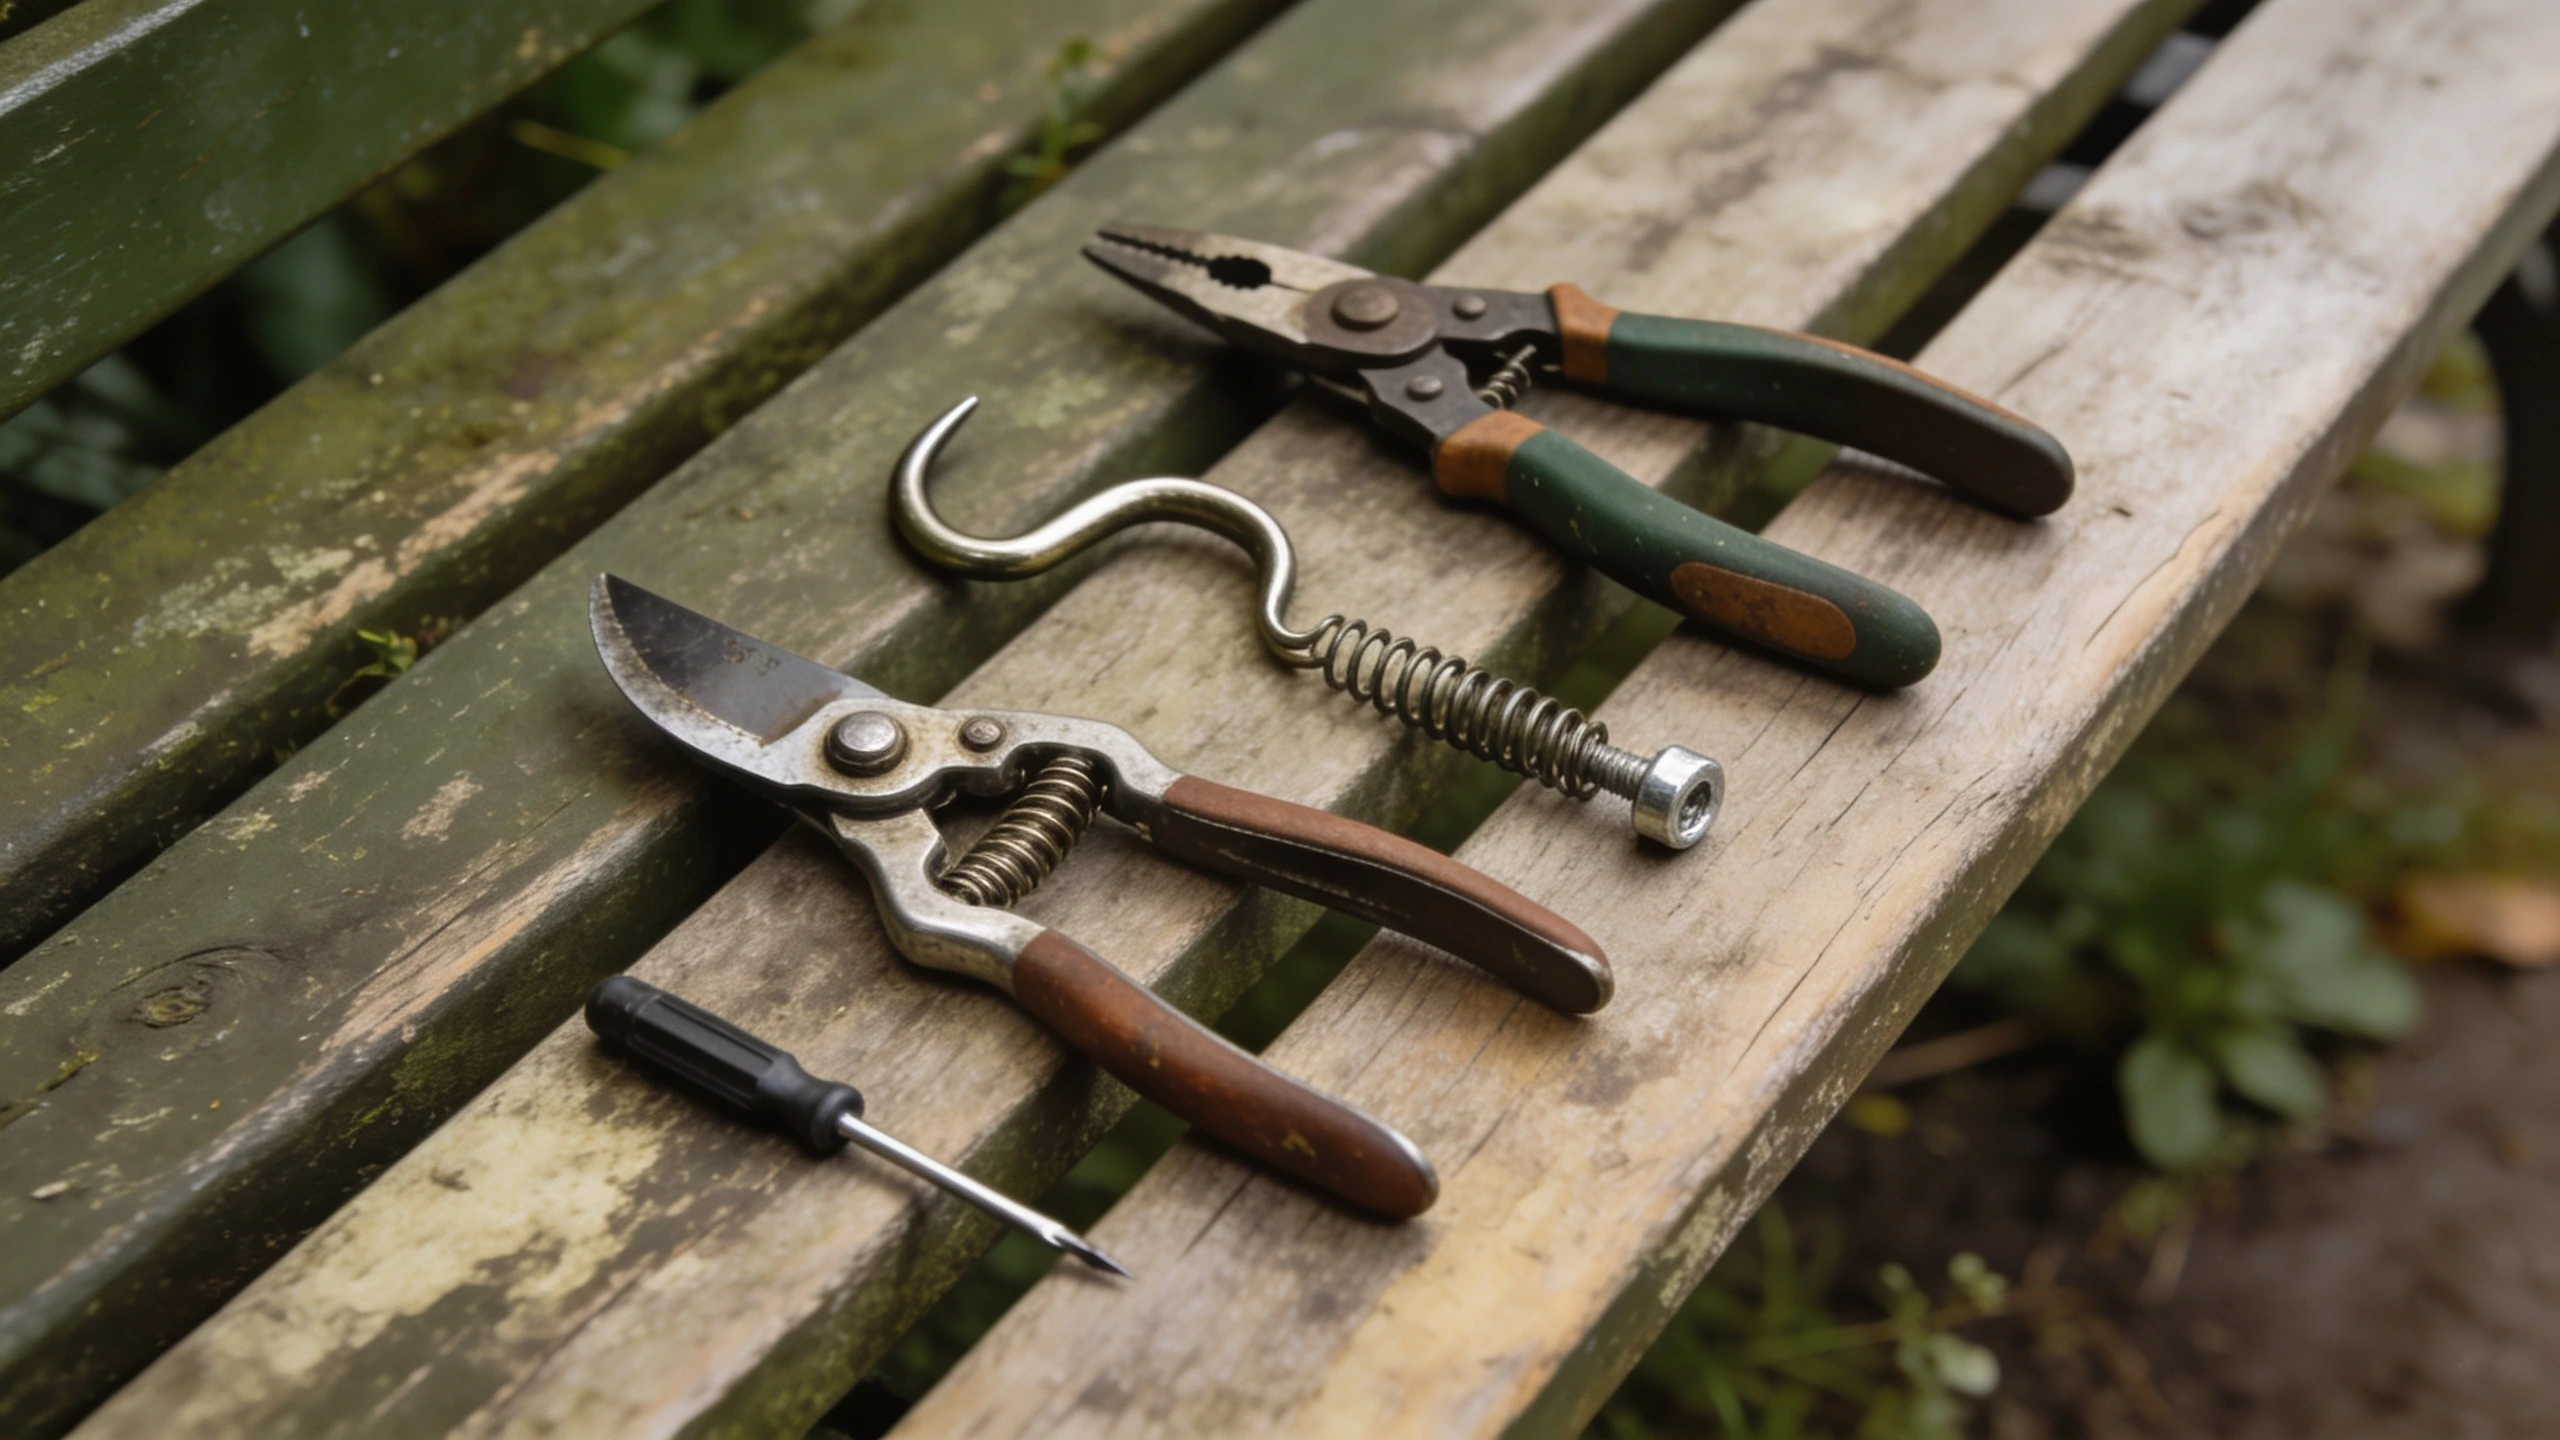
The whole job is two minutes if you do it when you put the tool away.
- Scrape off soil with a stick or the edge of another tool while it is still damp. Dried-on clay is ten times the work.
- Wash with warm soapy water and a stiff brush. Dry immediately, leaving tools wet is how rust starts.
- Remove sap with isopropyl alcohol on a rag. It dissolves the resin that soap will not touch.
- Wipe with oil. A rag kept in an oil-damp jar in the shed makes this a single wipe.
Sharpening secateurs and pruning shears#
Bypass secateurs, the type where a curved blade passes a fixed hook, like scissors, are the most common and most commonly ruined by bad sharpening.
Find the bevel first#
Look at the cutting blade edge-on. One face is flat; the other has a bevel ground onto it, usually 20 to 30 degrees. You sharpen only the bevelled face. The flat face must stay flat, because the shearing action depends on the two surfaces meeting cleanly along their whole length.
The sharpening pass#
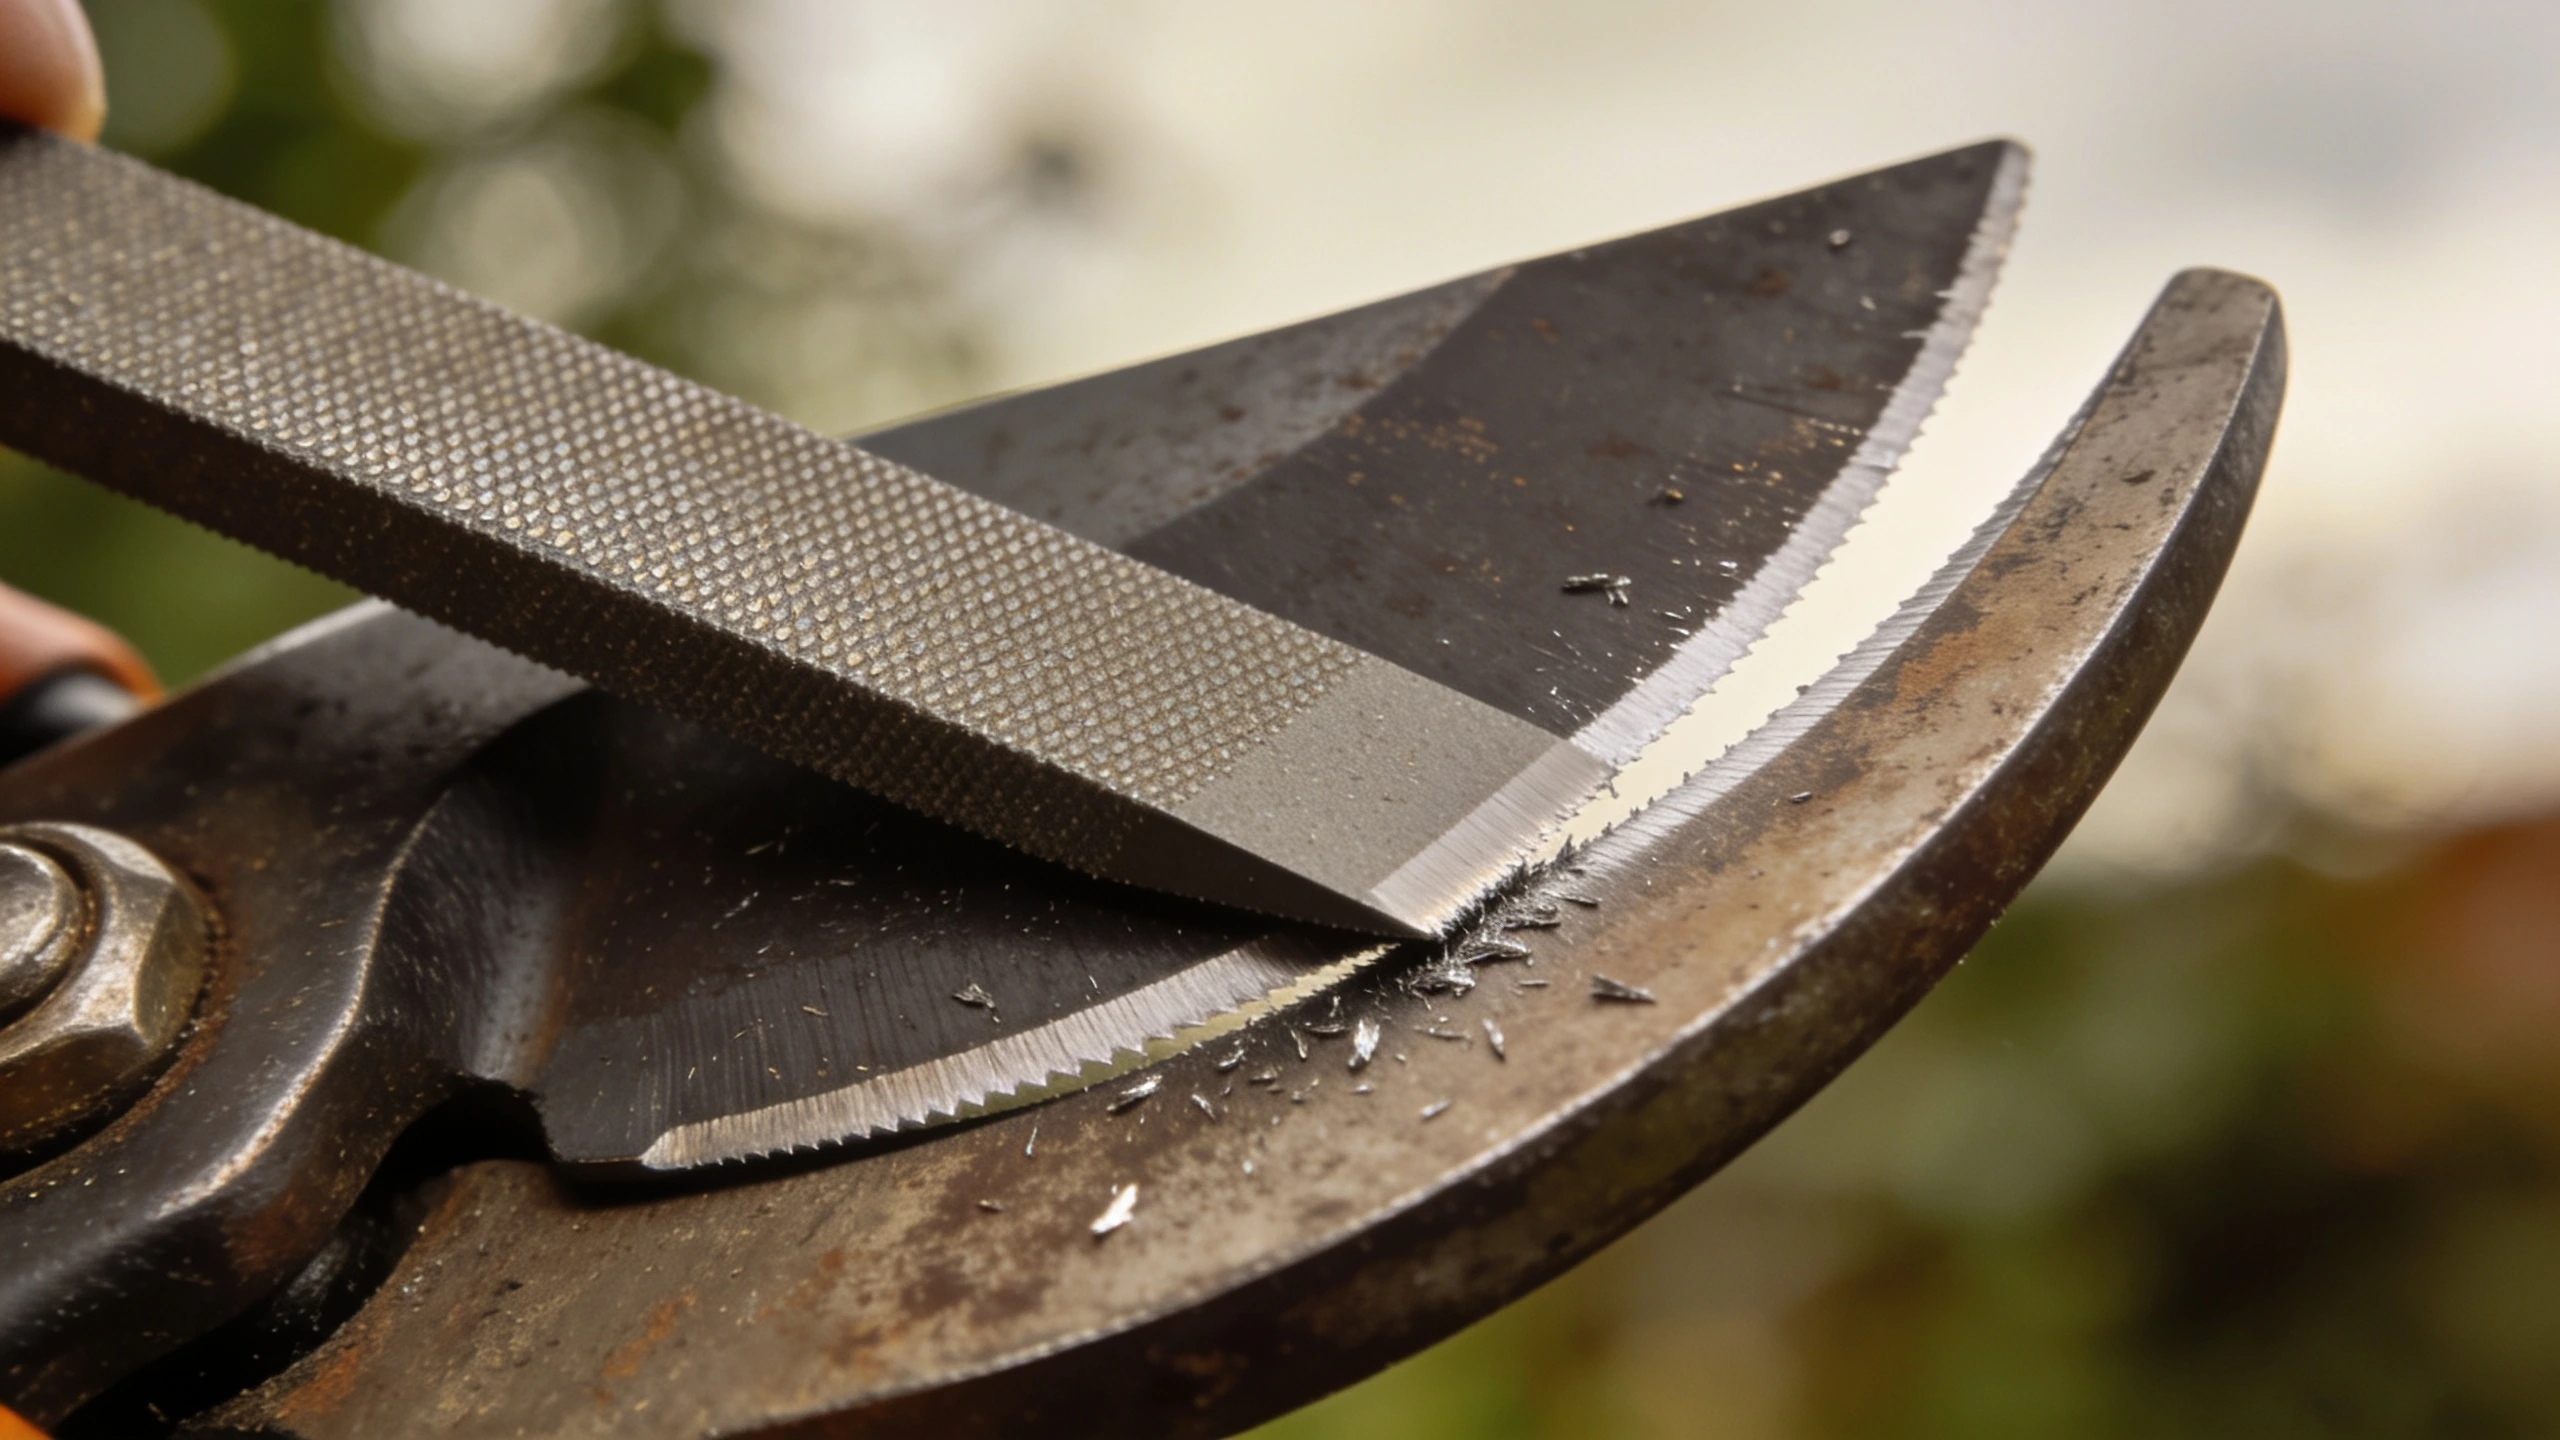
- Take the tool apart if the fixings allow, or hold it fully open. Working on assembled blades is possible but fiddly.
- Lay the diamond card flat against the existing bevel. Do not invent a new angle, match what is there.
- Draw the card from the base of the blade to the tip, following the curve, applying light pressure. Always in the same direction, away from the edge.
- Ten to fifteen passes is usually enough. You are refreshing an edge, not reprofiling a blade.
- Feel for a wire edge, a fine burr on the flat side. That tells you the bevel is done.
- Lay the card flat on the inner face and make one or two light passes to remove that burr. One pass, no angle.
Reassembly and tension#
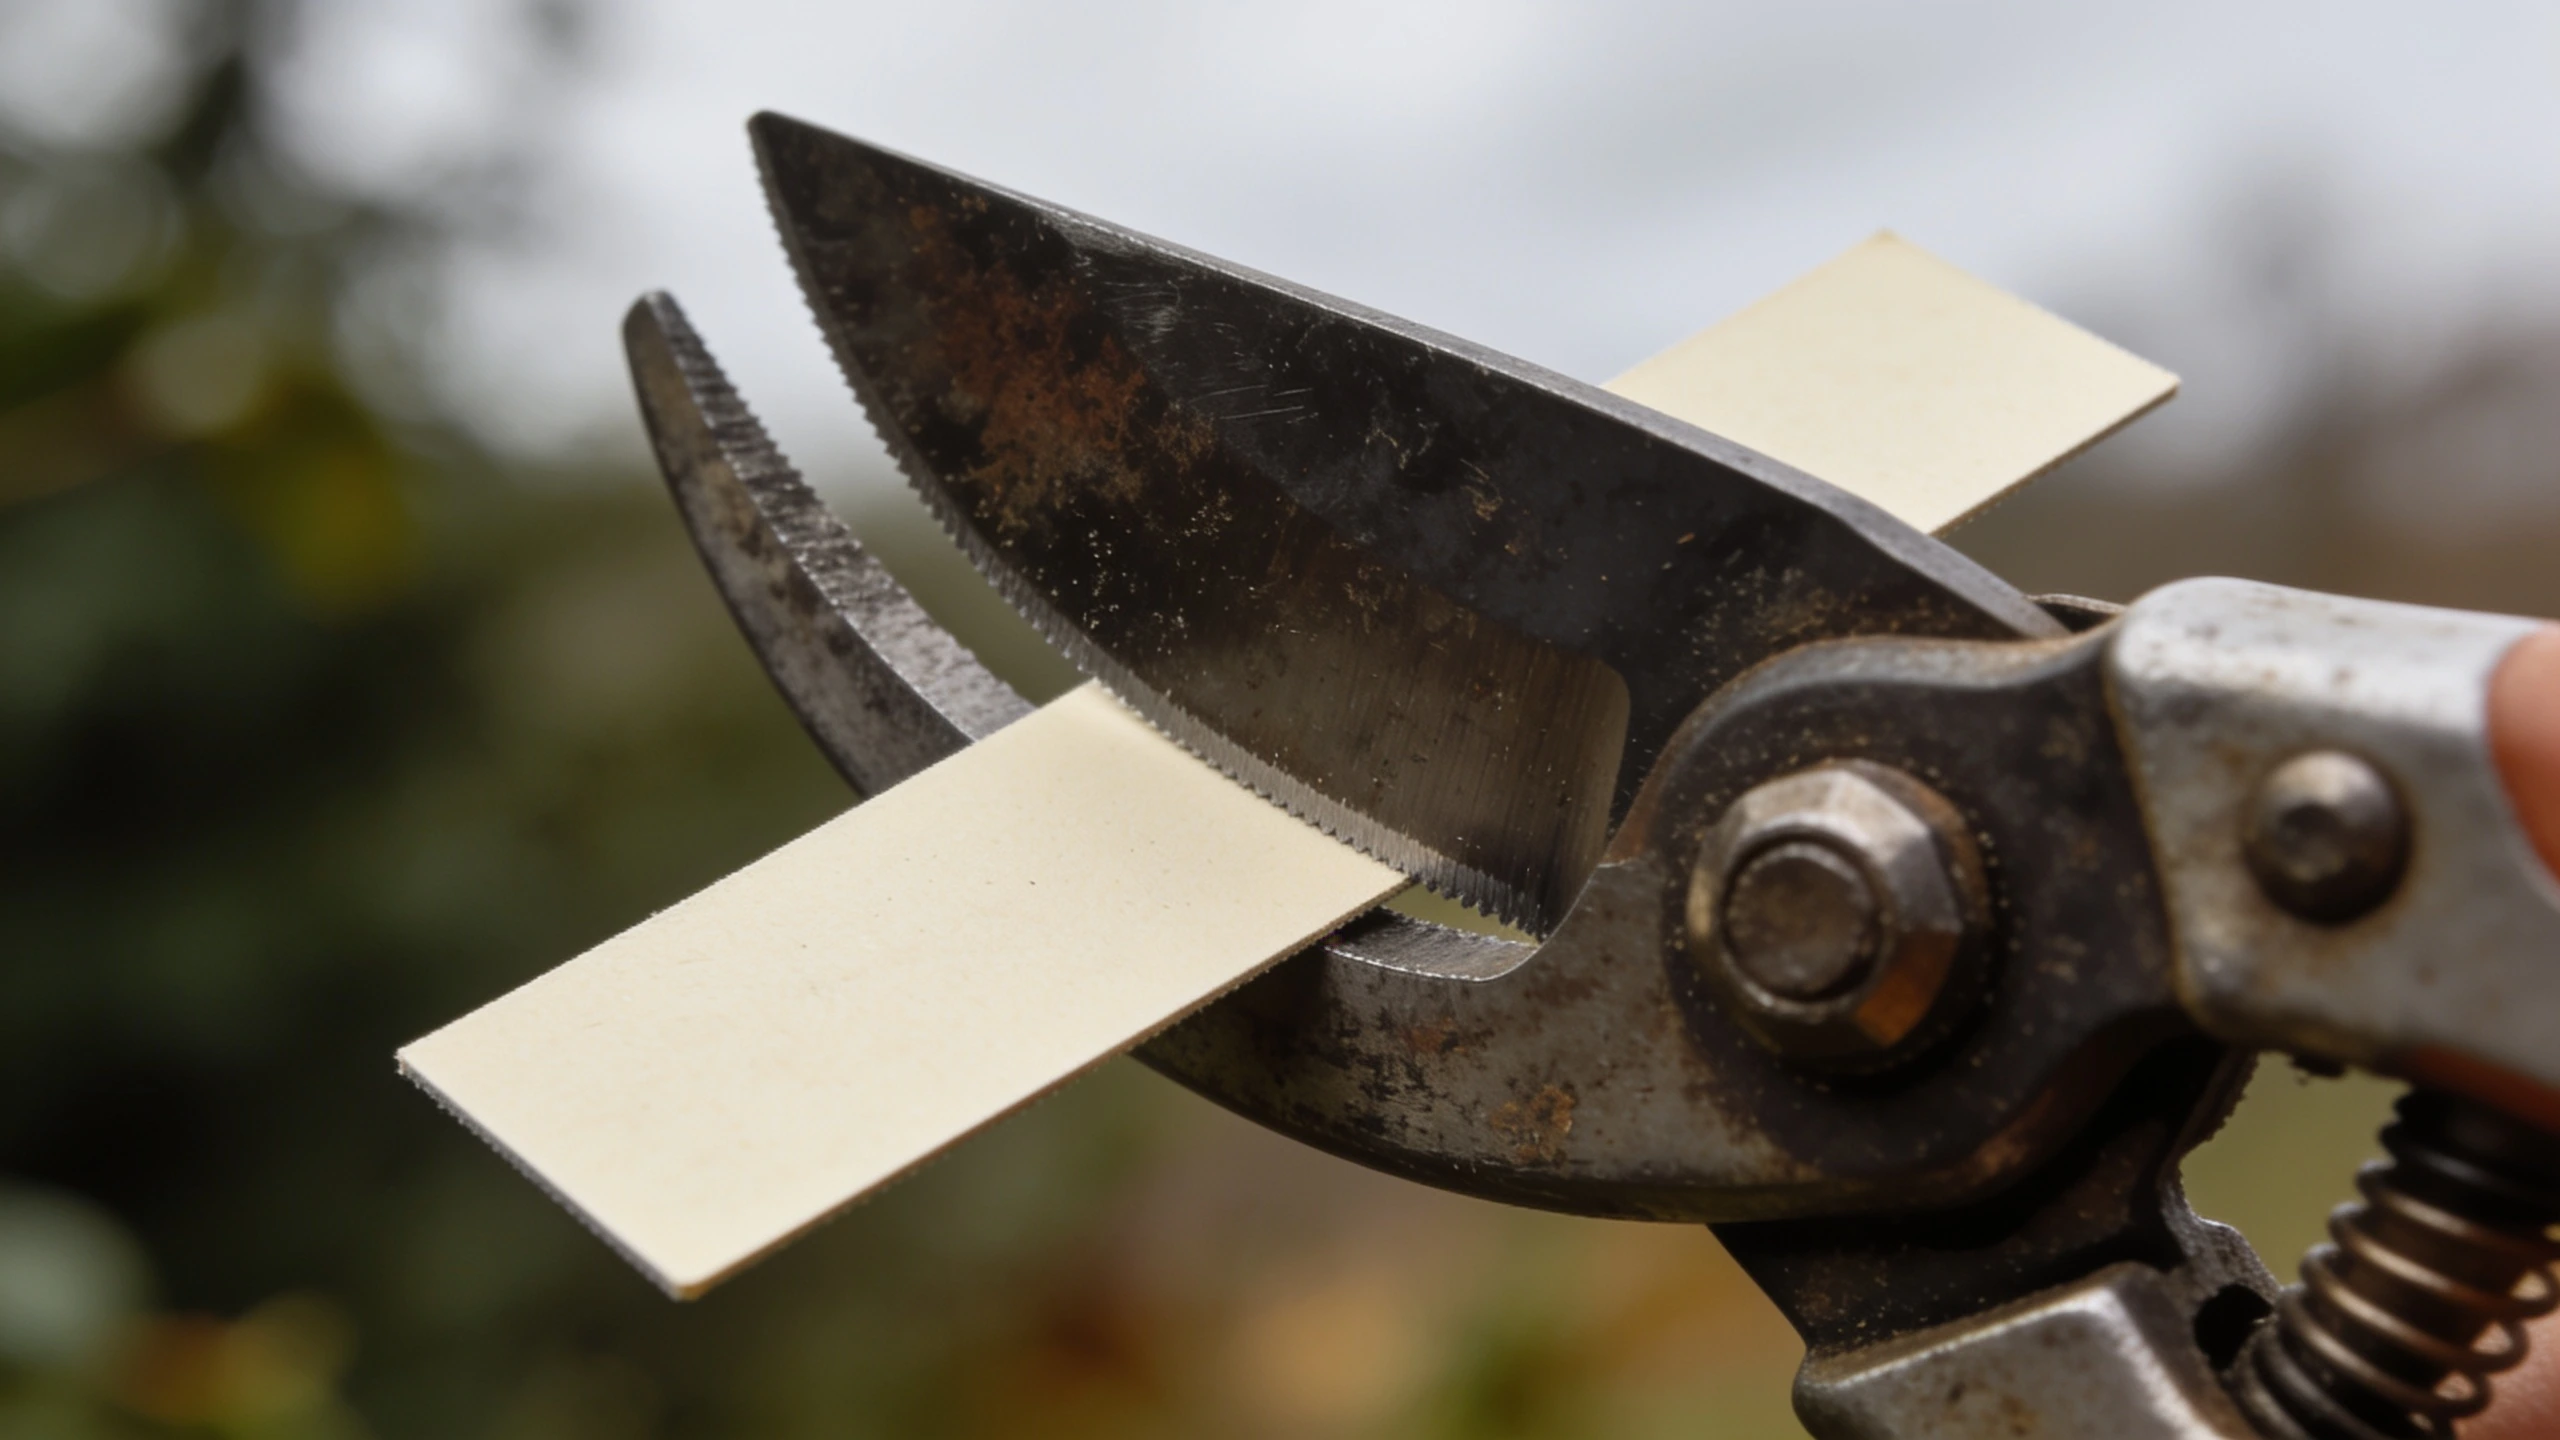
Grease the pivot, then tighten the nut until the blades close smoothly with no lateral wobble. If you can rock the blades sideways against each other, the tool will chew stems no matter how sharp it is. Loose pivots ruin more secateurs than dull edges.
Anvil secateurs (a straight blade closing onto a flat plate) sharpen the same way, but the bevel is usually steeper and the anvil face should be filed flat if it has been dented.
Sharpening spades, hoes and edging irons#
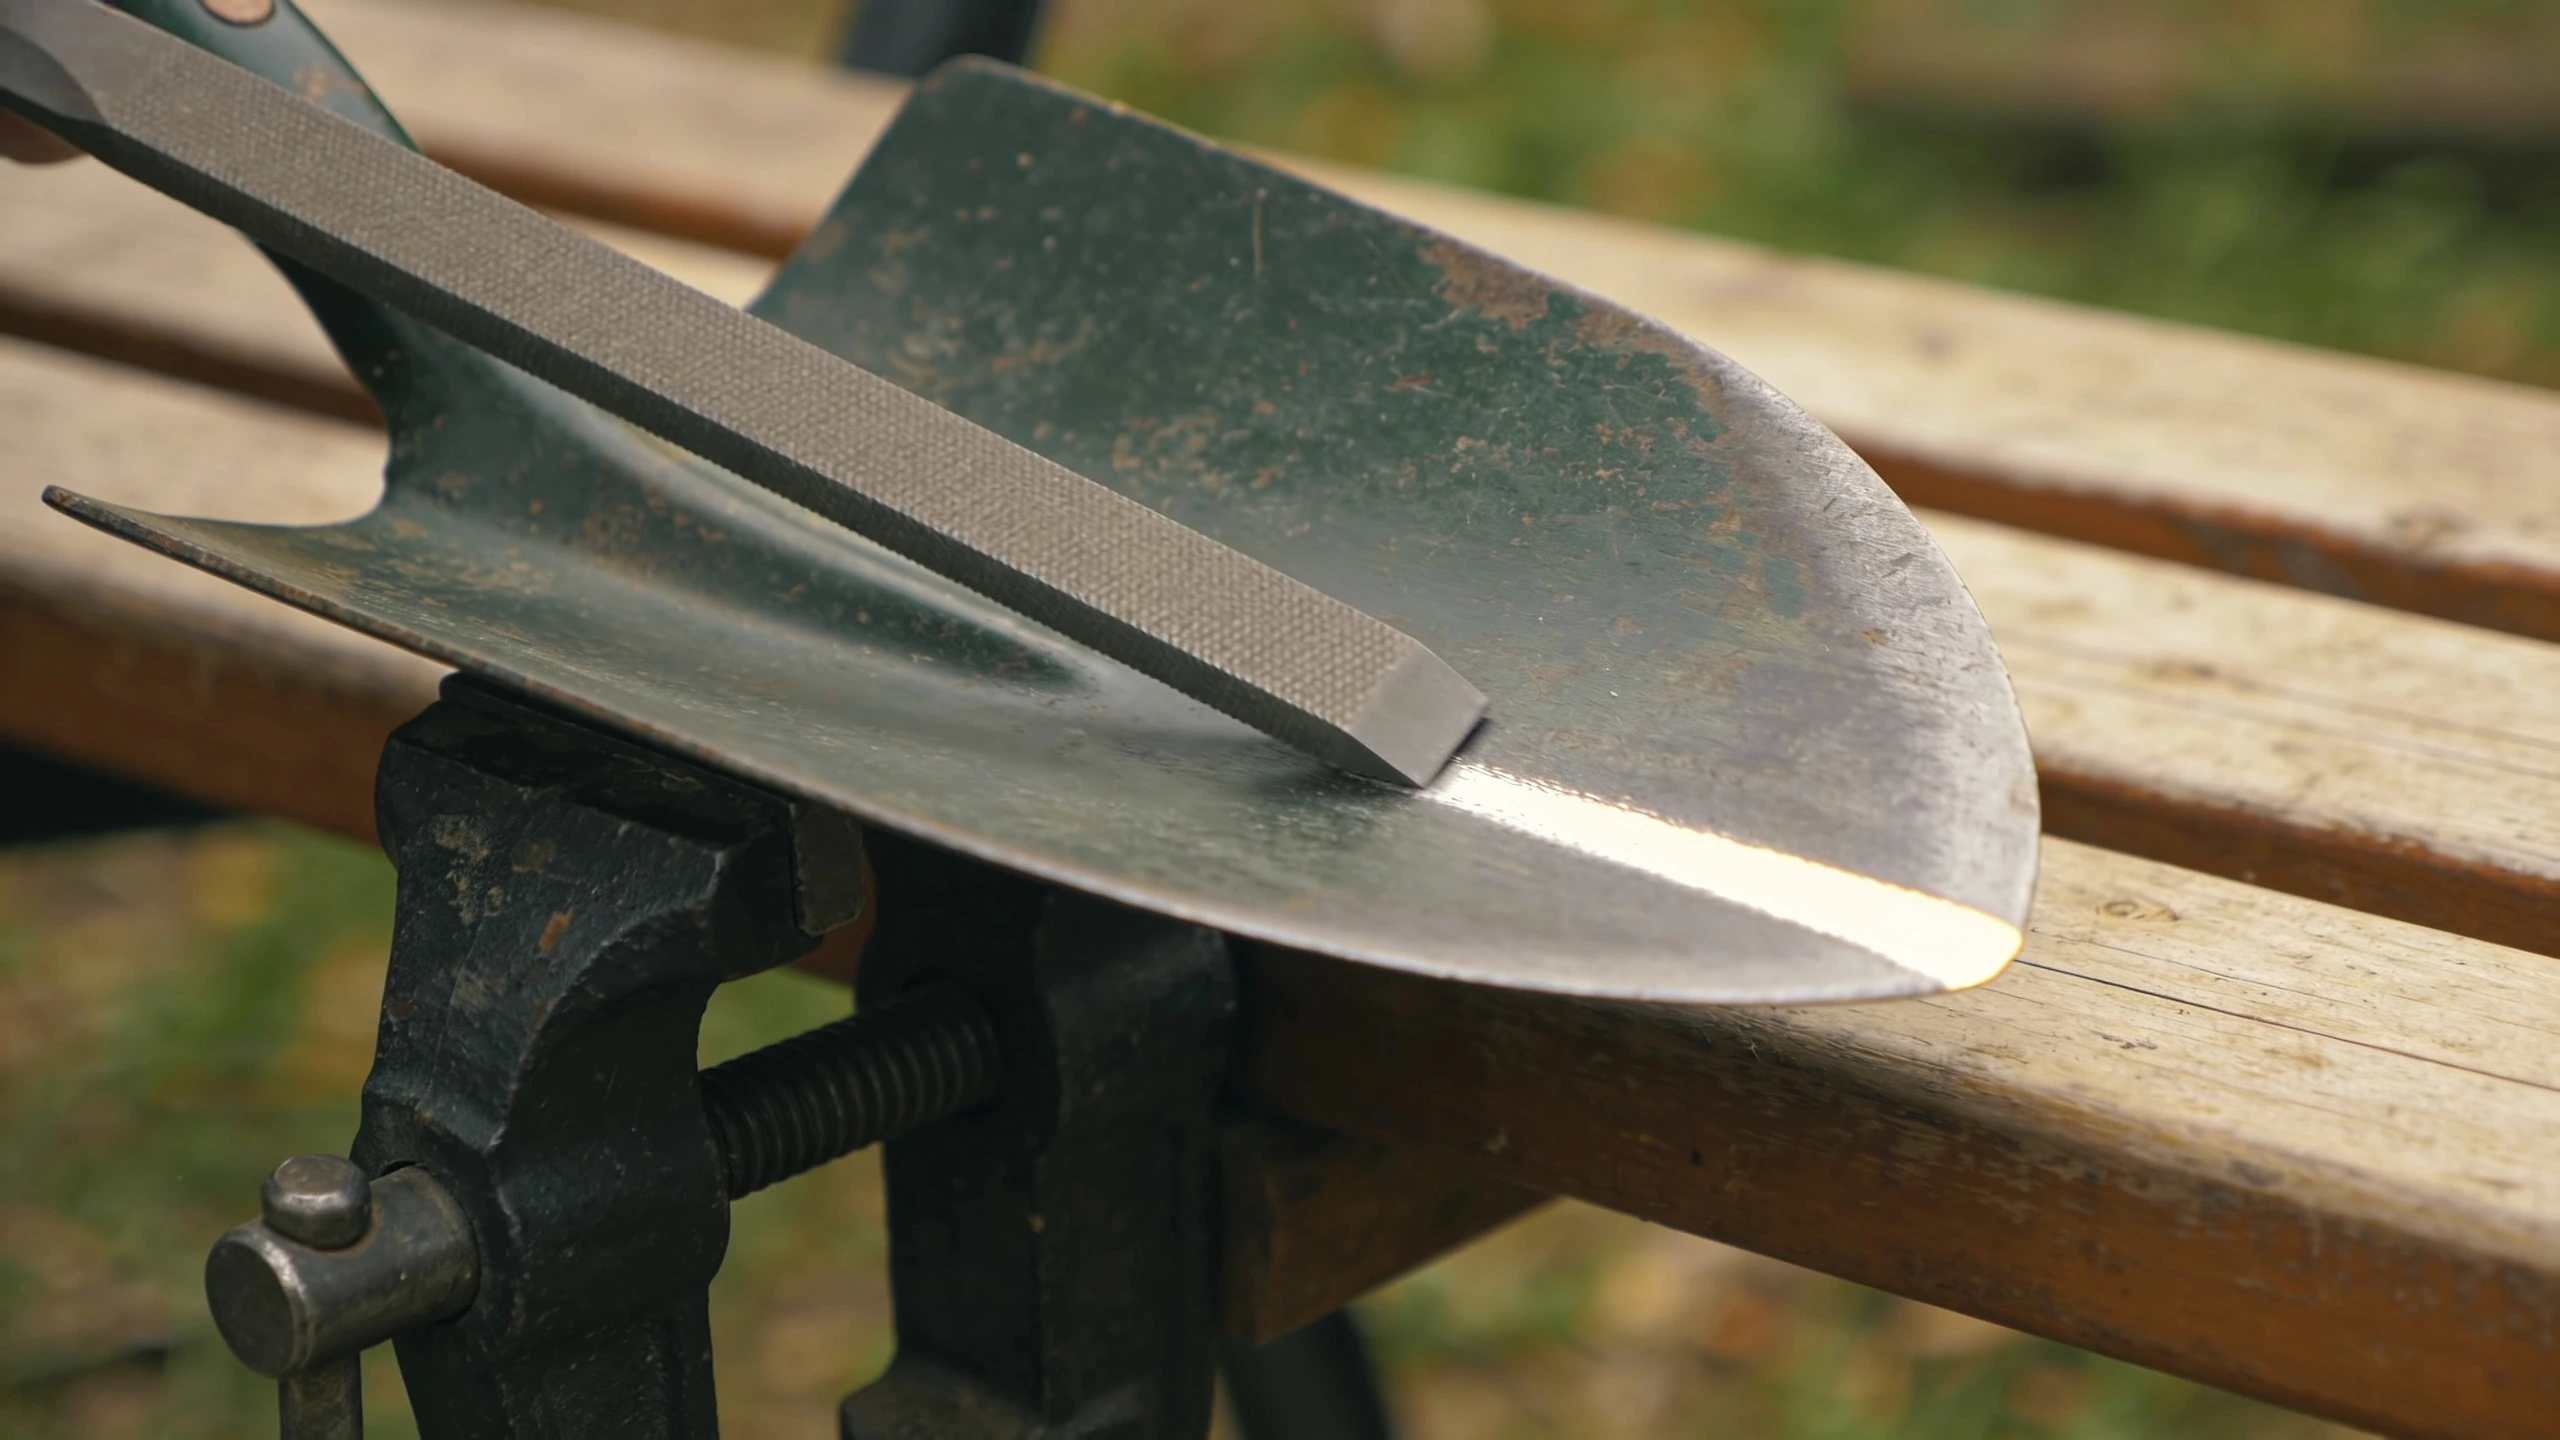
Digging tools want a durable working edge, not a razor, they meet stones, roots and grit.
- Clamp the tool or brace it against a bench.
- File the inside face (the concave side of a spade, the leading face of a hoe) at roughly 45 degrees.
- Push the file in one direction only, lifting on the return. Files cut on the push stroke.
- Aim for an edge you could compare to a butter knife. You should not be able to shave with it.
- Leave the back face alone.
A sharpened spade slices through turf and root mass with noticeably less body weight behind it. It is the most underrated ten minutes in the shed.
Shears, loppers and knives#
- Hedge shears: sharpen each blade's outer bevel at about 30 degrees, then check the tension bolt. Shears that jam mid-cut are almost always loose rather than blunt.
- Loppers: same procedure as secateurs, just larger. Check whether the blade is replaceable; on many mid-range loppers it is, and a new blade costs less than the sharpening kit.
- Garden and grafting knives: these do want to be genuinely sharp, and are worth taking up to a finer stone (1000 grit or higher) after the initial edge.
Disinfecting between cuts#
Routine pruning of healthy plants does not need disinfection. Pruning something you suspect is diseased absolutely does, because secateurs are extremely efficient at moving pathogens from plant to plant.
Use isopropyl alcohol on a rag or a disinfectant wipe between cuts. Skip bleach as a habit. It works, but it pits steel and corrodes pivots, and a spring you cannot replace is a dead tool.
How I know this#
Edge angles and the bevel rules here follow manufacturer guidance and standard tool-maintenance practice rather than tests I have run. Check your own tool maker first: Felco and Fiskars both publish sharpening and servicing instructions for their own secateurs, and those override anything general.
Our editorial policy explains how corrections work. For choosing tools in the first place, see gardening tools for beginners.
Winter storage#
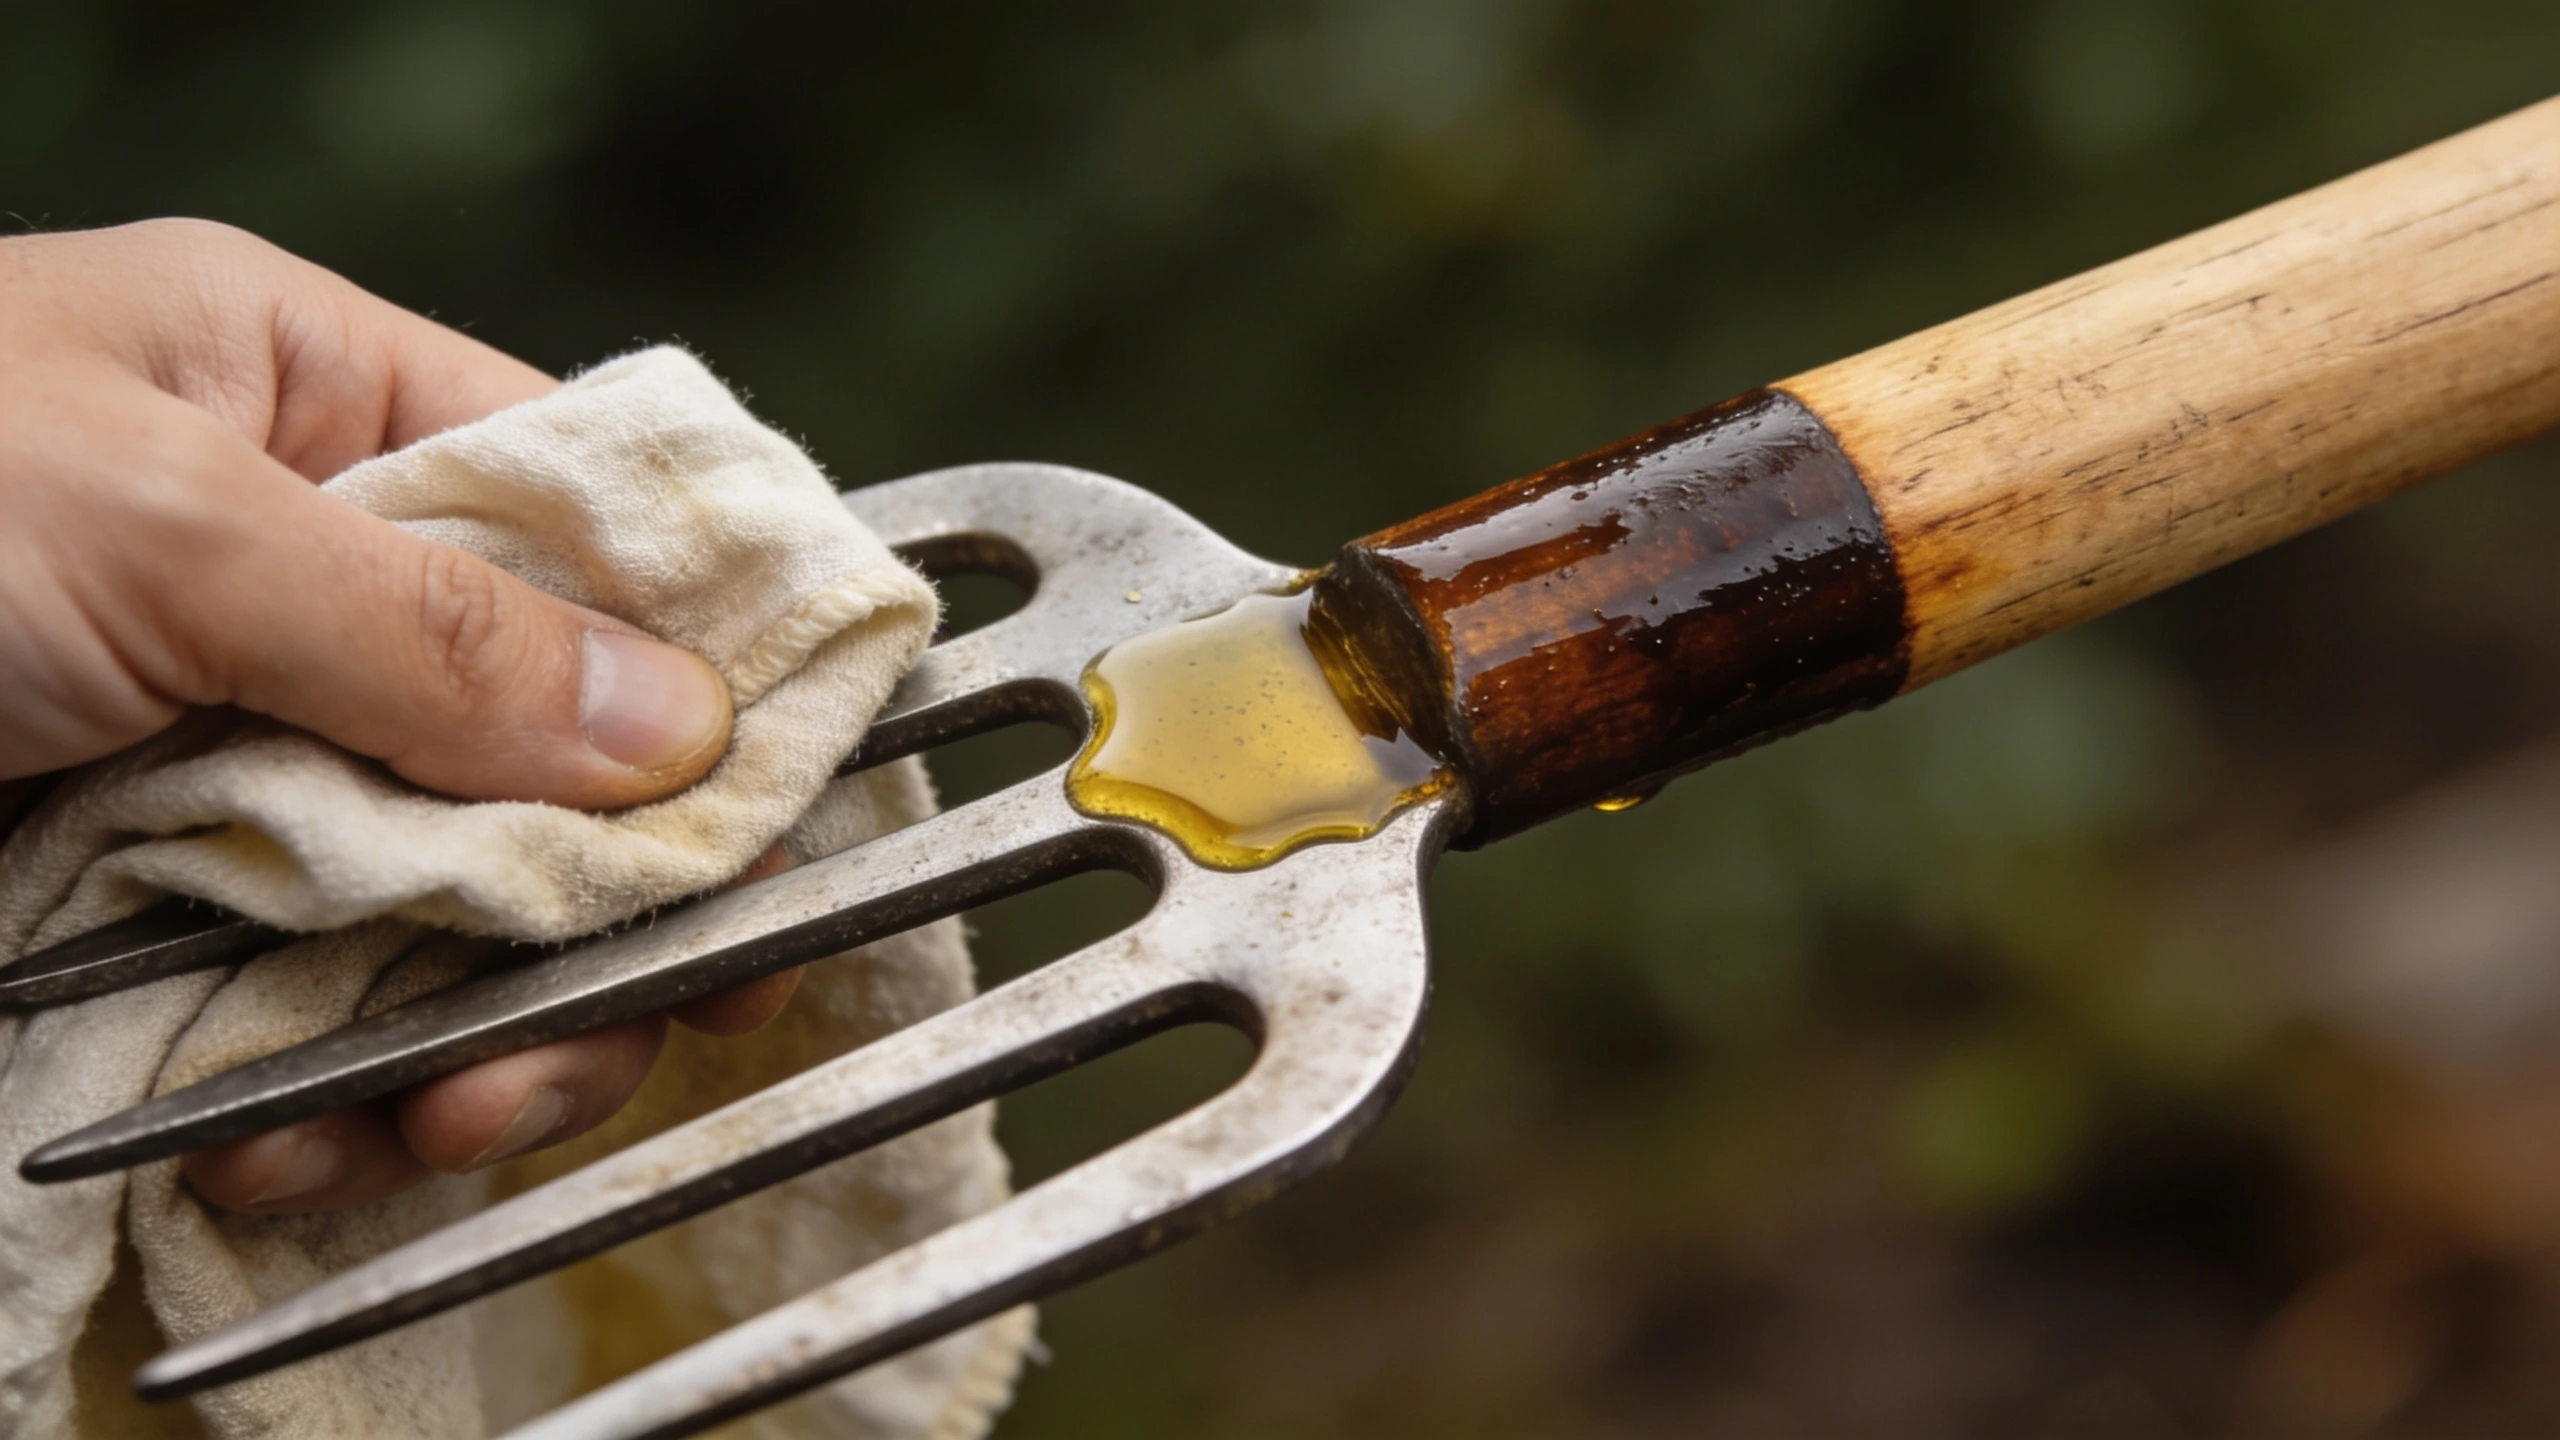
The end-of-season pass takes half an hour and saves you buying replacements:
- Clean and sharpen everything.
- Oil all bare metal generously, a heavier coat than usual, since it needs to last months.
- Rub linseed oil into wooden handles. Dry handles crack, and a cracked handle is how you get a splinter driven into your palm.
- Loosen spring-loaded tools if the design allows, and store them closed but not latched under tension.
- Hang everything rather than standing it on a damp floor.
What this actually buys you#
A forged trowel, a decent spade and a mid-range pair of bypass secateurs, maintained like this, will outlast several rounds of the cheap replacements people buy instead. Which is the argument for buying the good version once, covered in our guides to gardening tools for beginners and ergonomic tools for arthritic hands.
Frequently asked questions
How often should I sharpen my secateurs?
Clean them after every session and sharpen roughly every 8 to 10 hours of use, or whenever they start crushing stems instead of slicing. In practice, most home gardeners should sharpen at the start of spring, once mid-season, and before storing for winter.
Can I sharpen bypass secateurs on both sides of the blade?
No. Bypass secateurs have one bevelled cutting blade and one flat-faced blade that passes it, like scissors. Putting a bevel on the flat face destroys the shearing action and the tool will never cut cleanly again. Sharpen the outer bevel only, then make one light flat pass to remove the burr.
What angle should I sharpen garden tools to?
Follow what the manufacturer set. As a rule: secateurs and knives 20–30 degrees, shears about 30 degrees, and spades, hoes and edging irons around 45 degrees. Digging tools need a blunter, more durable edge because they meet grit and stone.
Should I disinfect tools between plants?
Yes, when pruning anything you suspect is diseased, canker, fireblight, rose black spot, any viral symptom. Isopropyl alcohol or a household disinfectant wipe between cuts is enough. For routine work on healthy plants it is unnecessary, and constant bleach exposure corrodes the pivot.
What oil should I use on garden tools?
Camellia oil is the traditional choice and does not go rancid or sticky. Boiled linseed oil works well on both metal and wooden handles. Avoid vegetable oils from the kitchen, which polymerise into a gummy film, and be sparing with WD-40, which is a water displacer rather than a lubricant and evaporates.
Topics in this article
About the author
Jeff has gardened professionally for over twenty years, mostly on heavy clay, and writes everything here from beds he still works himself. More from Jeff Tanun →
Keep reading
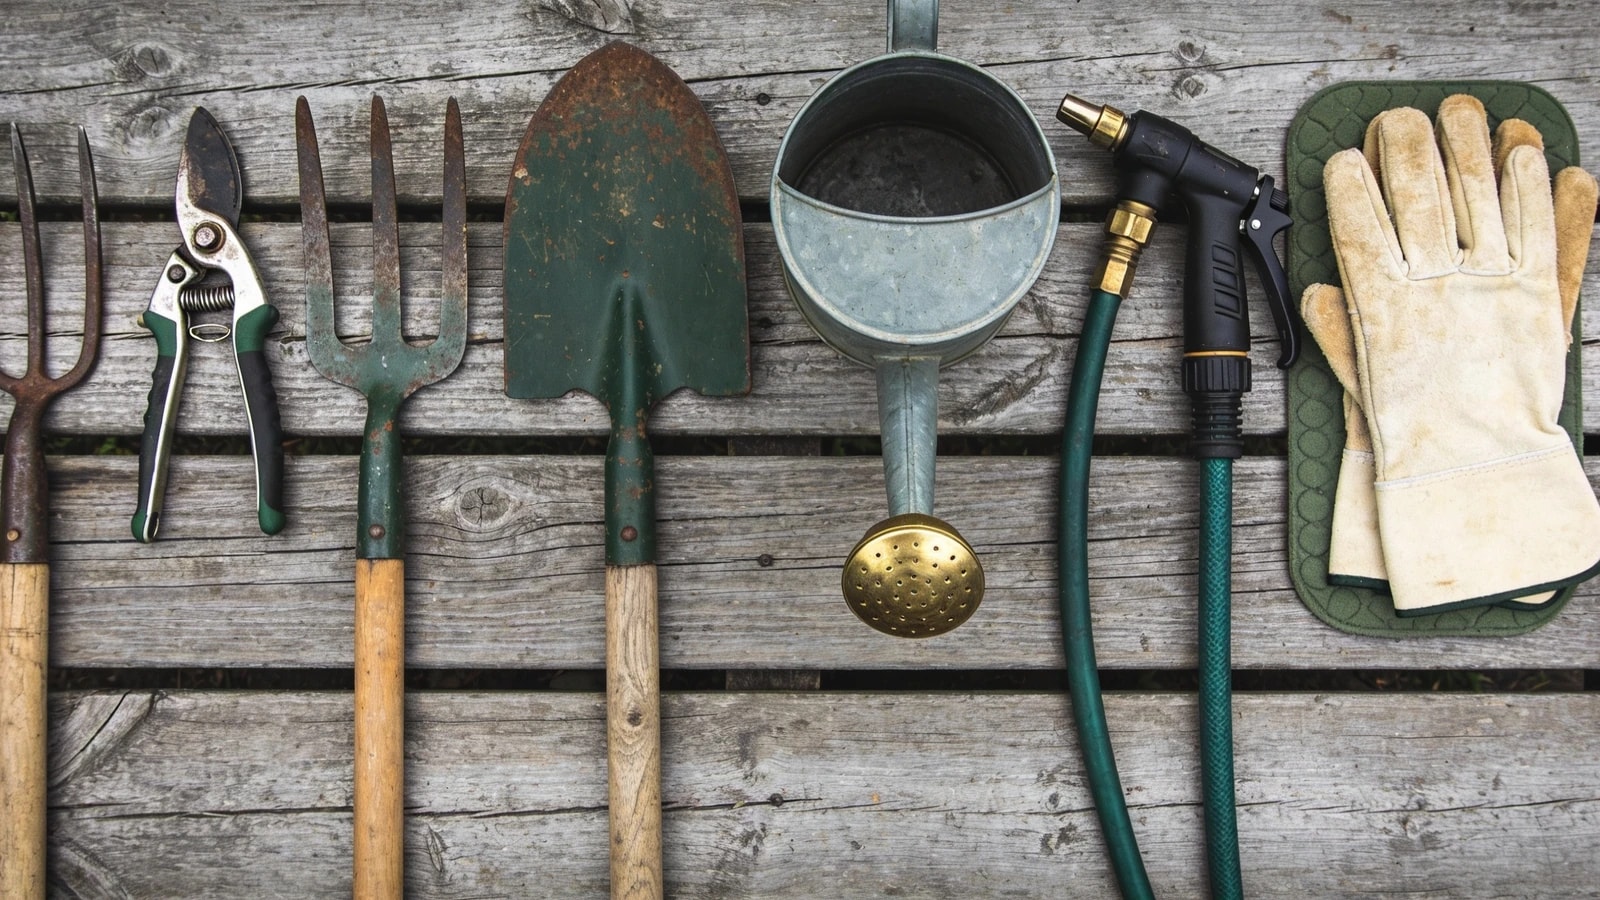
Gardening Tools for Beginners
The twelve tools a new gardener genuinely needs, what to look for in each, what to spend, and the eight popular tools you can safely skip in your first year.
Updated
Gardening With Children
Gardening with children works when the seeds are fast and the tools are real. Here is what to plant, what to buy, and what puts kids off for good.
Updated
Gardening Tools for Kids
Which children's garden tools actually work, what to buy at each age, and why most brightly coloured plastic sets put kids off gardening rather than into it.
Updated